6
1
ASSEMBLY INSTRUCTIONS
18
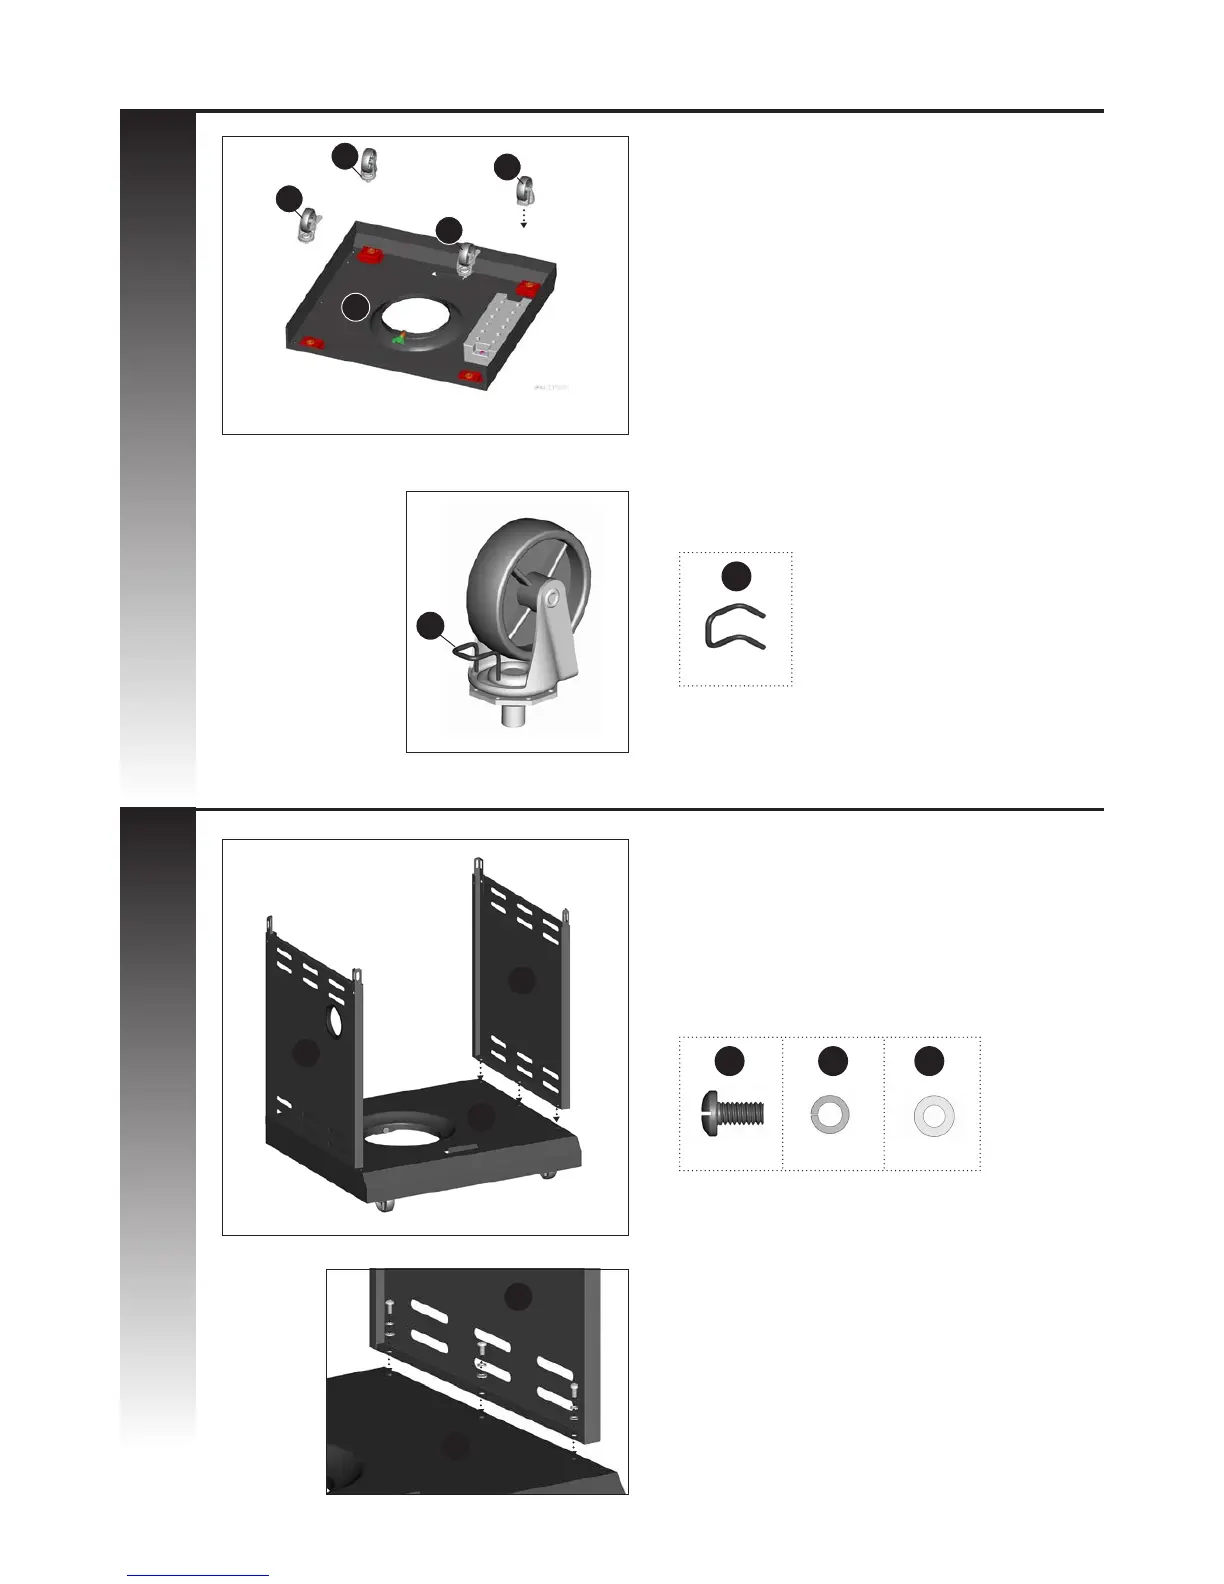
Upside down view
Close Up
Close Up
Front view
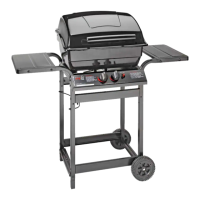
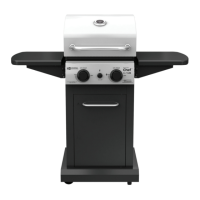
Ensure that the Locking Castors (EE) are rmly
locked in the “ON” position before continuing.
Assemble the Left Side Panel (EB) and the Right
Side Panel (EC), to the Bottom Shelf (ED).
2
YOU WILL NEED:
YOU WILL NEED:
3
18
5 6
X 6
X 1
X 6 X 6
EC
EC
EB
ED
ED
ED
EF
EE
A
EE
EF
Separate the 2 dierent types of castors: 2
Locking Castors (EE) and 2 Regular Castors (EF).
Note: Regular Castors (EF) need to be
assembled to the front of the Bottom Shelf
(ED), and Locking Castors (EE) need to be
assembled to the back of the Bottom Shelf
(ED), as shown in image A.
Attach the Regular Castor (EF) to the front of the
Bottom Shelf (ED), and use the Pin Tool (#18) to
secure and tighten.
Repeat for remaining 3 castors (EE & EF).
Back
Front