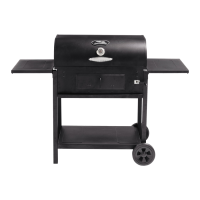
11
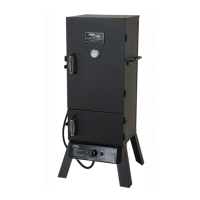
STEP 13a.
Insert temperature gauge (8) stem
through hole in grill lid. Secure with
wing nut (K).
STEP 13b.
Insert alignment pins on back of logo
plate (10) through two holes above
temperature gauge (8).
Attach using lock washer (L) and hex
nut (J) as shown.
10
K
8
J
L
STEP 14.
Attach smoke stack (7) to left side of
grill lid (1) and secure with phillips
head screws (A) as shown.
1
7
A
12
STEP 15.
Secure handle (9) to grill lid (1) using
flat washers (G) lock washers (H)
and hex flange nuts (D).
9
1
H
D
G
D
3
C
1
STEP 16a.
Insert warming rack support bolt (C)
into hole on the left side of grill lid
(1). Thread hex flange nut (D) onto
bolt and tighten. Slide warming rack
(3) eyelet onto end of support bolt.
Note: Warming rack should have
some play and move freely.
STEP 16a.
STEP 16b.
Slide warming rack to the far left to
butt up against grill lid.
On right side of grill lid (1) hold hex
flange nut in place with hand and
thread rack support bolt (C) through
nut, guiding warming rack (3) onto
support bolt as shown.
C
1
D
3
STEP 16b.