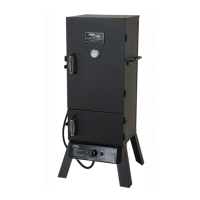
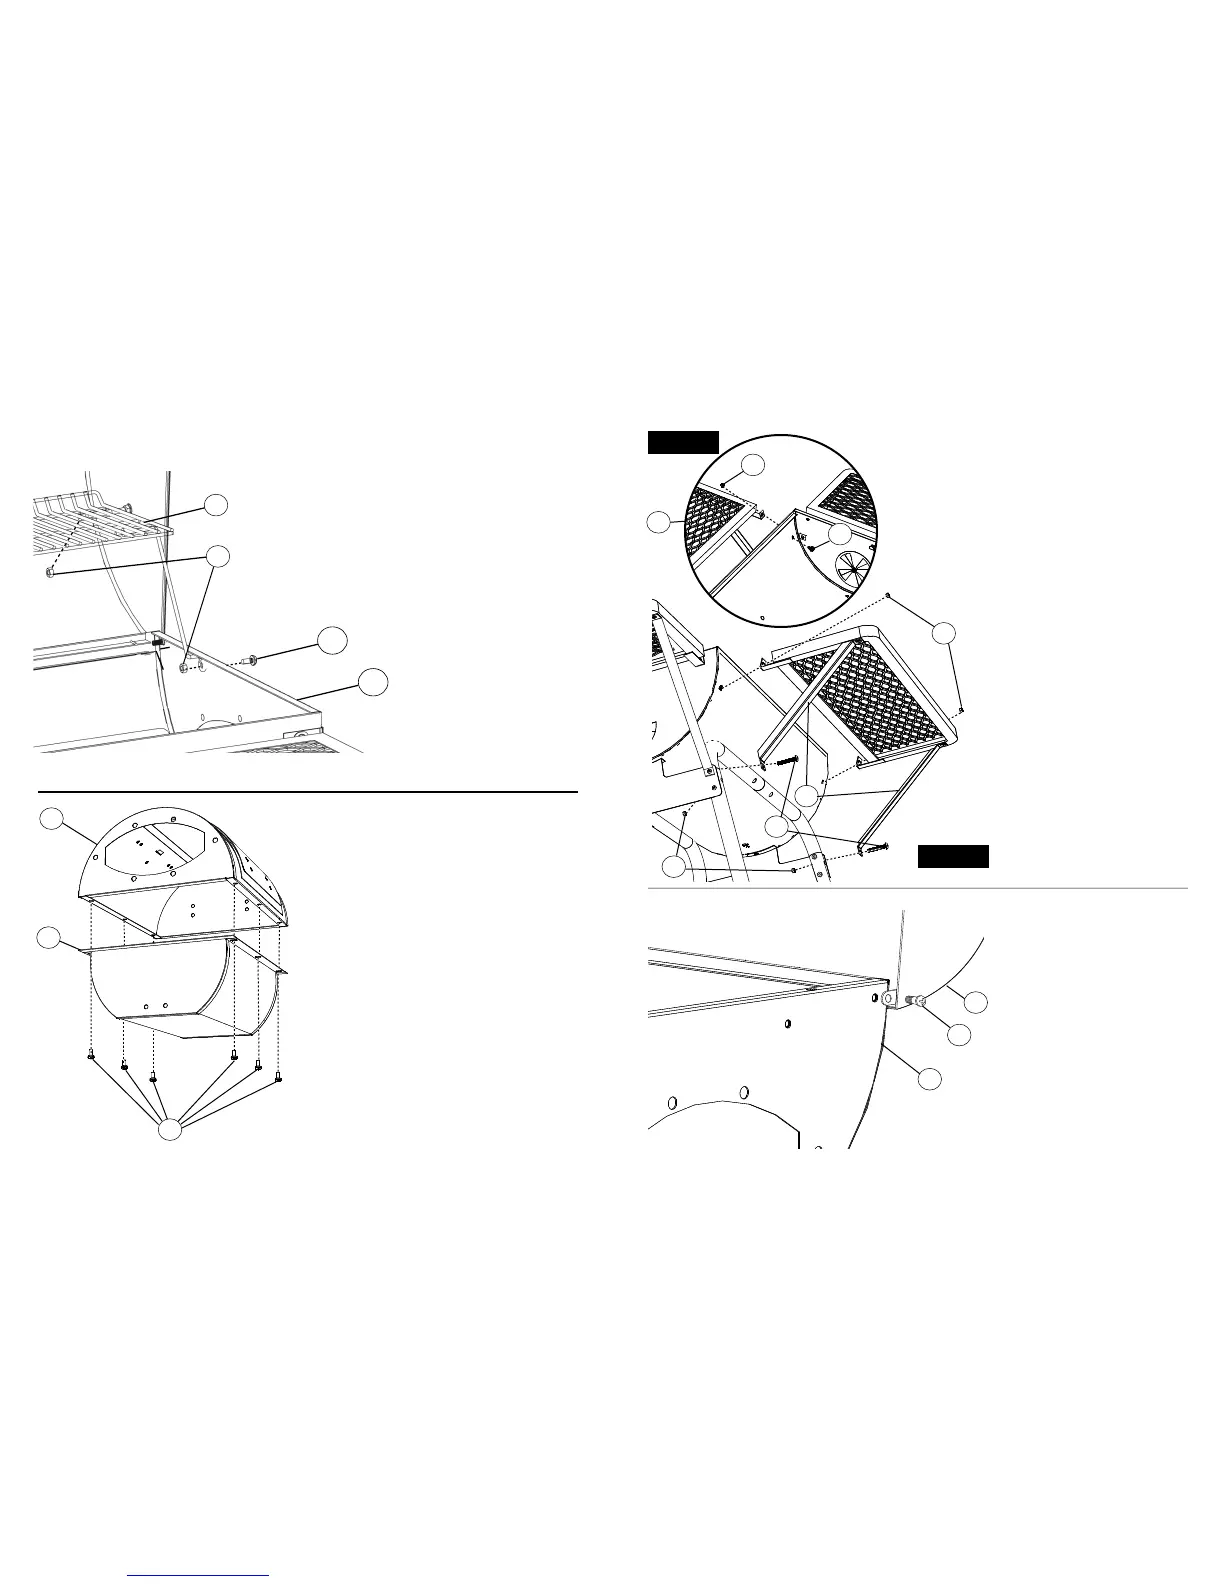
STEP 17.
Secure warming rack (3) to rack sup-
port bolt (C) using lock nut (E) as
shown.
Note: Be sure not to overtighten lock
nut, as rack is to mover freely.
Secure warming rack support arm
onto grill body (2) using
phillips screw
(A) and hex lock nut (E).
Repeat step on opposite side.
STEP 18.
Place firebox top (30) onto smoker
box bottom (29).
Insert phillips head screws (A)
through holes in outer lip of firebox
as shown. Repeat on opposite side.
Tighten securely.
30
29
A
2
A
3
E
14
10
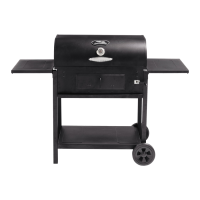
STEP 11a.
Align holes on assembled front shelf
(16) with holes on grill body (2) as
shown.
Insert phillips head screw (A) from
inside grill body to front shelf (16).
Secure using hex flange nuts (D).
STEP 11b.
Attach shelf support brackets (17) to
grill legs using phillips head screws
(B). Secure using hex flange nuts (D).
Tighten all hardware at this time.
STEP 12.
Step 12 requires assistance.
Get a helper!
Align grill lid (1) with grill body (2) as
shown. Secure grill lid (1) to grill body
(2) using carriage bolt (F).
Repeat step on opposite end.
2
1
F
D
B
17
D
16
D
A
STEP 11a.
STEP 11b.