7
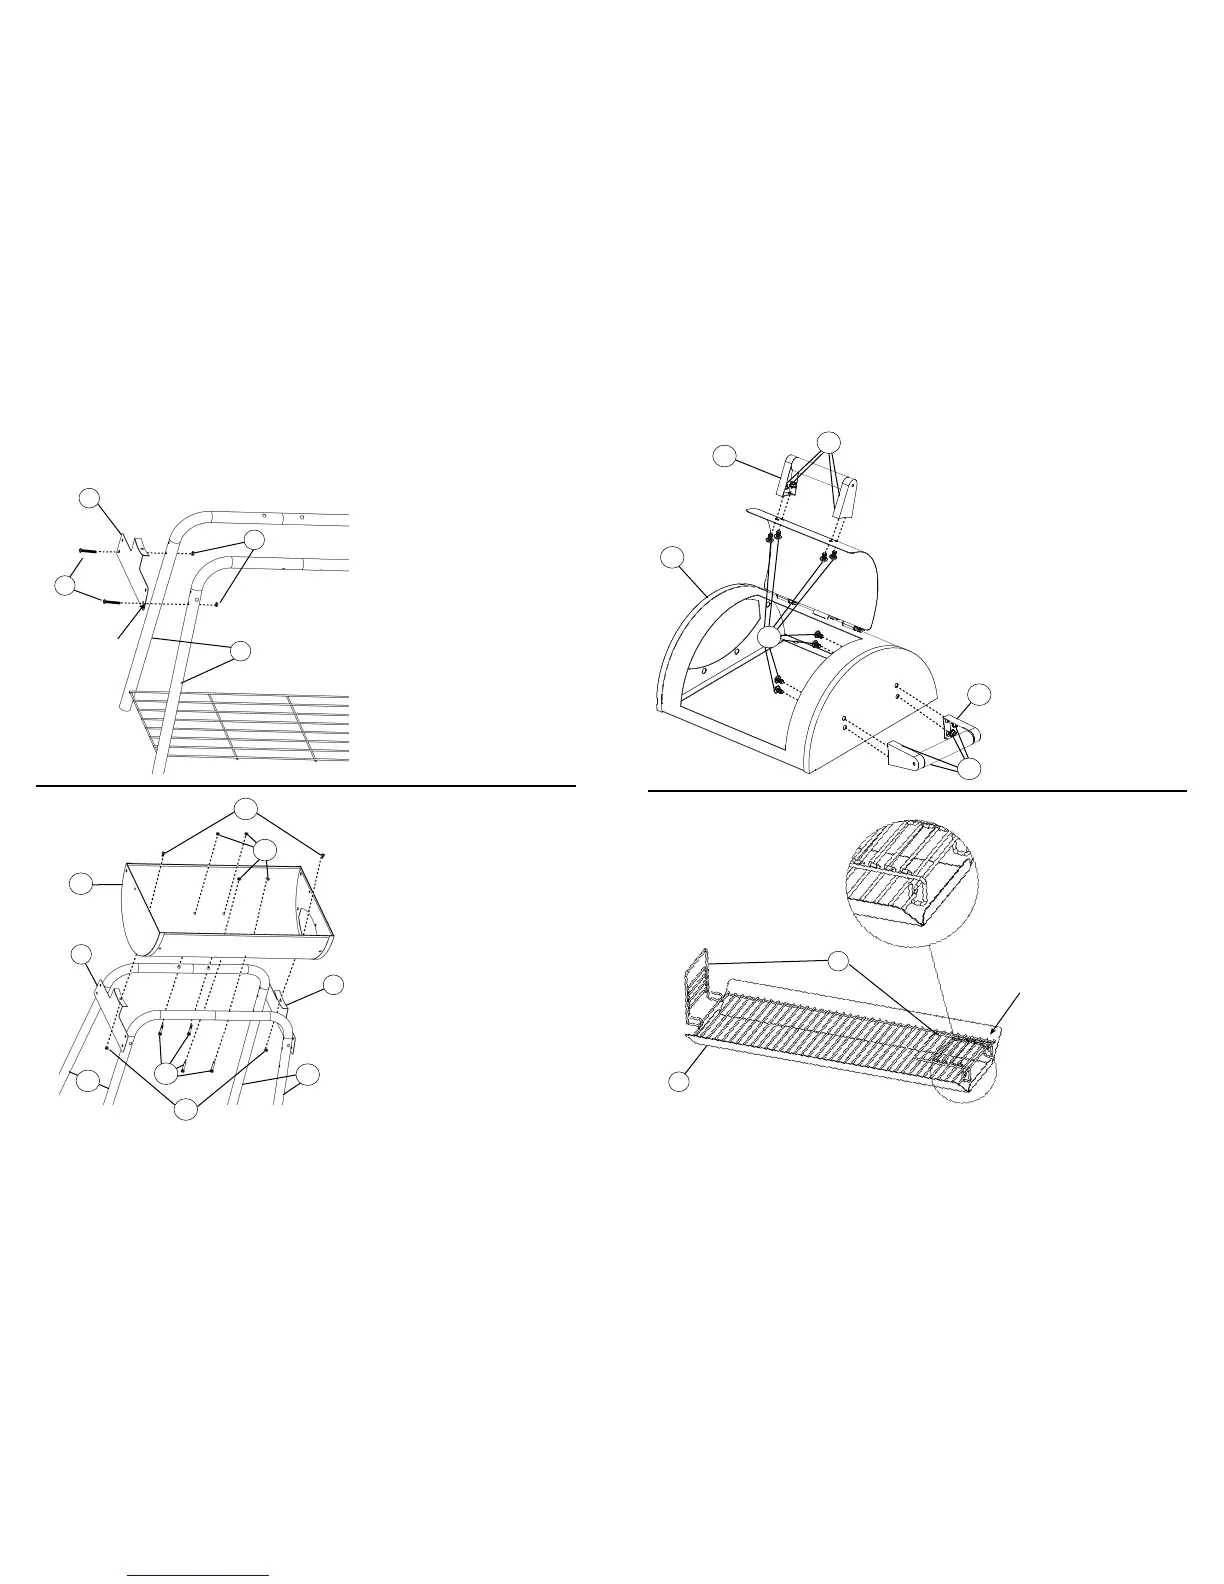
STEP 5.
Note: Attach only using
hardware shown.
Use phillips head screws (B) and hex
flange nuts (D) on second hole in leg
bracket (23) to attach left long leg
(18).
Do not attach hardware to first hole.
This will be used for side shelf attach-
ment in STEP 9.
Do not fully tighten screws at this
time.
18
D
23
B
SECOND HOLE
STEP 6.
Place grill body (2) onto assembled
legs with smoker box opening on the
same side as the right short legs (19).
Tightly secure grill body to legs using
phillips head screws (B), and hex
flange nuts (D).
Attach grill body (2) to left leg brackets
(23) using phillips head screws (A), and
hex flange nuts (D) as shown.
Do not fully tighten screws at this
time.
2
A
D
B
23
23
19
18
D
17
STEP 24.
Position adjustable charcoal rack
lifter (12) on charcoal rack (5) as
shown in Figure A.
Repeat step on opposite end.
FIGURE A
12
5
STEP 23.
Some parts not shown for clarity.
Align holes in handle (25) with holes
in smoker box lid and side of firebox
(30). Secure handle to lid using
phillips head screw (A) and hex
flange nut (D) as shown.
30
25
25
A
D
D