Do you have a question about the Masterbuilt 20071514 and is the answer not in the manual?
Details compatible models, lists all parts with quantities, and specifies required tools for assembly.
Provides important safety warnings, including California Proposition 65 chemical disclosure.
Secure the bottom shelf to the legs using screws and nuts, leaving hardware initially loose.
Attach each leg to the tabletop using screws and nuts, ensuring initial looseness for adjustments.
Position smoker upside down, remove footscrews, and prepare for stand attachment.
Place the stand onto the smoker and loosely attach hardware to the smoker body.
Thread M10 nuts onto M10 screws and insert through rear holes to secure the stand.
Begin tightening screws (C) and (D) through the stand into the smoker body, starting with (C).
Ensure M10 screw (D) shows threads and extends into the smoker base for stability.
Return the assembled unit upright and re-tighten all hardware to complete installation.
Important safety notes: do not lift alone, avoid lifting by rear handle, and follow usage restrictions.
| Brand | Masterbuilt |
|---|---|
| Model | 20071514 |
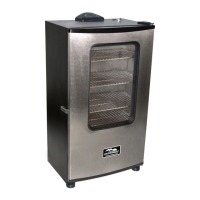
| Type | Electric Smoker |
| Temperature Range | 100°F to 275°F |
| Fuel Type | Electric |
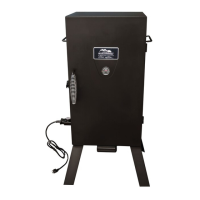
| Temperature Control | Digital |
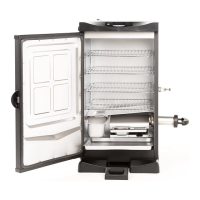
| Capacity | 4 Racks |
| Power Source | Electric |
| Voltage | 120V |
| Digital Control Panel | Yes |
| Removable Water Pan | Yes |
| Removable Drip Pan | Yes |
| Wood Chip Loader | Yes |
| Door Lock | No |
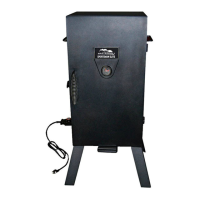
| Legs | Yes |
| Wheels | Yes |
| Wattage | 800 watts |