0DQXDO&RGH66
7RROQHHGHGIRUDVVHPEO\3KLOOLSV+HDG6FUHZGULYHU
$SSUR[LPDWHDVVHPEO\WLPHPLQXWHV
&$5%210212;,'(+$=$5' :$51,1*
%XUQLQJZRRGFKLSVJLYHVRIIFDUERQ
PRQR[LGHZKLFKKDVQRRGRU
DQGFDQFDXVHGHDWK
'2127EXUQZRRGFKLSVLQVLGHKRPHV
YHKLFOHVWHQWVJDUDJHVRUDQ\HQFORVHGDUHDV
8VHRQO\RXWGRRUVZKHUHLWLV
ZHOOYHQWLODWHG
7KLVPDQXDOFRQWDLQVLPSRUWDQW
LQIRUPDWLRQQHFHVVDU\IRUWKHSURSHU
DQGVDIHXVHRIWKLVXQLW
5HDGDQGIROORZDOOZDUQLQJV
DQGLQVWUXFWLRQVEHIRUHXVLQJ
VPRNHUDQGGXULQJXVH
.HHSWKLVPDQXDOIRUIXWXUHUHIHUHQFH
6RPHSDUWVPD\KDYHVKDUSHGJHV
KDQGOHZLWKFDUH
)DLOXUHWRIROORZWKHVHZDUQLQJVDQGLQVWUXFWLRQVSURSHUO\FRXOGUHVXOWLQSHUVRQDOLQMXU\RUGHDWK
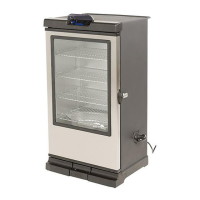
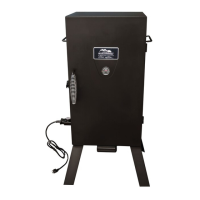
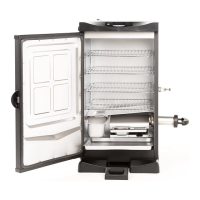
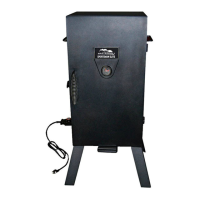
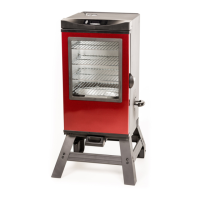
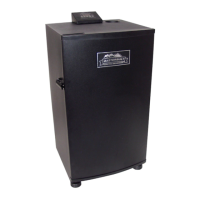
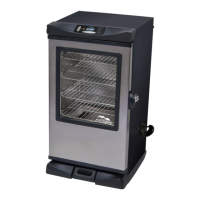
$66(0%/<&$5(86(0$18$/
:$51,1*6$)(7<,1)250$7,21
(/(&75,&602.(502'(/6
7+,6352'8&7,6)25287'22586(21/<