I
Ian CollinsJul 31, 2025
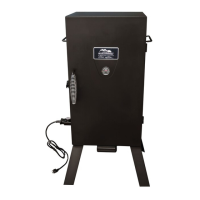
Why won't the power light come on for my Masterbuilt Smoker?
- Nnicholas75Jul 31, 2025
If the power light on your Masterbuilt Smoker isn't turning on, there are several things to check. Ensure the smoker is properly plugged into the wall. Also, verify that a household fuse hasn't tripped, and avoid operating other appliances on the same electrical circuit.