headline bars
continuation tabs
notes
warnings
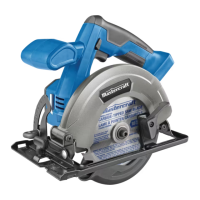
model no. 054-8363-0 | contact us 1.800.689.9928
19
18
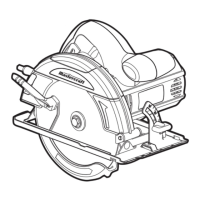
TO CHECK 0° BEVEL STOP
(fig 9)
1. Unplug the circular saw from the power supply.
2. Using a carpenter’s square (available separately),
check the squareness of the saw blade to the base of
the saw.
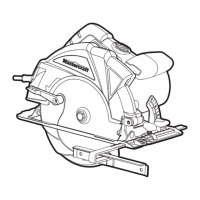
TO ADJUST 0° BEVEL STOP
(fig 10)
1. Unplug the circular saw from the power supply.
2. Loosen the bevel adjustment knob.
3. Use a hex wrench (available separately) to hold the
nut, located below the 0° bevel stop adjusting screw,
in place.
4. Use a Philips-screwdriver (available separately) to
turn the 0° bevel stop adjusting screw until the base
is square with the saw blade.
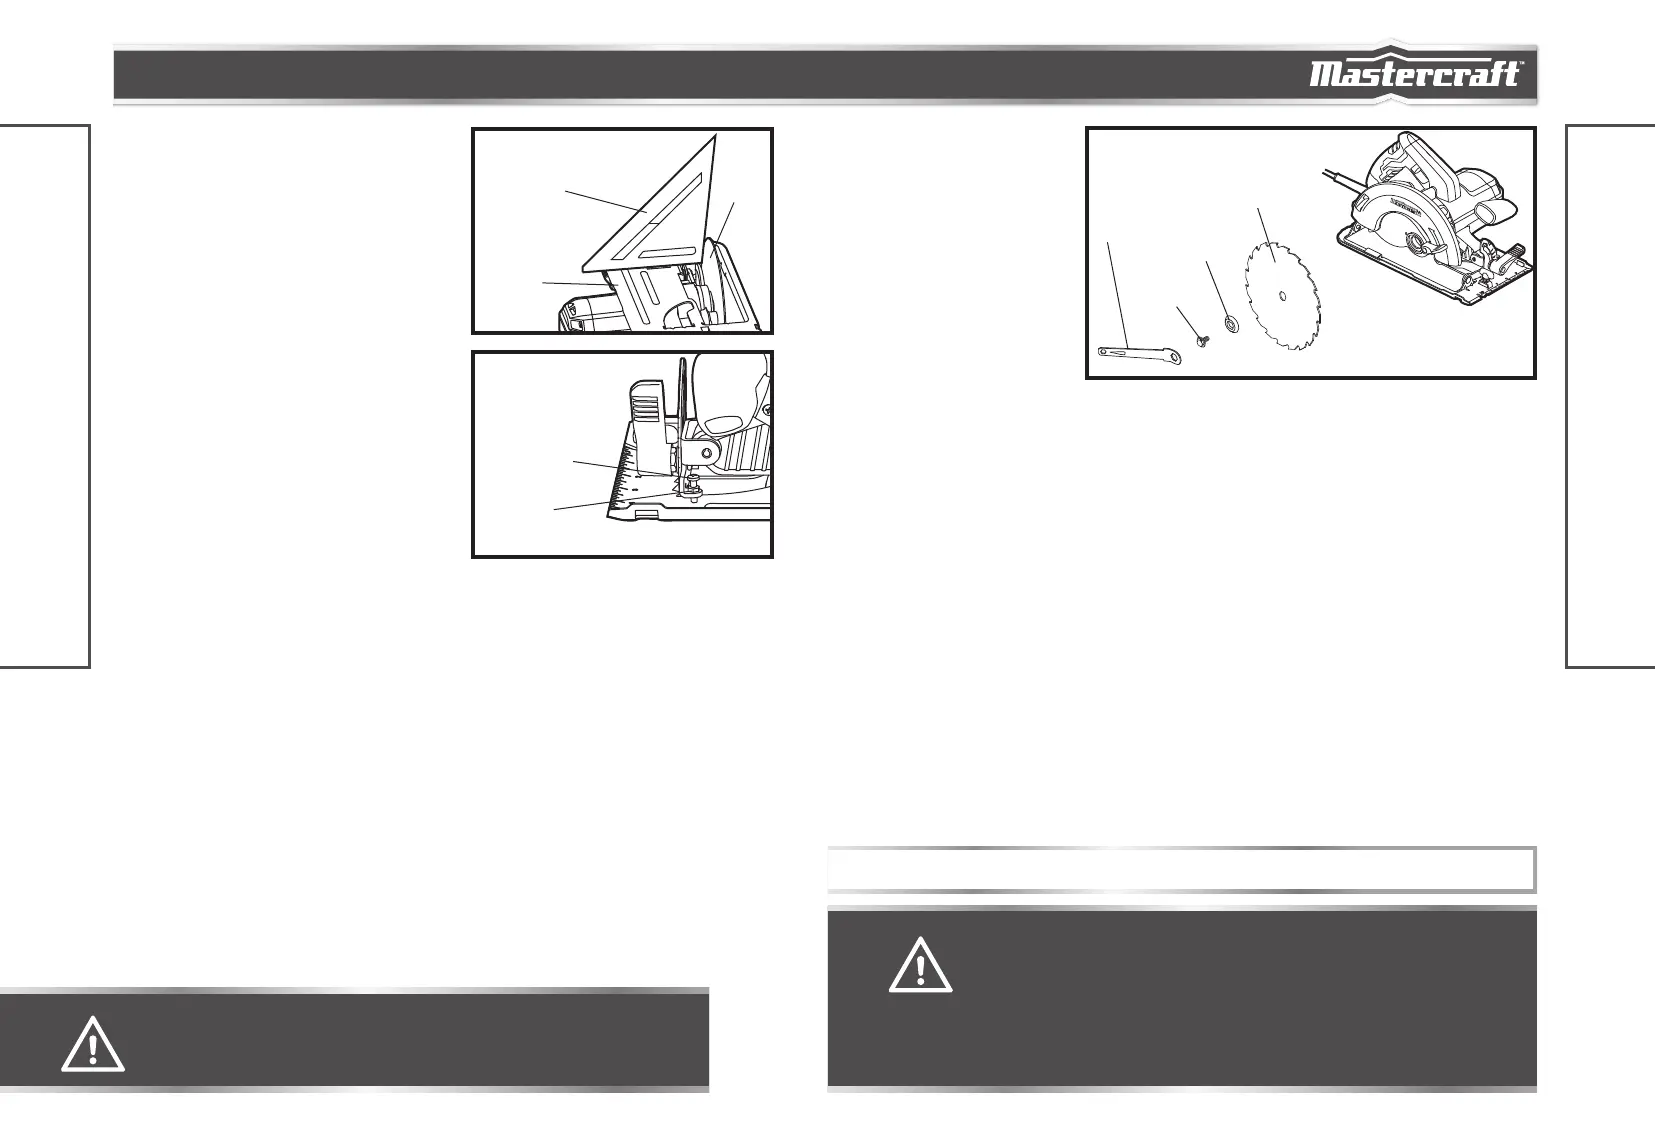
CHANGING THE
BLADE
(fig 11)
1. Unplug the circular saw from
the power supply.
2. Depress the spindle-lock
button, place the blade
wrench on the blade screw
and move it back and forth
until you feel the spindle-
lock button depress further.
This action locks the blade
in position so the blade screw can be removed.
3. With the spindle-lock button firmly depressed, turn the blade screw counterclockwise to loosen it.
4. Use the blade-guard lever to raise the lower blade guard and hold it in the raised position with the lever.
5. Remove the blade screw and the outer blade washer and the blade.
6. The remaining washer is the inner bushing washer that fits around the spindle shaft; it does not need to be
removed.
7. Put a drop of good-quality machine oil onto the inner bushing washer and outer blade washer where they
will contact the blade.
8. Place a new saw blade inside the lower blade guard, onto the spindle shaft and against the inner bushing
washer.
9. Replace the outer blade washer.
10. Depress and hold the spindle-lock button as you replace the blade screw and hand-tighten the screw in a
clockwise direction. Use the blade wrench to tighten the blade screw securely.
11. Return blade wrench into the storage area.
WARNING!
• A 7-1/4 inches blade is the maximum blade capacity of the saw. Use only 7-1/4 inch
blades when replacing a worn or damaged blade. Never use a blade that is too thick
to allow the outer blade washer to engage with the flats on the spindle. Thicker blades
will prevent the blade screw from securing the blade on the spindle, resulting in serious
personal injury.
• Be sure to wear protective work gloves while handling a saw blade. The blade can injure
unprotected hands.
NOTICE: The teeth of the blade should point upward at the front of the saw.
WARNING!
• Attempting to make cuts without the bevel adjustment knob securely tightened can
result in serious injury.
ASSEMBLY INSTRUCTIONS
ASSEMBLY INSTRUCTIONS
fig 9
Blade
Base
Carpenter’s square
fig 10
Nut
Adjusting screw
fig 11
Blade
Outer
washer
Blade
screw
Hex
wrench
 Loading...