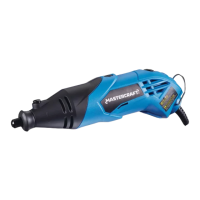
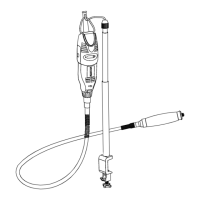
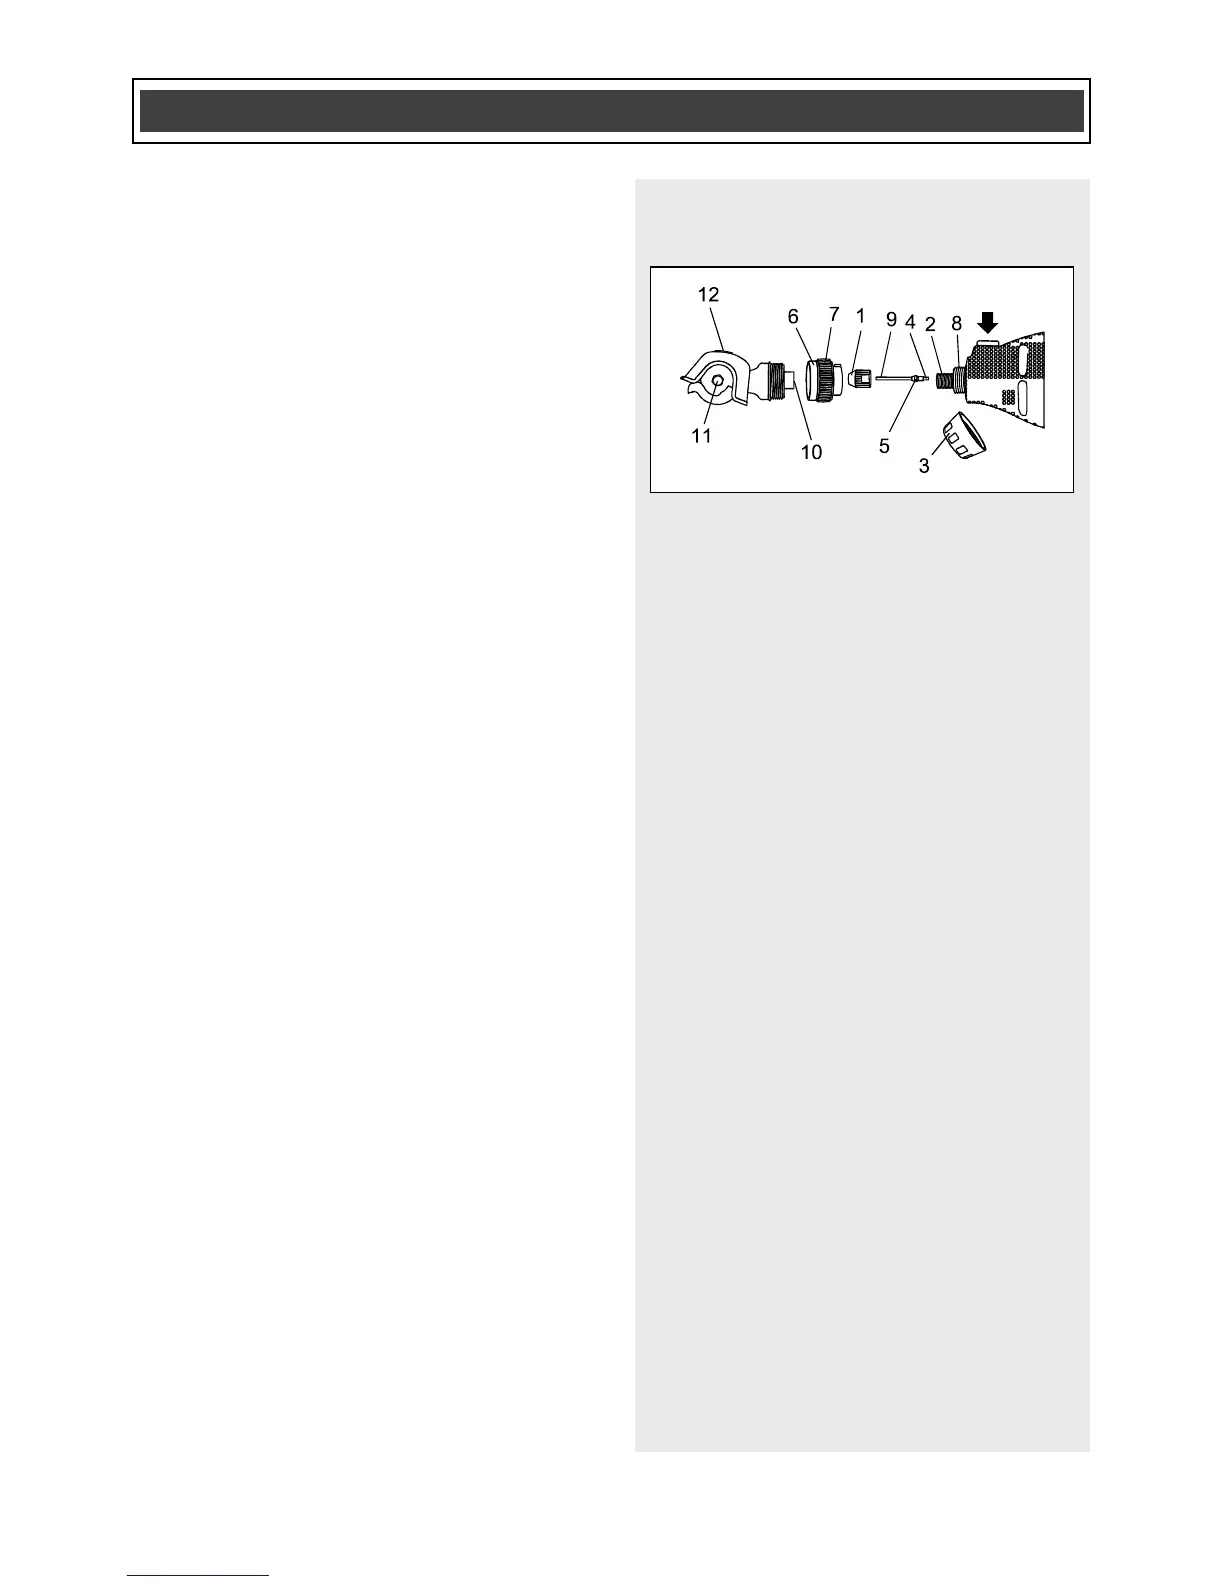
INSTALLING THE MINI CIRCULAR SAW
ATTACHMENT – cont’d
6. Fasten the saw attachment adaptor and
the collar to the tool (8) by turning the saw
attachment adaptor clockwise.
NOTE: Tighten by hand only. Do not use
pliers or a wrench.
7. Insert the square end of the drive shaft
(9) into the hole in the saw attachment
(10).
NOTE: Rotate the saw blade screw (11)
while pushing the saw attachment onto the
adaptor until the square end of the drive
shaft is inserted into the corresponding
square in the saw attachment.
8. Position the saw blade to the LEFT side
of the rotary tool. The hexagonal
positioning locks will engage when the
body of the saw attachment is in the
proper position.
9. Once the drive shaft and positioning
locks are fully engaged, secure the saw
attachment to the adaptor by turning the
adaptor collar clockwise.
NOTE: Tighten by hand only. Do not use
pliers or a wrench. Loosen adaptor collar
when removing the circular saw
attachment from the rotary tool.
10. Rotate the saw guard assembly until
the bottom sliding surface of the guard
assembly and the rotary tool are in the
desired position. In order to rotate the
guard assembly, press the release button
(12) and rotate the guard assembly until
the release button snaps into the next
locked position.
 Loading...