þ
þ
þ
energy
bulbs
.co.uk
Mon-Fri: 8:30am - 6:30pm | Sat & Sun: 11am - 5pm
0800 043 8978
or
0121 250 2180
Quick Order Hotline
Guaranteed Low Prices
Huge Stock Available
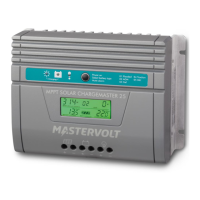
Mastervolt Stockist
INSTALLATION
EN / Sunmaster XS4300-3200-2000 / October 2011 13
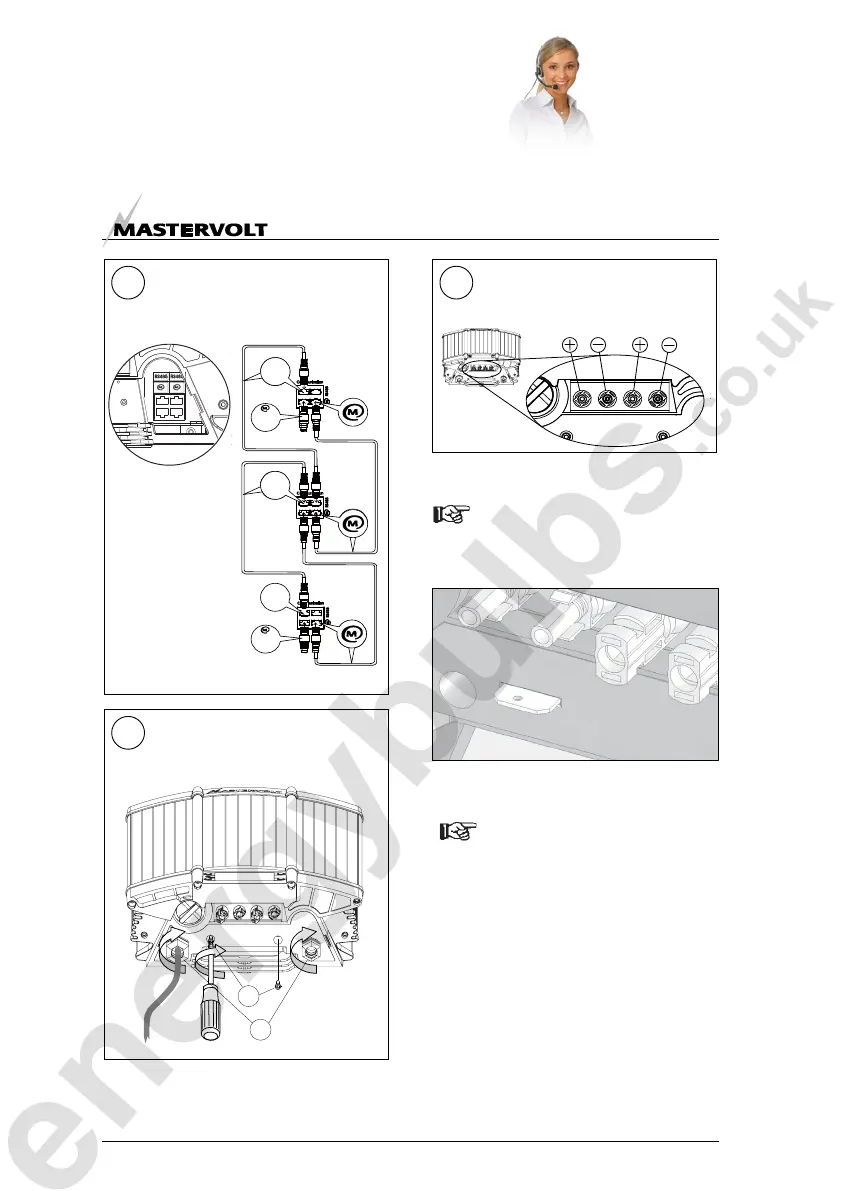
Figure 4-7
Figure 4-8
Figure 4-9
4.2 USE IN ITALY
In Italy ENEL may require sealing parts of the
AC wiring.
All Sunmasters are equipped with a wire seal facility.
Figure 2 shows where this is located. A detailed view is
shown in figure 4-10.
Figure 4-10: Detailed view of wire seal facility
4.3 COMMISSIONING AFTER INSTALLATION
To check the correct operation of the
Sunmaster, commissioning should be carried
out during daytime only
4.3.1 Switching on
Follow the steps described below to switch on the
Sunmaster:
1 Check whether the DC-switch of the solar array is still
in the OFF position (or “O”-position).
2 Switch on the AC grid.
3 Move the DC-switch of the solar array to the ON
position (or “I”-position).
If connection has been made correctly and solar irradiation
is sufficient, the Sunmaster will switch on automatically.
This may take a few seconds.
4 At first commissioning the country code must be
selected. See section 4.3.2.
�� ��� 1 �� �� � �
9
Make sure the DC-Switch is in the OFF
position. Then connect the string cabling to
the Sunmaster.
Input 1 Input 2
8
Close the connection compartment; Steps:
1 Tighten the two hexagonal screws (a).
2 Tighten the cable glands (b).
�
�
7
Connect the MasterBus cables to the
MasterBus connectors and the QS-Databus
wiring to the RJ-45 connectors for monitoring
(option).
RS485 RS485
RS485
RS485
RS485
terminator
terminator