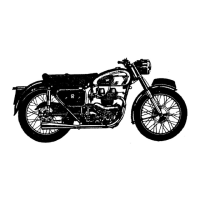
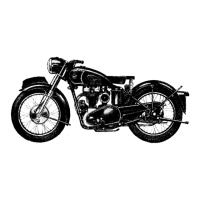
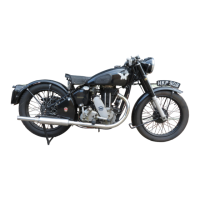
LIGHTING AND ACCESSORIES
Headlamp
A LUCAS headlamp is fitted and snugly mounted on each side is a neat torpedo shaped
pilot lamp. These pilot lamps and also the headlamp are secured to the front fork arms
by means of tubular bolts through which a wire passes to each pilot lamp. The headlamp
bulb has two filaments one of which provides the main driving beam and the other a
dipped beam brought into operation as required by the dipping switch on the left
handlebar. The headlamp reflector and glass are made up as one assembly and are in
consequence not sold separately as spares. The main bulb is of the pre-focus type and
the design of its holder is such that the bulb is correctly positioned in the reflector.
No focussing is therefore necessary when a replacement bulb is fitted. See Controls
page 7 for switch functions.
To remove headlamp rim and light unit
Slacken the screw on the top of the lamp body at the front, pull the rim outward from the
top and, as the front comes away, lower slightly to disengage the bottom tag from the
lamp shell. Twist the back cap in an anti-clockwise direction and pull it off, the bulb can
then be removed. The light unit is secured to the rim by means of spring clips.
These can be disengaged from the turned up inner edge of the rim by pressing with a
screwdriver blade and, at the same time, working away from the edge.
To replace the headlamp rim and light unit
Lay the light unit In the rim so that the location block on the unit back engages with
the forked bracket on the rim.
Replace, by springing in, the spring clips so that they are evenly spaced around the rim.
To replace the back cap engage the projections on the inside of the back cap with
the slots in the holder, press on and secure by twisting it to the right.
Engage bottom tag on lamp rim with the small slit in the shell and gently force the top
of the rim back into the shell, after which re-tighten the locking screw on the top of the
lamp body.
Access to the pilot lamps interior for bulb removal is obtained by removing the screw
at the rear end and gently pulling forward on the glass rim.
Rear lamp
A LUCAS rear lamp is fitted. The body, with bulb holder, is secured to the rear
number plate.
Details of lamp bulbs are given in " DATA."
81