9. Latch the Right Side Panel with the Back Panel. The buckle has a guide tab that must be placed in the guide slot for
alignment. When the Back Panel and the Side Panel are attached together on the Floor Panel, make sure all the
buckles are latched. See FIG-7 and FIG-8
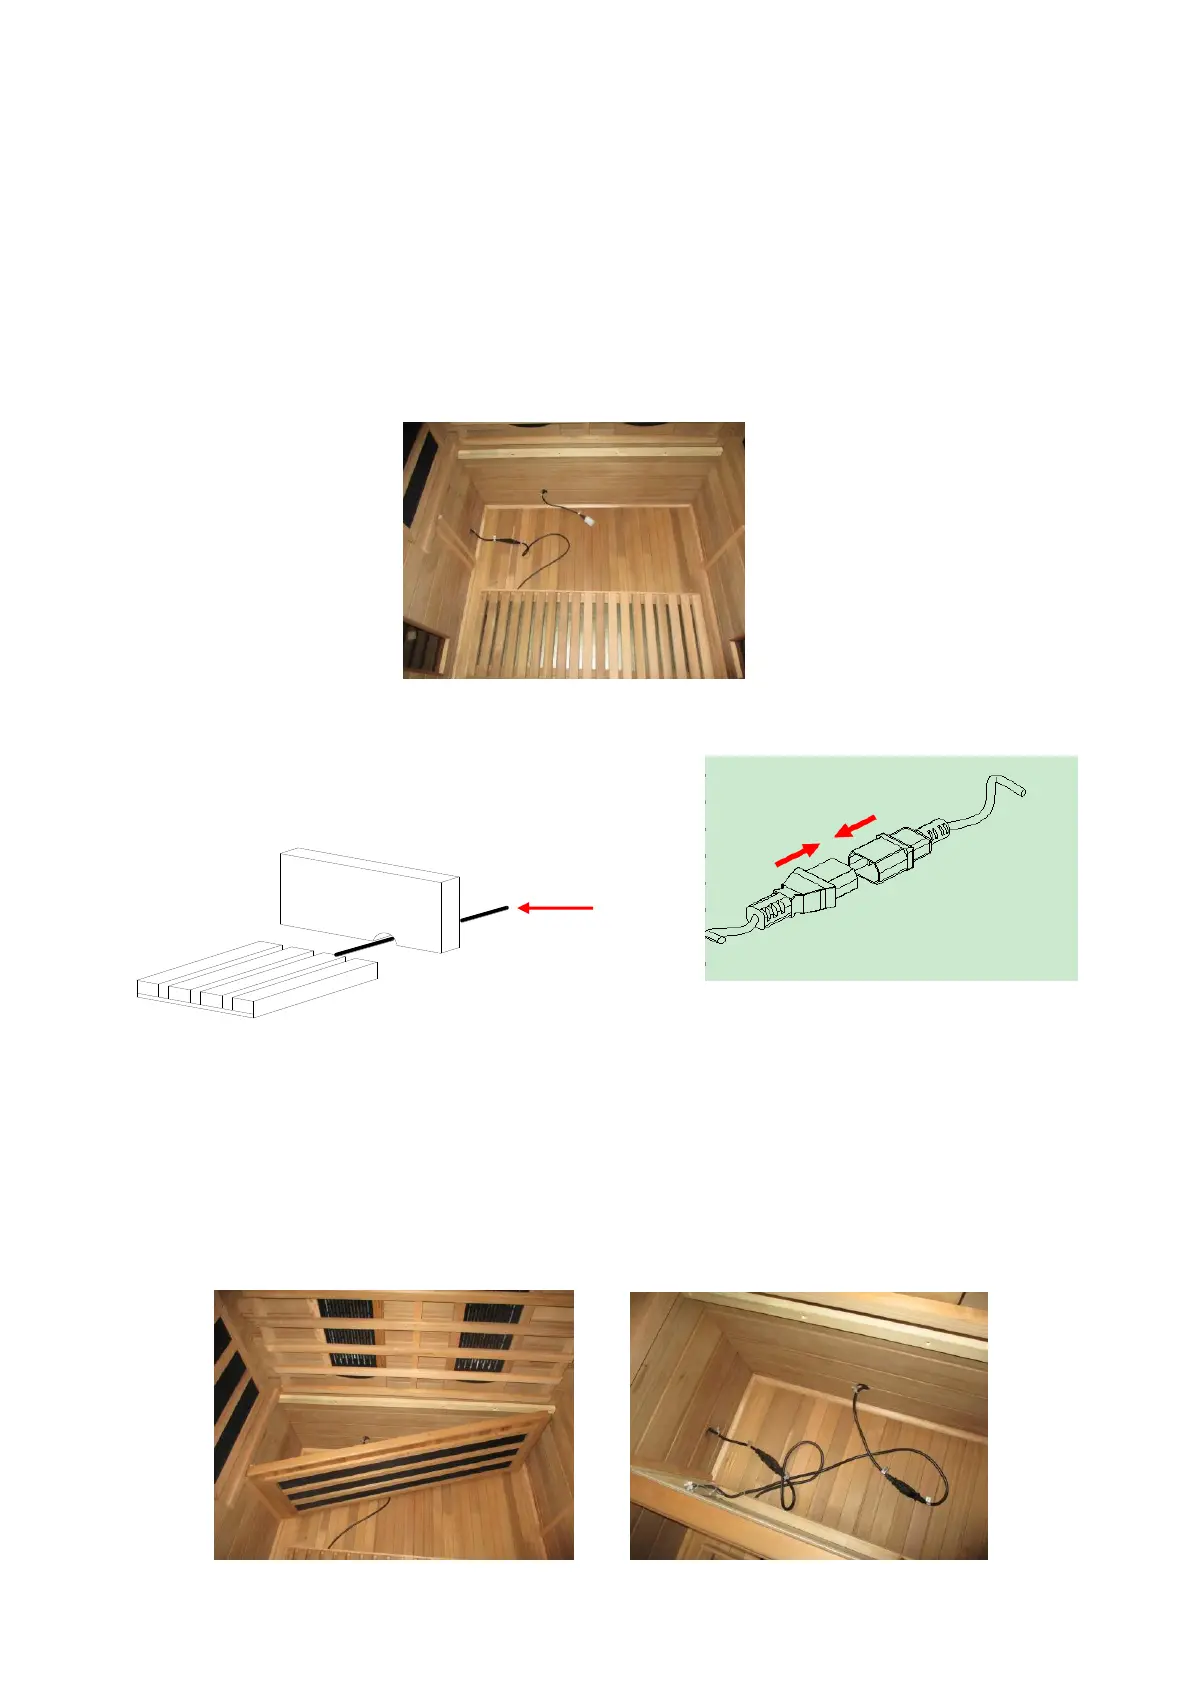
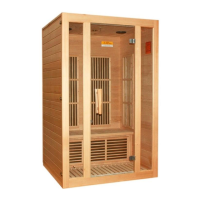
10. Place the Floor Heater on the Floor Panel making sure that the Floor Heater will be in front of the Bench Heater
Panel. Please note there is a pre-cut small hole under the Bench Heater Panel which is provided for the Floor
Heater cord to pass through. This cord will connect the Floor Heater to the plug outlet on the Left Side Panel. See
FIG-9 and FIG-10
FIG-9 Floor Heater Assembly
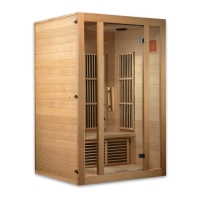
FIG-10 Connect Floor Heater
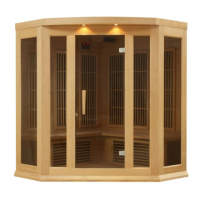
11. The Bench Heater Assembly will need to be installed at an angle and brought forward. See FIG-11. Connect the
Bench Heater Panel cord with the outlet on the Back Panel and then place the Bench on top of the Bench Heater
Panel and slide it into place. Make sure the cords are connected snug and tight. You can use the provided screws
to secure the bench in place.
FIG-11 Bench Heater Assembly