- 8 -
2. Lightly lubricate drive clutch bushings with silicone
spray 50 hours or if handle starts to rotate at idle.
Wipe off any excess lubricant to avoid belt slipping.
3. Change the gearbox oil once every season or 500
hours, whichever comes first. The drain/fill plug is
located on the right-hand side of the gearbox. Fill it
with 21 oz. (620 ml) of MBW Worm Gear Oil (MBW
#05700). The oil should be to the bottom of the fill
hole when sitting level.
Lifting
The trowel should be lifted by the lifting bracket attached to
the engine. As an alternative, it may be lifted by two people
on opposite sides of the guard ring.
Storage
The trowel should be stored with blocks supporting the outer
guard ring. Refer to the engine owner’s manual for
information regarding storage of the engine.
Setting Safety Switch
Refer to Standard Handle Assembly, page 24.
1. Remove screws (12) & lock washers (20) securing
safety switch assembly to handle tube (19).
2. Remove inside cover and set screw to dimension
shown in figure 7, in the Service Section of this
manual.
Changing Trowel Blades
Trowel blade edges may be sharp when they are
worn. Wear protective gloves when handling the
blades.
1. Set the trowel on a level surface.
2. Remove the bolts securing the blade to the tilt arm.
3. Lift up on the ring guard and slide the blade out from
under the tilt arm.
4. Slide the new blade under the tilt arm.
5. Reinstall the bolts and tighten.
6. Check that the carriage bolts are set properly. If they
require adjustment refer to the “Setting Tilt Arm
Carriage Bolt Height” section.
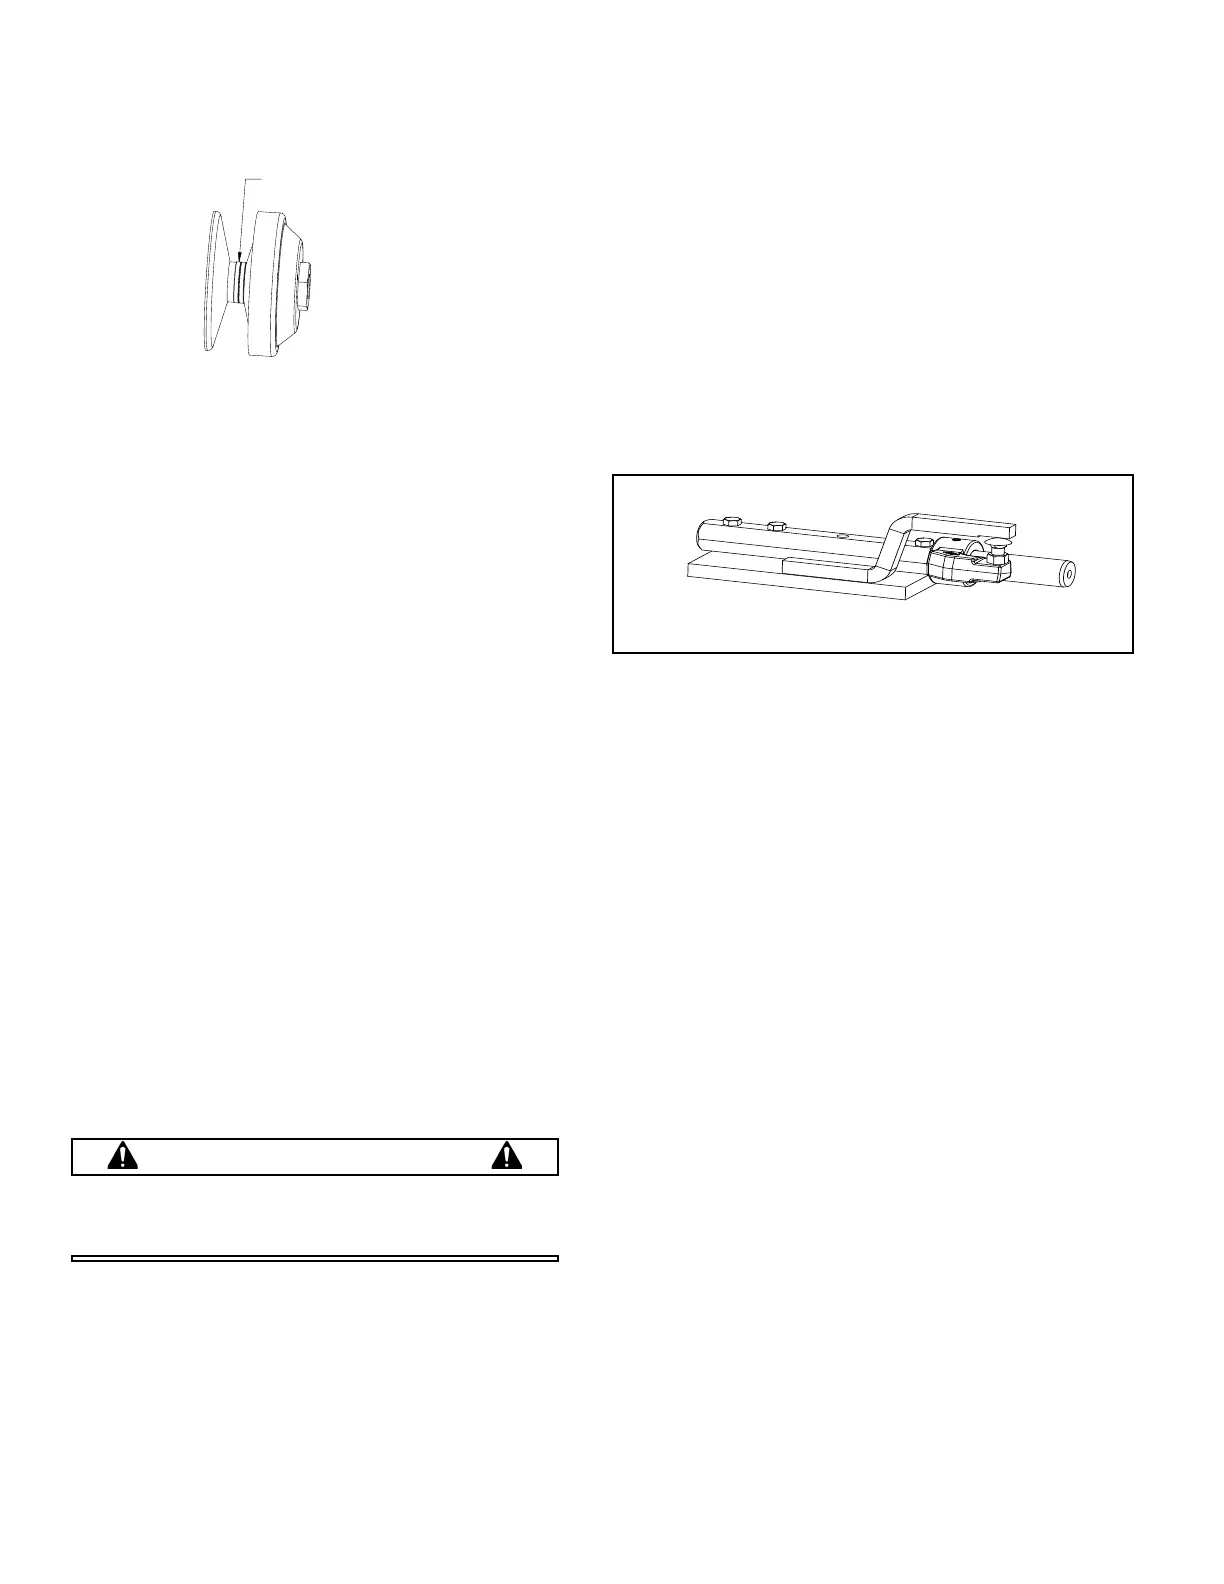
Setting Tilt Arm Carriage Bolt Height
1. Remove ALL the tilt arms from the spider.
2. Remove the blades from all the arms. Wear
protective gloves when removing the blades, the
edges may be sharp
3. Inspect the bottom side of the arms (blade mounting
surface). Remove any nicks, cement, etc... THIS
SURFACE MUST BE FLAT
4. Loosen the jam nut and run the carriage bolt in as far
as possible.
5. Mount the arm to gage #07277 as shown in figure 1.
6. Place a .030 feeler gage between the carriage bolt
and the underside of the gage arm, and run the
carriage bolt up to just contacting the feeler gage.
There should be a slight drag felt when the feeler
gage is moved between the two surfaces.
7. Place a 3/8” open end wrench on the square shoulder
of the carriage bolt and tighten the jam nut. DO NOT
allow the carriage bolt to turn.
8. Recheck clearance with feeler gage and readjust if
necessary.
9. Repeat items 5 through 8 for ALL remaining tilt arms.
10. Lubricate the tilt arm prior to fitting it in spider.
Replacing Power Pitch Fuse
Refer to Power Pitch Switch & Battery, page 32.
Trowels equipped with the MBW Power Pitch handle
system use a fuse located in the battery
compartment to protect the system.
1. Open battery compartment cover (5) and remove
battery, if present.
2. Locate fuse holder (7) on battery mount plate (15).
3. Using a flat bladed screwdriver, turn center portion of
fuse holder 1/8 turn counter clockwise until it pops
out.
4. Replace fuse with “2AG” type, 4 amp.
Adjusting Power Pitch Actuator
Refer to Power Pitch Actuator & Wiring, page 30.