7
Installation
Installation
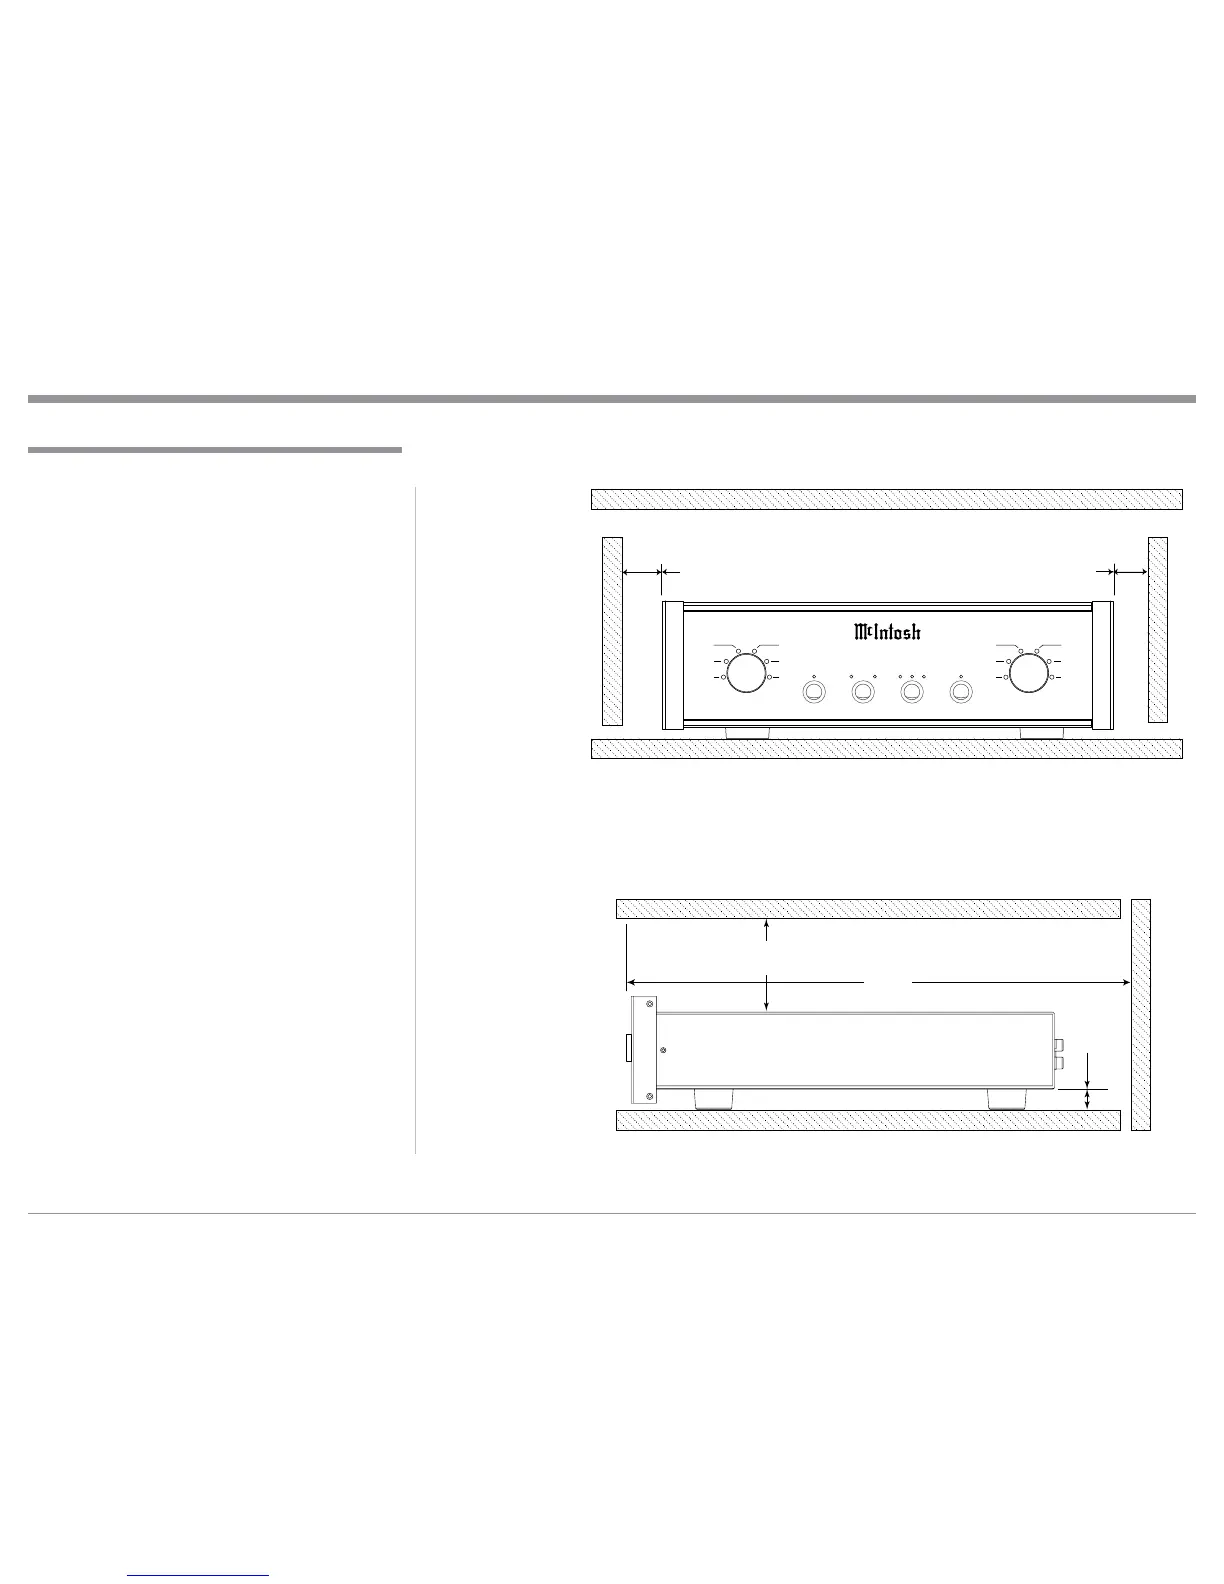
7KH033KRQR3UHDPSOLILHULVGHVLJQHGWREH
placed upright on a table or shelf, standing on its feet.
The required ventilation requirements are shown.
$OZD\VSURYLGHDGHTXDWHYHQWLODWLRQIRU\RXU03
Cool operation ensures the longest possible operating
life for any electronic instrument. Do not install the
03GLUHFWO\DERYHDKHDWJHQHUDWLQJGHYLFHVXFK
DVD3RZHU$PSOLILHU$OORZDWOHDVWLQFKFP
DERYHWKHWRSLQFKFPEHORZWKHERWWRPDQG
LQFKFPRQHDFKVLGHRIWKH03VRWKDWDLU-
IORZLVQRWREVWUXFWHG$OORZLQFKHVFP
of depth for airflow and cable connections.
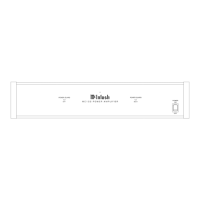
MP100 Side View
16-3/4"
42.5cm
MP100 Front View
7<>CB
2757B/:=CB>CB
MP100 PHONO PREAMPLIFIER
AB/<20G=<
;1:=/2=6;A;;:=/2>4
#
#
!
"
;; ;1
#
#
"
9
;=<=
1:7>
:=
67
@3A3B
1"
2.5cm
1"
2.5cm
1"
2.5cm
7/8"
2.2cm