IOM 686 AGZ 030A through 065A 31
Global UNT Controller Installation and Operation
This section provides installation, setup and troubleshooting information for the Global UNT
controller.
All operational descriptions are based on the Global UNT software SUZE4-2A. Operational
characteristics may vary with other versions of software.
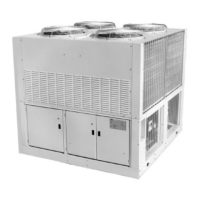
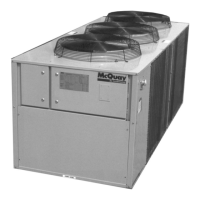
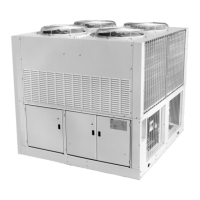
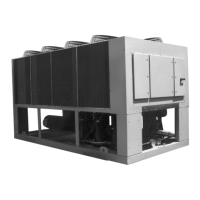
General Description
The Global UNT is a microprocessor based leaving water controller designed for multiple stage
operation.
The Global UNT’s operation is based on an adjustable setpoint and control band. Controller software
is available for different reset options, refrigerants and metric units. Optional equipment includes a
Zone Terminal that can be installed in the unit or remotely. The Zone Terminal provides a user
interface to all reset options and adjusts specific setpoints. Downloading of software or changing
selected operating parameters requires the Global UNT Interface Kit.
Optional Sensors
• Return water temperature sensor
• Zone temperature sensor
Pre Start-up
The chiller must be inspected to ensure no components became loose or damaged during shipping or
installation.
Start-Up
Refer to the Global UNT Controller section to become familiar with its operation before starting
chiller.
There should be adequate building load (25% of unit capacity minimum) to properly check the
operation of the chiller refrigerant circuits.
Be prepared to record all operating parameters required by the “Compressorized Equipment Warranty
Form”. Return this information within 10 working days to McQuay International as instructed on the
form to obtain full warranty benefits.
1. Verify chilled water flow.
2. Verify remote start / stop or time clock has requested the chiller to start.
3. Set the chilled water setpoint to required temperature. (The system water temperature must be
greater than the total of the leaving water temperature setpoint plus 1/2 the control band before
the Global UNT controller will stage on cooling.)
4. Set the control band to 4° F as a starting point.
5. Put both circuit switches to the AUTO position.
6. Put switch S1 to AUTO position.
 Loading...