14
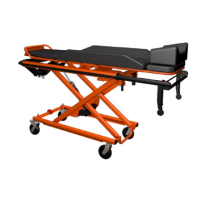
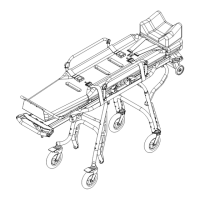
Adjusting the Stretcher Positions
Adjusting the three basic height positions is essential for the correct and safe operation
of the stretcher trolley.
After adjustment, always check that all positions are set correctly. Do this without and
with a load.
The height positioning is described in more detail in the manual of the stretcher trolley
or monoblock.
Adjusting the lowest position
Adjustment procedure:
1) Lower the stretcher as low as possible.
2) Press the corresponding button on the home screen to adjust the lowest position.
NOTE
If the stretcher trolley does not brake properly when moving downwards, set the lowest
position approximately 2–3 cm higher than the mechanical lowest position.
Adjusting the ambulance position
Adjustment procedure:
1) Move the stretcher to the required height for comfortable loading into the
ambulance (2–3 cm above the slider that is part of the loading system).
2) Press the corresponding button on the home screen to adjust the ambulance
position.
Adjusting the highest position
Adjustment procedure:
1) Raise the stretcher to the desired height. If the height range is unsatisfactory, use
the Service mode function to increase the range.
2) Press the corresponding button on the home screen to adjust the highest position.
Service mode button
Adjustment procedure:
1) Activate the service mode (button is green) and carefully move the stretcher to the
desired height. Pay attention to the mechanical capabilities of the stretcher trolley.
2) Deactivate the Service mode (button is grey) and follow step 2 in “Adjusting the
highest position”.