8-36
What You See
on the Display
What You Do Comments
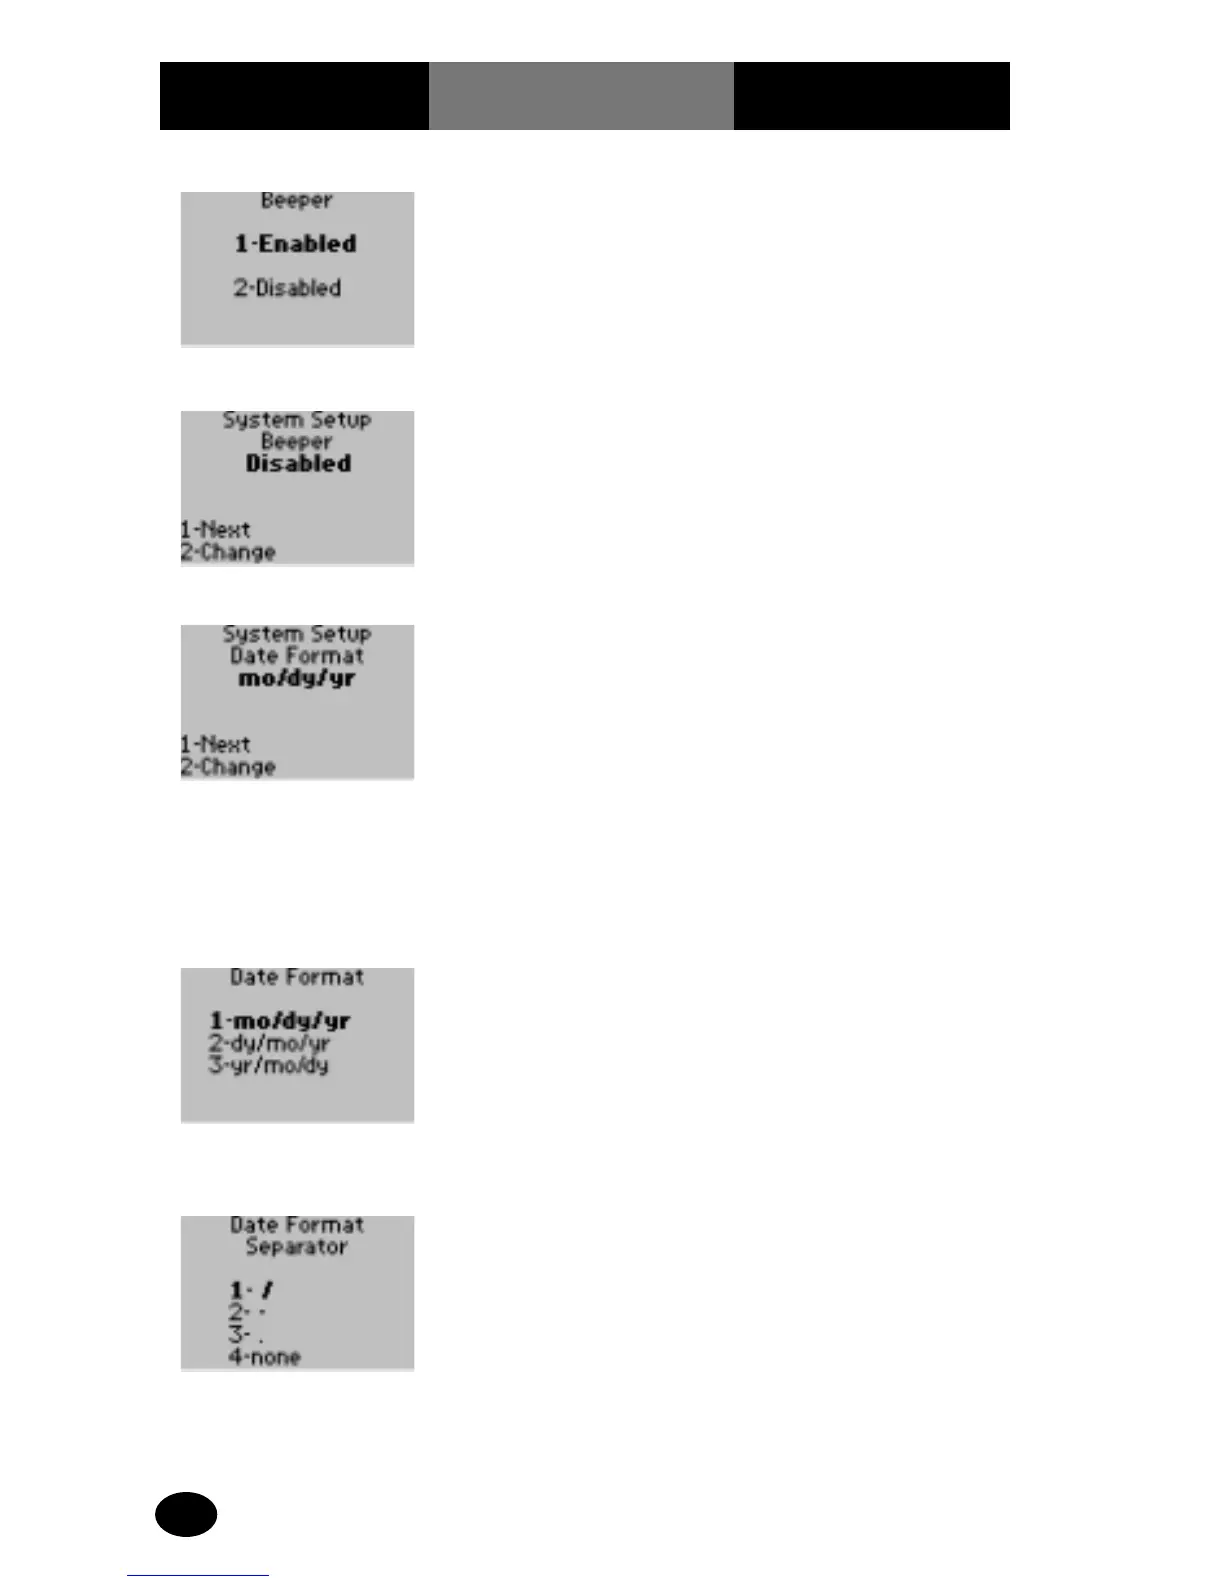
6. The administrator will
select one of the
following options:
Press 1 – Enabled.
Press 2 – Disabled.
The display returns to
the System Setup Beeper
menu.
7. Press 1 – Next. The display shows the
System Setup Date
Format menu.
8. The administrator will
select one of the
following options:
Press 1 – Next, to
continue to System Setup
Time Format menu. Skip
forward to step 12.
Press 2 – Change, to
change the Date Format
option.
The display shows the
Date Format options. The
date is listed using 2
digits for the month, day
and year. For example,
June 27, 1999 becomes
06 27 99.
9. The administrator will
select one of the
following options:
Press 1 – month/day/year.
Press 2 – day/month/year.
Press 3 – year/month/day.
The display shows the
Date Format Separator
options.
The numbers can be
separated with a slash (/),
dash (-), period (.) or no
punctuation.
10. The administrator will
select one of the
following options:
Press 1 – slash (/).
Press 2 – dash (-).
Press 3 – period (.).
Press 4 – none.
The display is returned to
the System Setup Date
Format menu.