ENGLISH
47
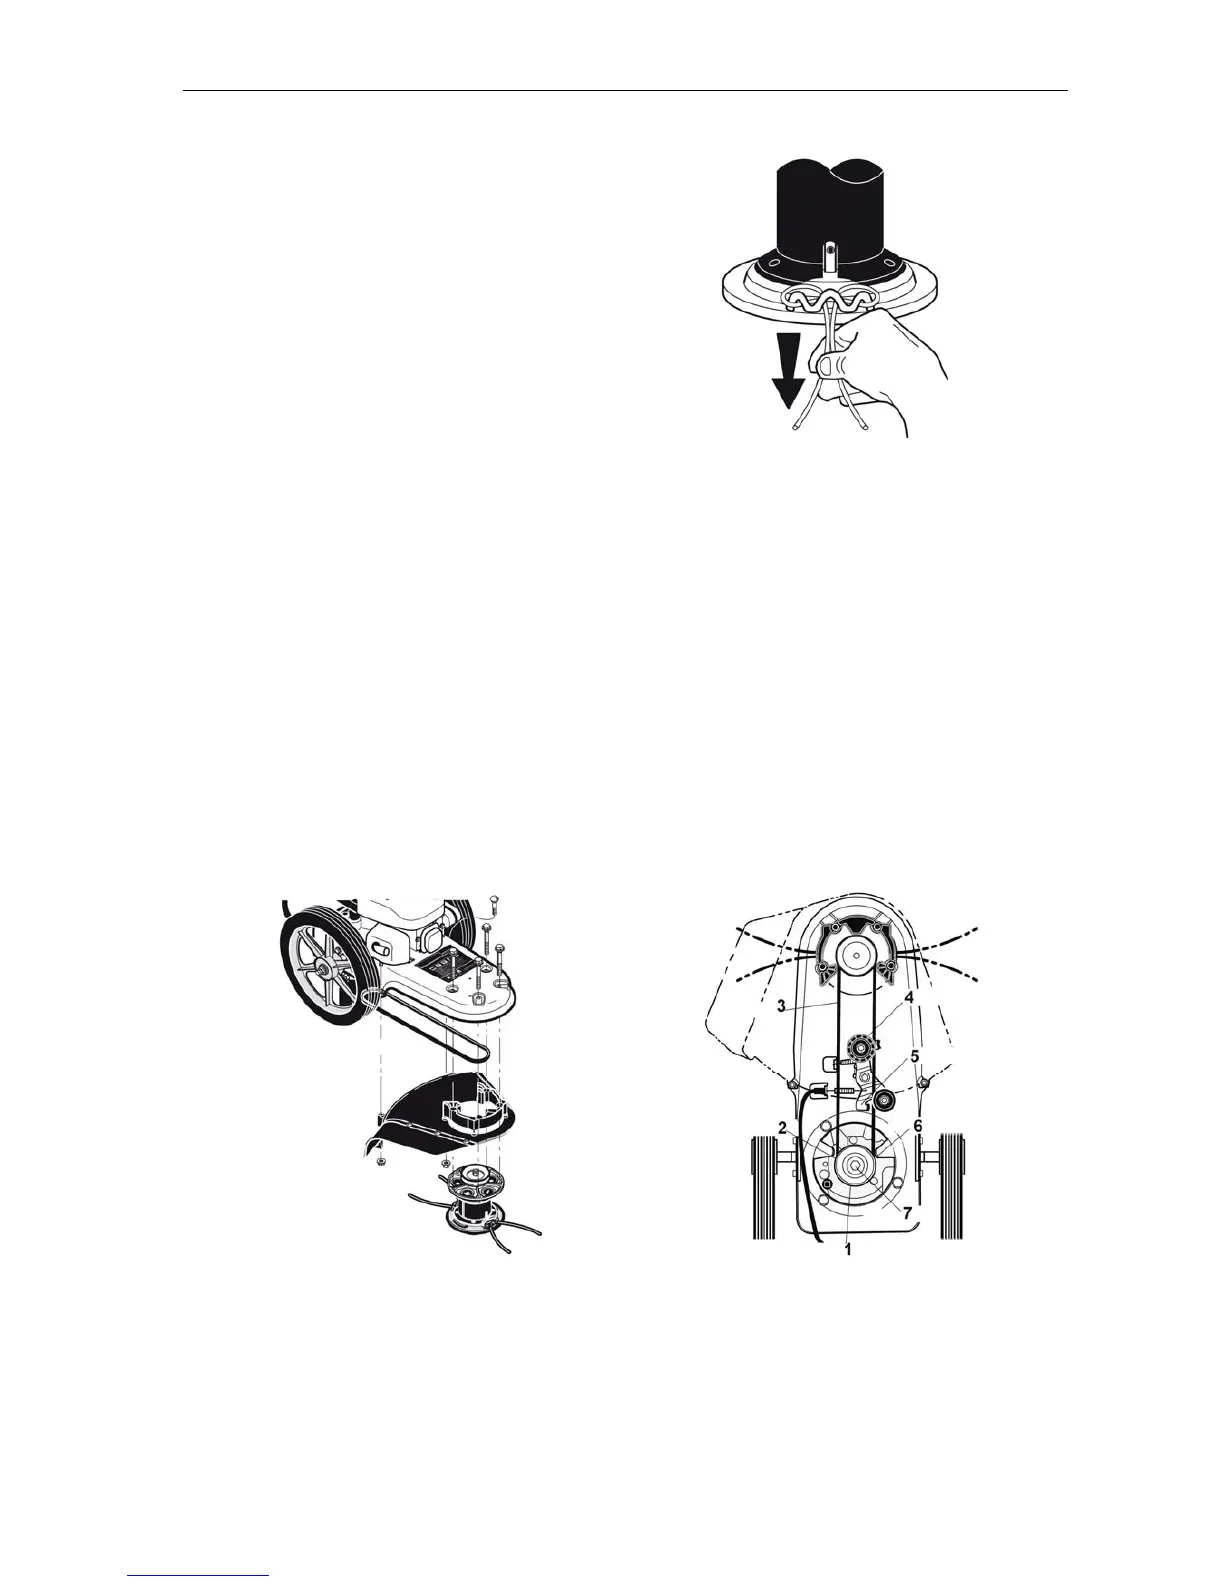
6. Make sure the ends of the lines are of
equal length.
7. Repeat this procedure with the other line.
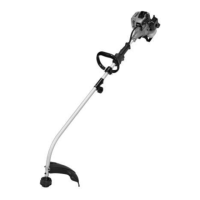
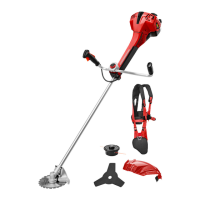
Replacing the drive belt
To replace the drive belt you must first remove the trimmer head and the protective guard. Do as follows:
1. Loosen the two mounting screws that secure the protective guard's rear section to the trimmer
housing.
2. Remove the four bolts that hold the protective guard's front section and the trimmer head.
3. Loosen the drive pulley (4).
4. Loosen the drive belt (3) from the drive pulley (1). Make sure you do not bend the belt guide (2, 5,
6).
5. Fit the new drive belt.
6. Screw on the guard and trimmer head. The tightening torque is as follows: protective guard 13-20
Nm, drive pulley from 36.6 to 44.7 Nm (7) and 24.4 to 34 Nm for the four bolts holding the front
section of the protective guard.
7. Make sure the drive belt is correctly positioned. Make sure it runs inside all the belt guides and that
it is not twisted.
8. Test run the trimmer. Connect and disconnect the trimmer head several times. Make sure the
trimmer head is completely idle when it is resting on the ground. If the trimmer head continues to
rotate, the trimmer must be examined by an authorised service centre.
Make sure the drive belt is replaced with a belt with the same specifications as the original belt: Drive belt
3L, length: 1,1602.5 mm and angle 37.
Storage
Never store the trimmer indoors with fuel in the tank. You must be outdoors if you plan to drain the tank of
fuel. Vapours from the fuel may cause a fire or explosion.
If you do not intend using the trimmer for 30 days or more, do the following:
1. Run the engine until the fuel runs out.