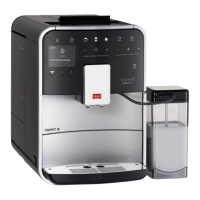
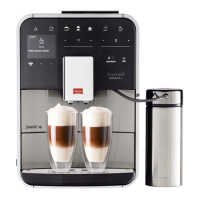
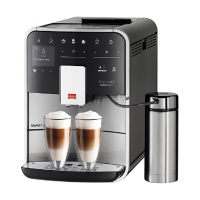
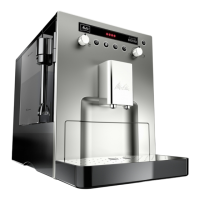
First steps
41
GB
strips and the protective lms from the
appliance.
Keep the packaging material for trans-
port and any return shipments.
Information
The appliance may contain traces of coee
and water. The appliance has been tested
in the factory to ensure that it functions
perfectly.
3.2 Checking the delivery
contents
Check the completeness of delivery using
the following list. If parts are missing,
contact your retailer.
Coee spoon with screw-in aid for the
water lter
Plastic milk container or thermal milk
container each with milk hose or just
the milk hose (depending on the
model)
Stainless steel plate for cup tray
(depending on the model)
Coee system cleaning agent
Milk system cleaning agent
Water lter
Test strip for determining the water
hardness.
3.3 Installing the appliance
Observe the following instructions:
Do not install the appliance in damp
rooms.
Install the appliance on a stable, at
and dry surface.
Do not install the appliance in the vicin-
ity of sinks or the like.
Do not install the appliance on hot
surfaces.
Install the appliance at a sucient
distance (approx. 10cm) from the wall
and other objects. The space above the
appliance should be at least 20cm.
Route the power cable so it cannot be
damaged by edges or hot surfaces.
3.4 Connecting the appliance
Observe the following instructions:
Check that the supply voltage matches
the operating voltage specied in the
technical data (see the, page62
table).
Only connect the appliance to a prop-
erly installed earthing contact socket. If
in doubt, consult a specialist electrician.
The socket must have a fuse of at least
10 A.
3.5 Switching on the appliance
for the rst time
During initial start-up, the language, the
time and the water hardness can be set.
The settings can be changed at a later
point in time (see chapter8, page53
and section9.8, page60).
Use the enclosed test strip to determine
the water hardness. Observe the instruc-
tions on the test strip packaging and in
the table Item, page38.
Information
We recommend pouring away the rst two
cups of coee after initial start-up.
Requirement: The appliance has been
installed and connected.
1. Place a vessel beneath the outlet.
2. Press the ON/OFF button.
» The welcome display appears on the
appliance.
» The request to carry out the setup
appears on the display: Please set up
the machine.
» The "menu/ok" button ashes.
3. Conrm with "menu/ok".
» The Language menu appears.
4. Select your language with the arrow
buttons. Conrm with "menu/ok".
» The Clock menu appears.
5. Select the hour and the minutes with
the arrow buttons. Conrm each set-
ting with "menu/ok".
» The Water hardness menu appears.

 Loading...