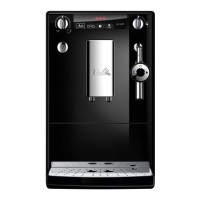
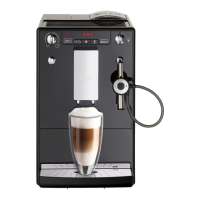
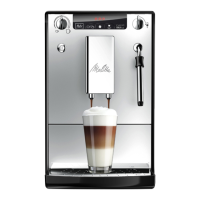
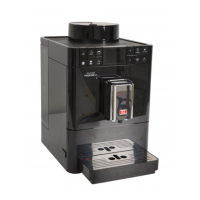
19
Inserting the water lter
ashes during the entire changing
process.
• Put the water lter in a glass with
tap water for several minutes before
inserting it in the appliance.
• Switch off the appliance.
• Press and hold the
and buttons
for ca. 3 seconds, then release.
appears on the display.
• Empty and insert the drip tray.
illuminates.
• Pull the water reservoir 6 up and out of
the appliance.
• Empty the water reservoir.
• Screw the water lter onto the thread at
the bottom of the water reservoir.
• Fill the water reservoir with fresh tap
water up to the max. mark.
• Insert the water reservoir into the
appliance.
• Press the
button. The appliance
performs an automatic rinse. When
rinsing is nished, the appliance is ready
for operation and the water hardness is
set to hardness level 1.
• Empty and insert the drip tray.
After inserting the water lter, the water
can be cloudy during the rst rinse
because excess activated carbon is
washed out of the lter. The water then
becomes clear again.
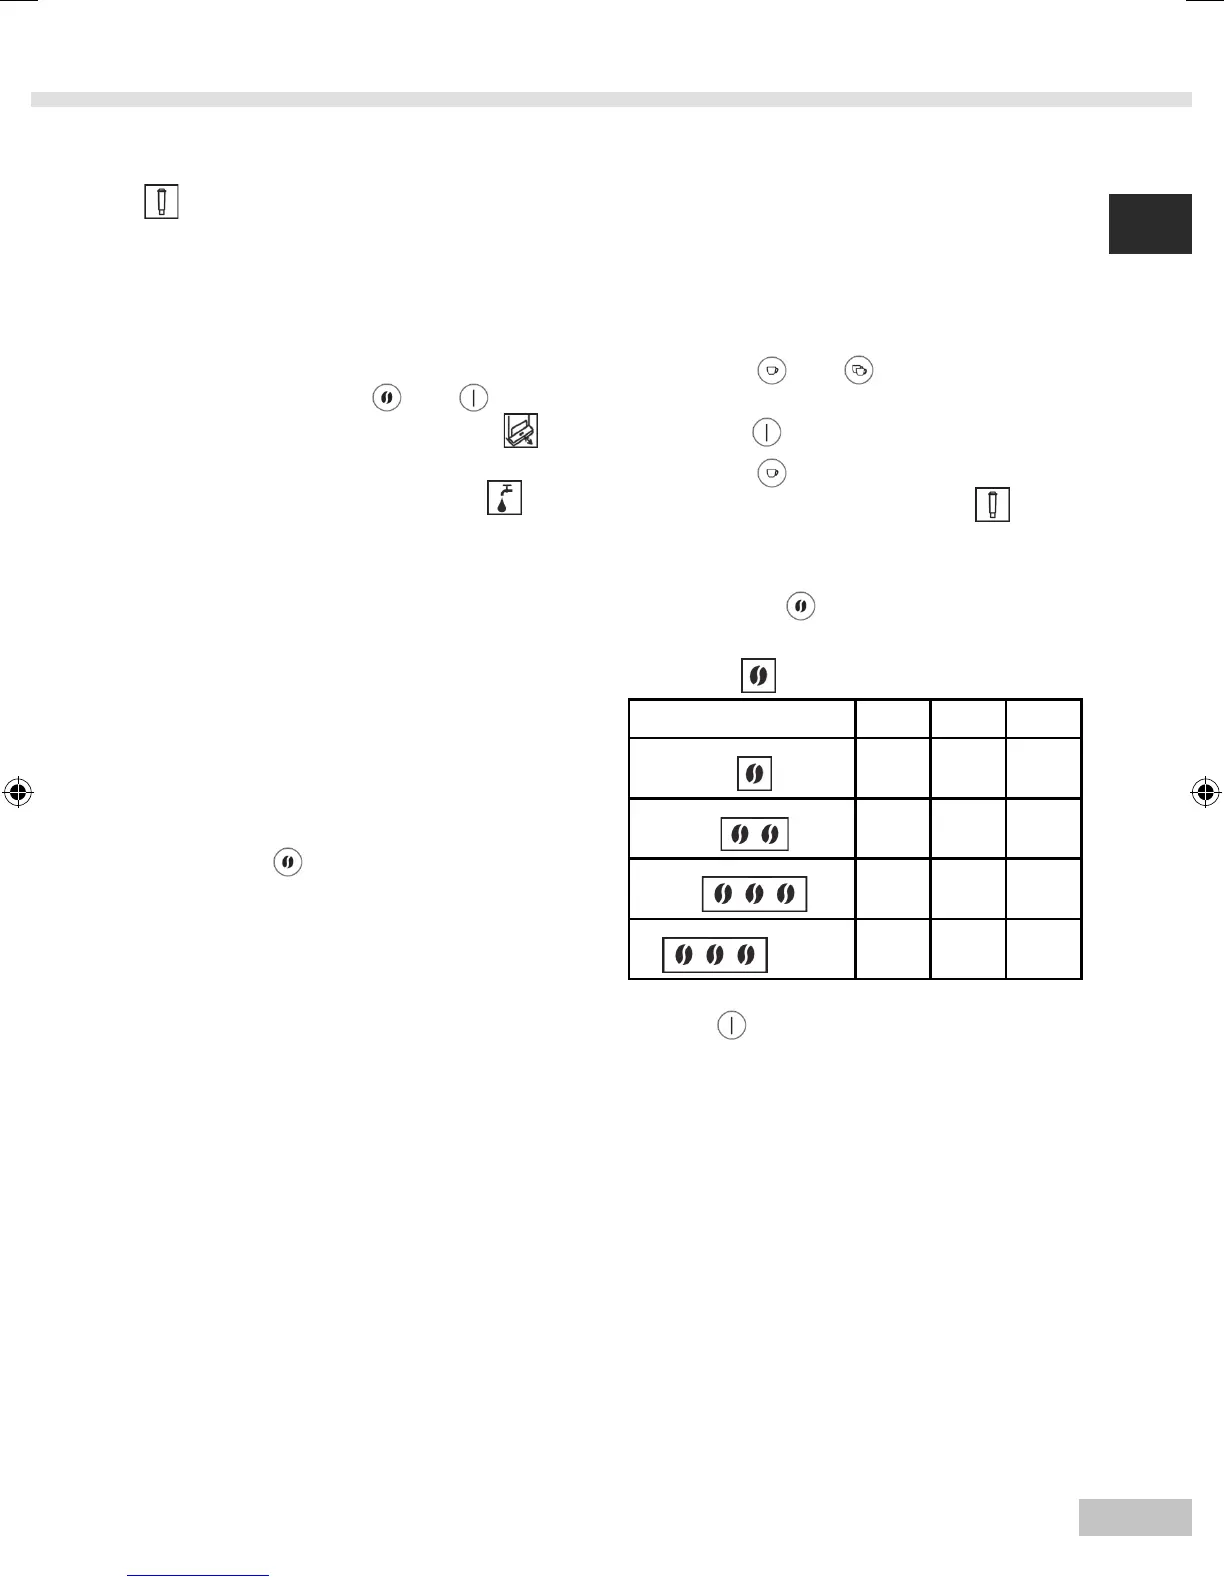
Setting the water hardness
The appliance includes a test strip to
determine the water hardness.
• Determine the hardness of the tap water
using the test strip.
• Switch on the appliance.
• Press the
and button
simultaneously for longer than 2
seconds.
ashes rapidly.
• Press the
button to show the menu
for setting the water hardness.
illuminates.
• Set the determined water hardness by
pressing the
button. The selected
water hardness is shown by the bean
symbols
.
Water hardness °d °e °f
1:
0 - 10 0 - 13 0 - 18
2:
10 - 15 13 - 19 18-27
3:
15 - 20 19 - 25 27-36
4:
ashing
> 20 > 25 > 36
• Press to conrm the selection.
1401-BA_Solo _041114_1C.indd 19 24.11.14 16:08
 Loading...