Section 4 - Maintenance
90-8M0113925 eng DECEMBER 2015 Page 37
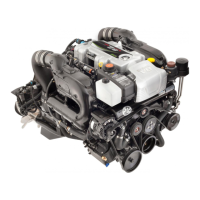
2. Remove the dipstick, wipe it clean, and install it fully into the dipstick tube. Wait 60 seconds to allow trapped air to vent.
a - Oil dipstick handle
b - Operating range
3. Remove the dipstick and verify that the oil level is in the operating range (cross markings) on the dipstick. Install the
dipstick into the dipstick tube. If the oil level is low, refer to Filling.
Oil Level—Overfilled
IMPORTANT: Do not overfill the engine with oil. An overfilled crankcase can cause a fluctuation or drop in oil pressure and
rocker arm clatter, and result in a loss of engine performance.
An overfilled crankcase (oil level too high) can cause a fluctuation or drop in oil pressure, and rocker arm clatter. This condition
results in the engine crankshaft splashing and agitating the oil, causing it to foam (become aerated). The aerated oil causes the
hydraulic valve lifters to bleed down. This results in rocker arm clatter and loss of engine performance.
Care must be taken when checking the engine oil level. The oil level must be maintained between the "ADD" mark and the
"FULL" or "OK RANGE" mark on the dipstick. To avoid getting a false reading, adhere to the following procedures.
Filling
IMPORTANT: Always use the dipstick to determine the exact quantity of oil or fluid required. Do not overfill the engine with oil.
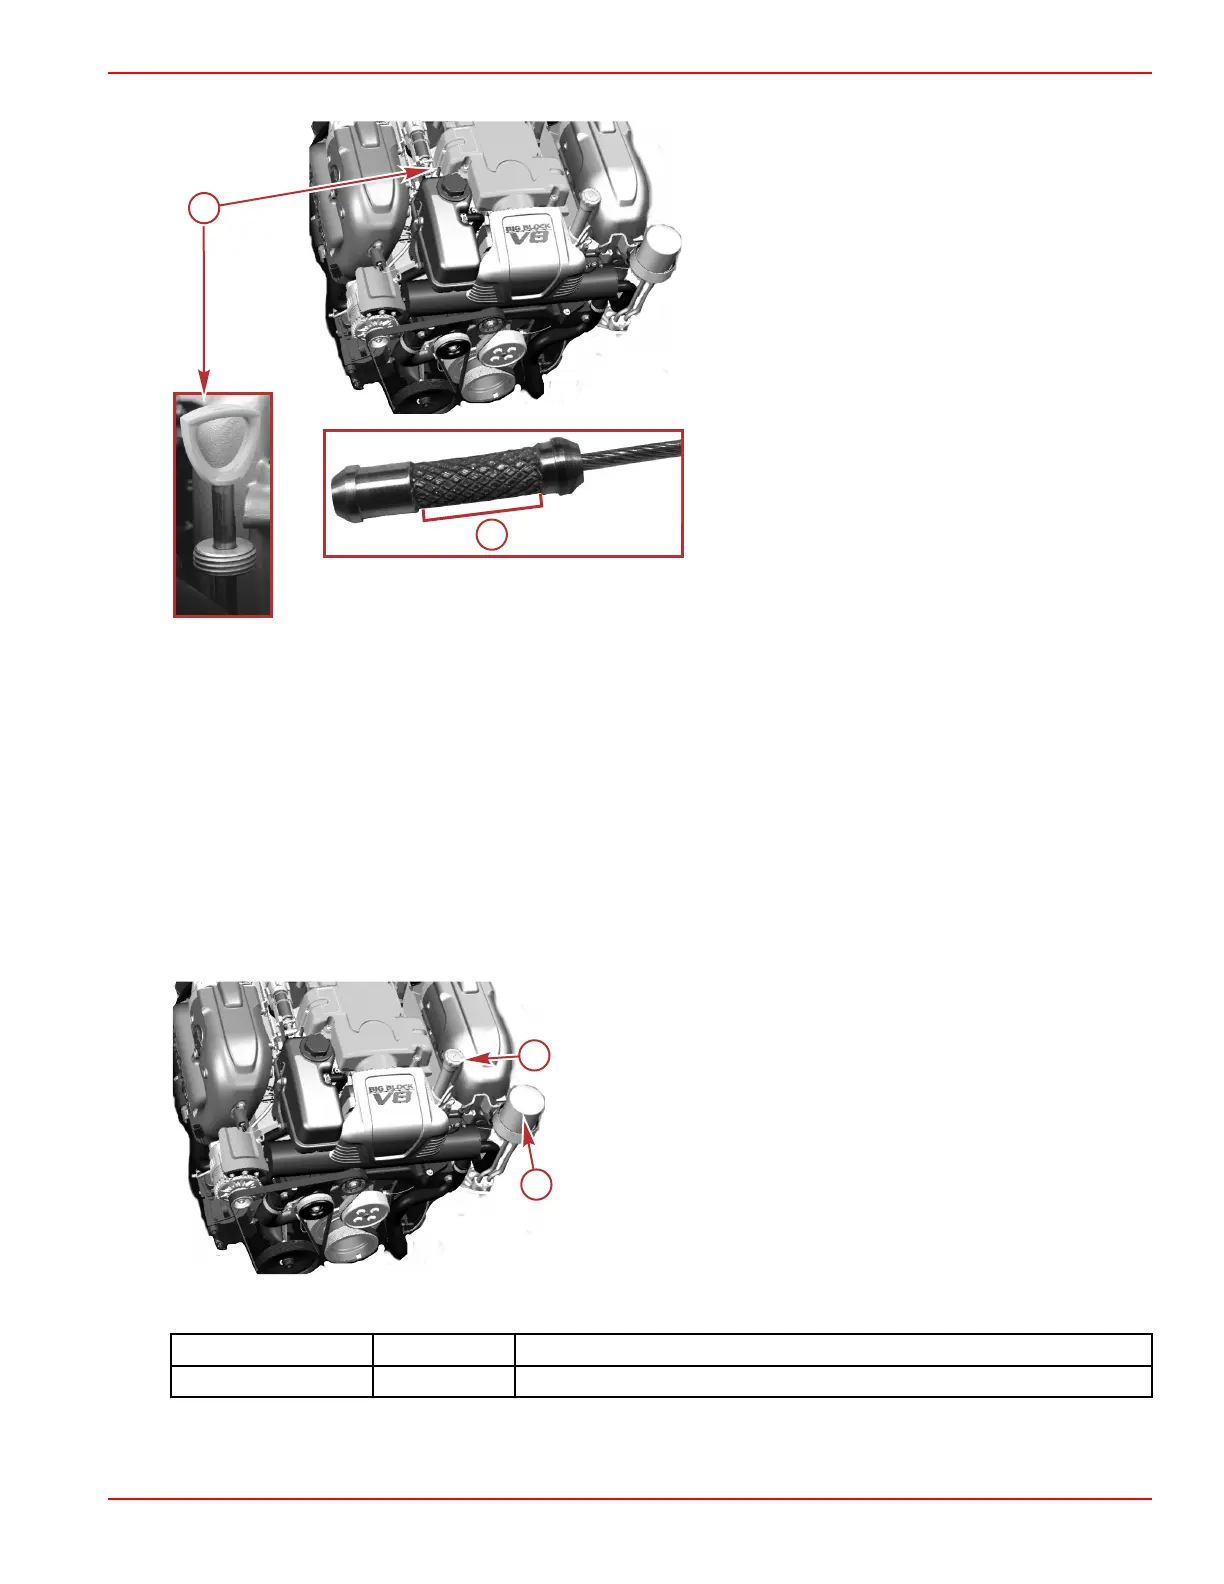
1. Remove the oil fill cap.
a - Oil fill cap
b - Oil filter
2. Add the specified engine oil to bring the level up to, but not over, the operating range cross markings on the dipstick.
All Models
Capacity Fluid Type
Engine oil (with filter) 6.5 L (7 US qt) Mercury/Quicksilver 25W‑40 Synthetic Blend Engine Oil, NMMA FC‑W
3. Check the oil level and replace the fill cap.
 Loading...