EasyManua.ls Logo

Metra Electronics 95-7322 User Manual

Metra Electronics 95-7322
8 pages
To Next Page IconTo Next Page
Page #1 background imageLoading...
Page #1 background image
INSTALLATION INSTRUCTIONS FOR PART 95-7322
95-7322
APPLICATIONS
Hyundai Azera
2006-2010
KIT FEATURES
Double DIN Radio Provision
Stacked ISO Units Provision
A) Double Din Trim Plate • B) Double DIN Brackets
KIT COMPONENTS
A
TOOLS REQUIRED:
1-800-221-0932
© COPYRIGHT 2004-2010 METRA ELECTRONICS CORPORATION
www.metraonline.com
B
WIRING AND ANTENNA CONNECTIONS (Sold Separately)
Wiring Harness:
70-1004 - Hyundai/KIA harness 2004-up
70-7303 - Hyundai/KIA harness 2009
Antenna Adapter:
40-KI10 KIA antenna adapter 2007-up
Small Flat Blade Screwdriver/ Panel Removal Tool
Phillips Screwdriver
Question and Answer IconNeed help?

Do you have a question about the Metra Electronics 95-7322 and is the answer not in the manual?

Metra Electronics 95-7322 Specifications

General IconGeneral
BrandMetra Electronics
Model95-7322
CategoryCar Stereo System
LanguageEnglish

Summary

Installation Kit Overview and Components

Kit Components

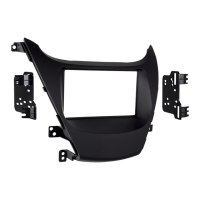
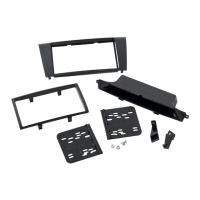
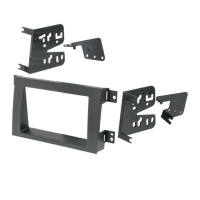
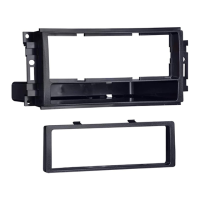
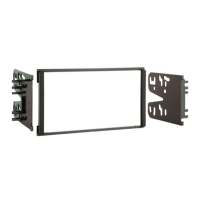
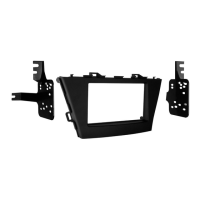
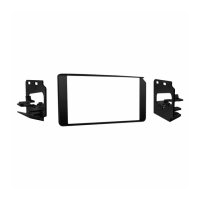
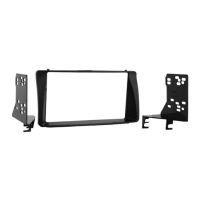
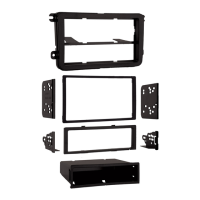
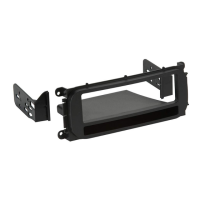
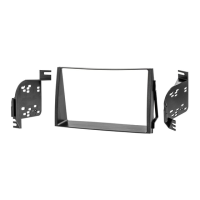
Lists the physical parts included in the installation kit, such as trim plates and brackets.

Wiring and Antenna Connections

Details required wiring harnesses and antenna adapters for vehicle compatibility.

Tools Required

Specifies the necessary tools for performing the installation procedure.

Dash Disassembly Hyundai Azera

Step 1: Battery Disconnection

Disconnect the negative battery terminal to prevent accidental short circuits during installation.

Step 2: Lower Panel Removal

Remove screws and unclip the panel below the steering column.

Step 3: Radio Panel Screw Removal

Remove a Phillips screw from the lower left side of the radio panel.

Step 4: Upper Trim Panel Removal

Unclip and remove the trim panel extending across the dash to the passenger side.

Step 5: Top Radio Trim Panel Screws

Remove three Phillips screws from the top of the radio trim panel.

Step 6: Under Radio Trim Panel Screws

Remove two Phillips screws located under the radio trim panel.

Step 7: Surrounding Trim Panel Removal

Unclip and remove the entire trim panel surrounding the radio assembly.

Step 8: Radio Removal

Remove four Phillips screws securing the radio, then unplug and remove it.

Kit Assembly

Double DIN Radio Provision

Instructions for assembling a Double DIN radio into the trim plate and brackets.

Stacked ISO Units Provision

Instructions for assembling stacked ISO units into the bracket/radio housing.

Final Assembly and Wiring

Final Assembly Steps

Reassembly of radio and dash components in reverse order of disassembly.

Wiring Connections

Guide to making wiring connections using EIA color code, including strip, splice, solder, and tape.

Related product manuals