31
APPENDIX A: RAIN HOODS
Weather-protected 750-LFCs include a rain hood for indoor/outdoor touring and sheltered outdoor installations. Meyer
Sound offers two rainhood models: A fixed rigid rainhood for permanent installations and a foldable hood for portable appli-
cations. Please specify your rainhood when placing the order.
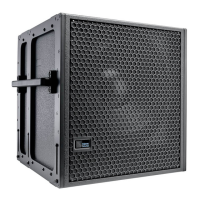
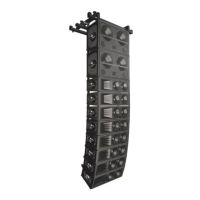
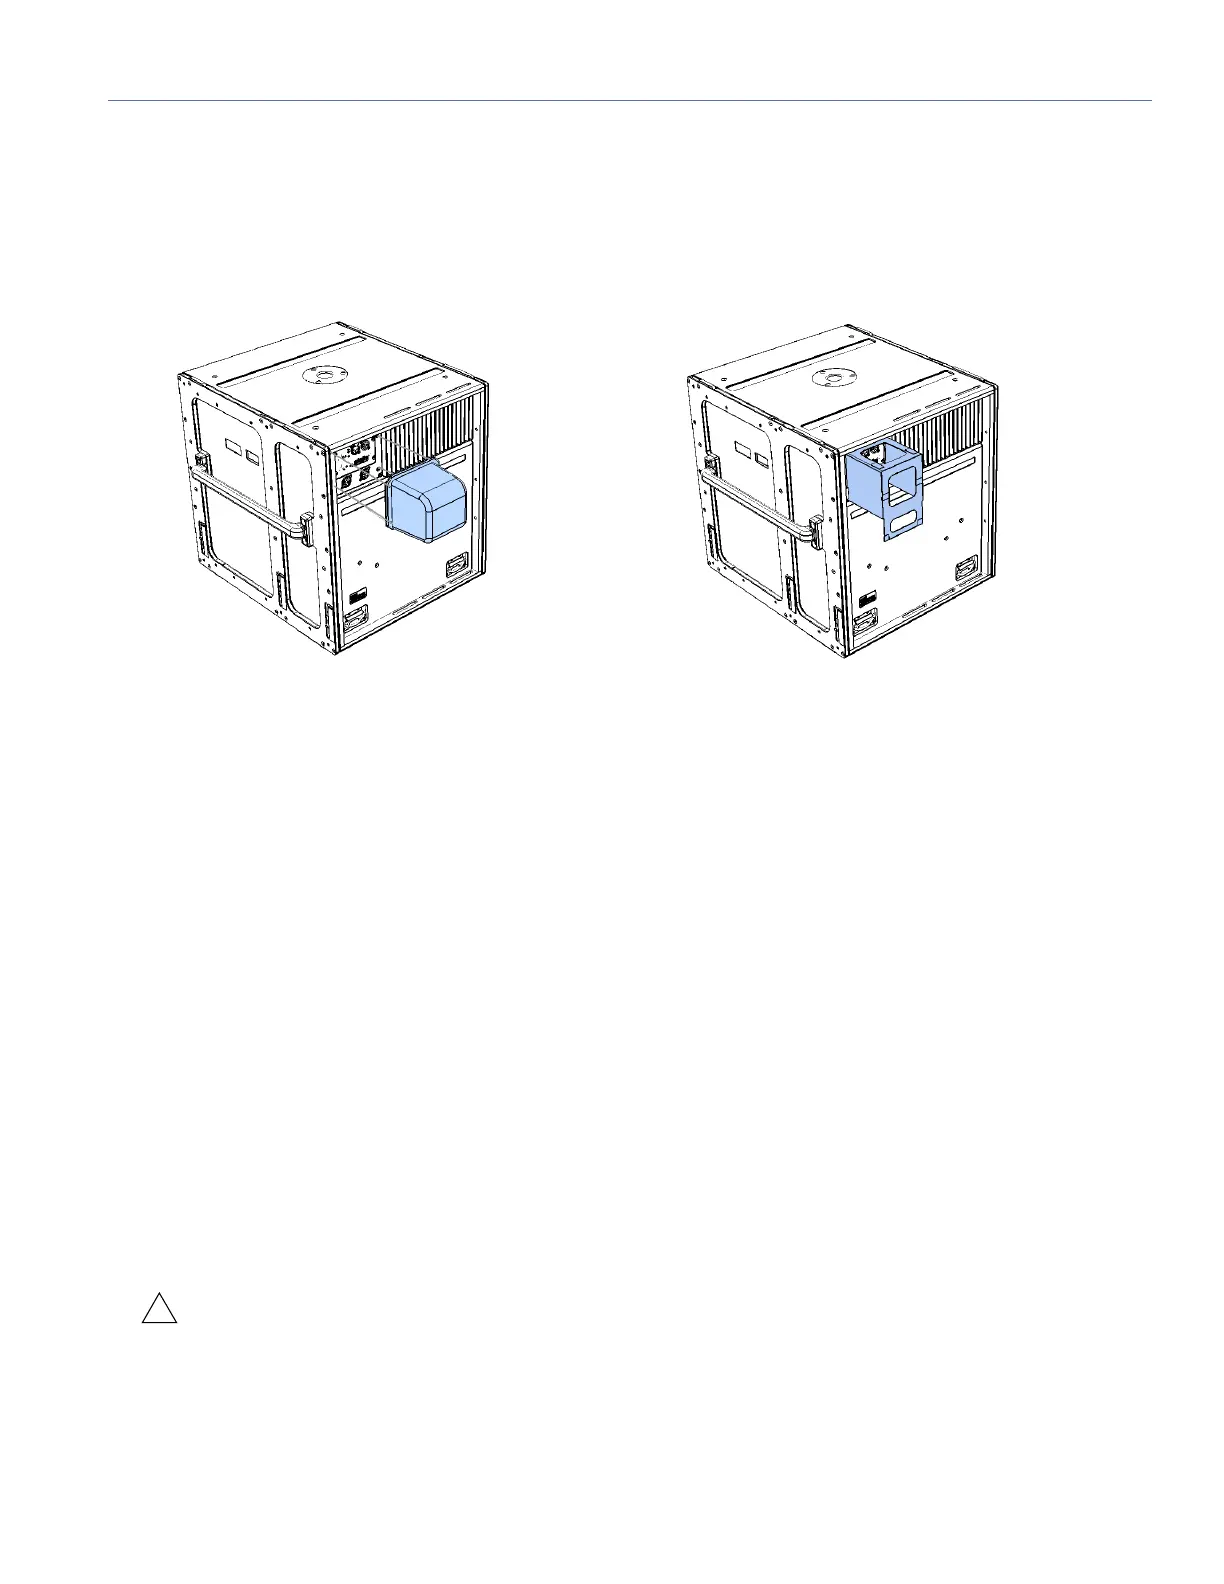
750-LFC RIGID RAIN HOOD
The 750-LFC rigid removable rain hood is easily attached and removed with the included four screws.
To attach the 750-LFC rigid rain hood:
1. Attach any required cables to the 750-LFC loudspeaker.
2. Attach the rain hood to the user panel, and secure it to the center of the panel with its four 6/32 screws.
3. Make sure to tighten the screws to create a good seal against the user panel.
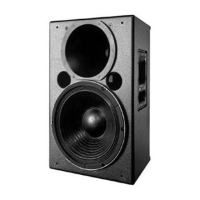
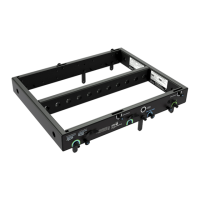
750-LFC FOLDABLE RAIN HOOD
The 750-LFC foldable rain hood is installed on the unit when shipped. Four screws secure its frame permanently.
To use the 750-LFC foldable rain hood:
1. Detach the velcro straps and extend the rainhood
2. Extend the lower flap for splash protection.
3. Attach any required cables to the 750-LFC.
The clear windows let you easily locate the connectors on the user panel.
4. To stow the rainhood, reverse the steps.
CAUTION: The weather-protected 750-LFC must be mounted with a 0-degree tilt, or preferably with a slight
downtilt. This shields the driver from the elements and does not accumulate water.
Figure 25: 750-LFC with rigid rain hood (left) and foldable rain hood (right)
 Loading...