Easidew PRO I.S. User’s Manual
2 97130 Issue 15, May 2018
INSTALLATION
2 INSTALLATION
2.1 Unpacking the Instrument
On delivery, please check that all the following standard components are present in the
packing box:
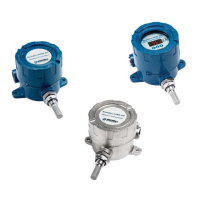
• Easidew PRO I.S. Transmitter
• Bonded seal
• Certifi cate of calibration
• 3 off cable crimps
• Mounting bracket (optional)
The Easidew PRO I.S. is protected within the main packaging by a blue cap covering
the transmitter connector and a small desiccant capsule installed inside the plastic
protective transit cover. Neither of these items is required for the operation of the
Easidew PRO I.S.
Prior to installation of the Easidew PRO I.S., unscrew and remove the plastic protective
transit cover and retain for future use. Take care to prevent any contamination of the
transmitter before installation. NOTE: Do not handle the sintered guard.
2.2 Transmitter Mounting
The Easidew PRO I.S. Transmitter can be mounted either in a fl ow-through sampling
block (optional extra) or directly inserted into a pipe or duct and can be operated
at pressures up to 45 MPa (450 barg / 6500 psig) when fi tted with the bonded seal
provided.
For mounting instructions see Sections 2.2.2 or 2.2.3.
When installed, fully tighten using a wrench until the seal is fully compressed and to the
following torque settings:
• 5/8” - 18 UNF 30.5 Nm (22.5 ft-lbs)
The recommended fl uid fl ow rate, when mounted in the optional sampling block, is 1 to
5 Nl/min (2.1 to 10.6 scfh). However, for direct insertion applications, fl uid fl ow can be
from static to 10 m/sec (32.8 fps).