Easidew PRO I.S. User’s Manual
4 97130 Issue 15, May 2018
INSTALLATION
2.2.2 Transmitter Mounting - Sample Block (Optional)
!
The following procedure must be carried out by a qualifi ed
installation engineer.
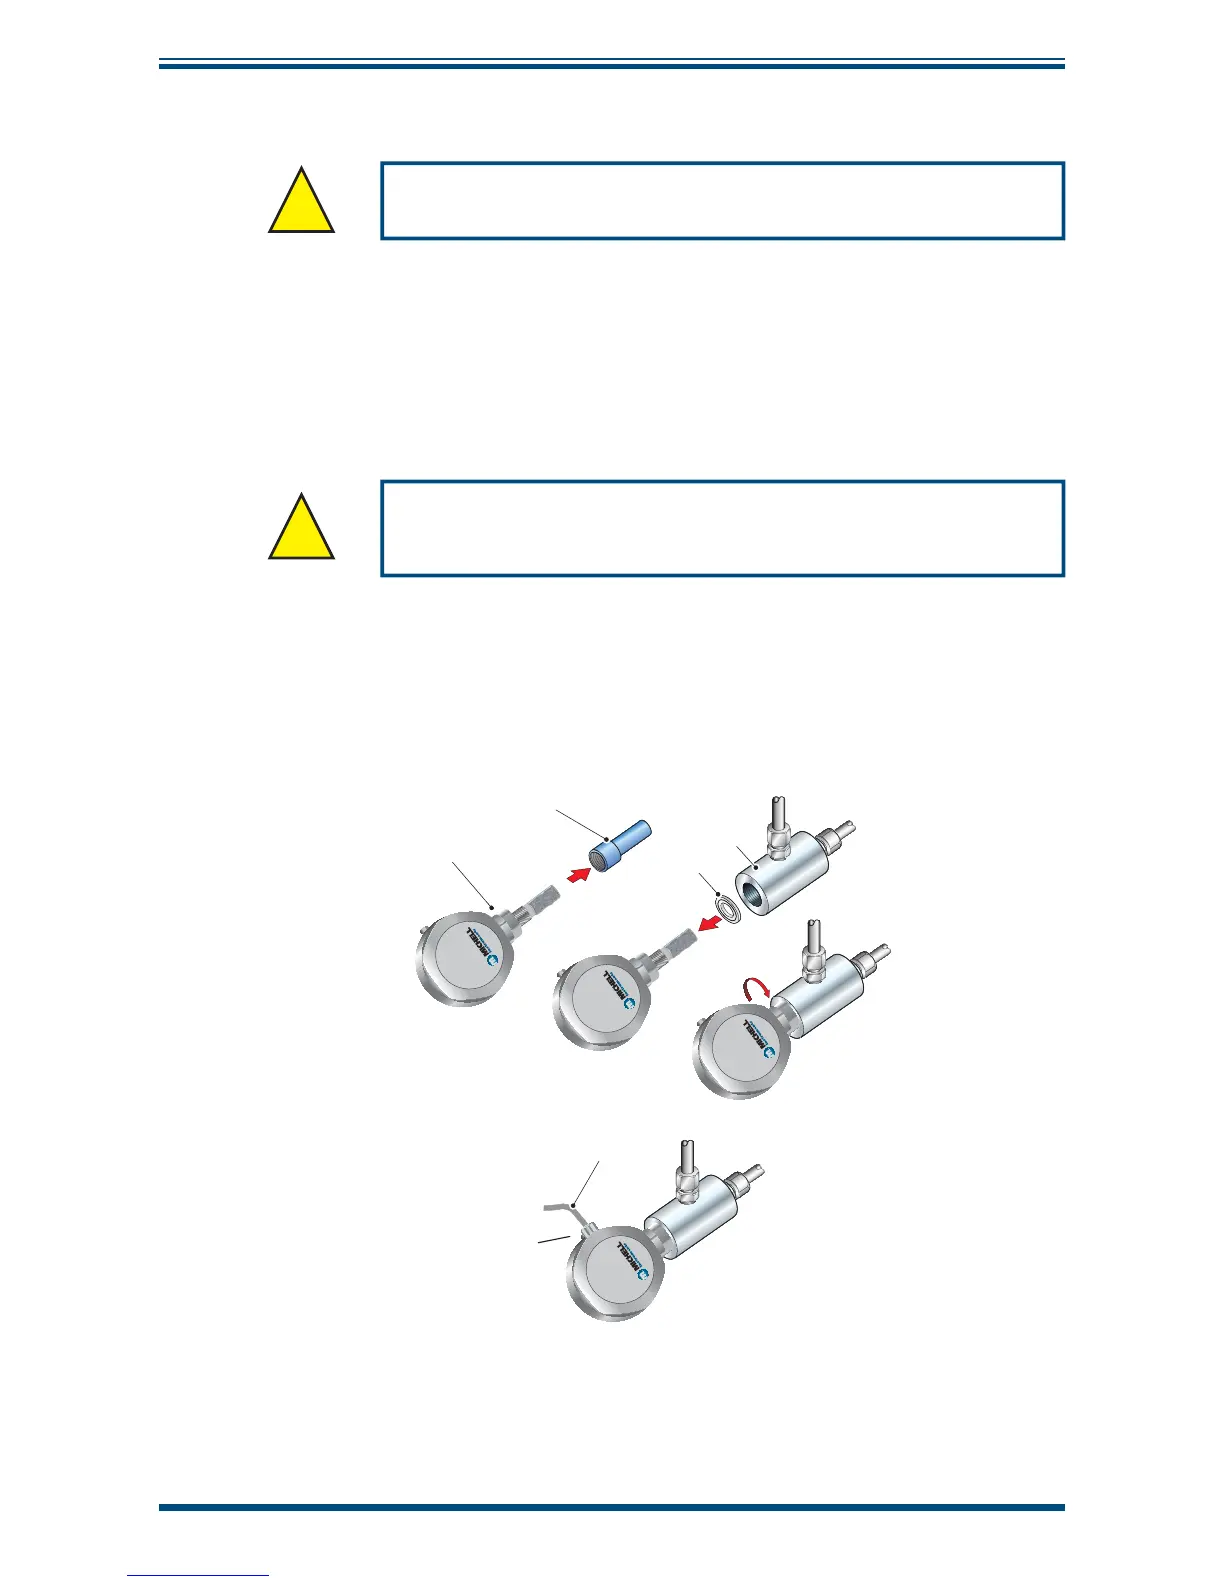
To mount the transmitter into the sensor block (preferred method), proceed as follows,
refer to
Figure 2.
1. Remove the protective cover (2) (and its desiccant capsule) from the tip of
the transmitter (1).
2. Fit the seal (4) over the threaded part of the transmitter body.
!
WARNING: Under no circumstances should the sensor guard be
handled with the fi ngers.
3. Screw the transmitter (1) into the sample block (3) and tighten to the
recommended torque setting (see Section 2.2). NOTE: Use the fl ats of
the hexagonal nut and not the sensor body.
4. Connect a cable (5) to the connector terminal block (see Section 2.3).
1
2
3
5
4
Easidew PRO I.S.
Process Dewpoint Transmitter
Easidew PRO I.S.
Process Dewpoint Transmitter
Easidew PRO I.S.
Process Dewpoint Transmitter
Easidew PRO I.S.
Process Dewpoint Transmitter
h
Optional cable
and gland (available
on request)
Figure 2
Transmitter Mounting - Sensor Block