Mach 8
14
©2018 Micro-Air Rev 1.01
Disconnect the start capacitor
If your unit has a start capacitor is must be disconnected. Not all units have start capacitors so
first determine if your unit has one. Follow the red wire from the compressor into the electric box
(arrow 5 in Image 17). If this wire leads to a PTCR you have a start capacitor that must be removed. If
you do not have a start capacitor, you can continue to the next step placing the orange wire.
First locate the start capacitor. There are typically two capacitors in this design, a metal case
“run capacitor” and a plastic cased “start capacitor”. The plastic cased capacitor with a red and a yellow
wire connected to it is the start capacitor. Follow the red and yellow wires into the electric box.
Disconnect both wires from their connections and secure the ends out of the way with a wire tie. This is
pointed to by arrows 1 and 4 on Image 17 however the wires must be traced back from the capacitor to
be sure the correct wires are disconnected.
Disconnect the two remaining red wires from the compressor from the PTCR and remove the
PTCR. Reconnect the red wires to the PTCR terminals on the connection block.
Orange wire
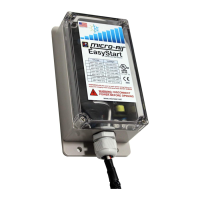
Install a piggyback quick connect on the ORANGE wire from EasyStart. Disconnect the red wire
from the compressor. Plug the ORANGE wire from EasyStart into the empty terminal created by
removing the red wire from the compressor. Plug the red wire from the compressor into the orange
wire’s piggy back connector end.
Black wire
Install a female blue quick connect on the BLACK wire from EasyStart. Connect it to an empty
terminal in the same group as the purple wire. (see Image 17 arrow 3). The group consists of multiple
connectors and although not visible in the picture, there is an extra unused terminal.


 To Next Page