23
PRO6 Control Centre
Quick Reference Guide
Chapter 5: Patching
This chapter describes the patching feature of the PRO6.
Introduction
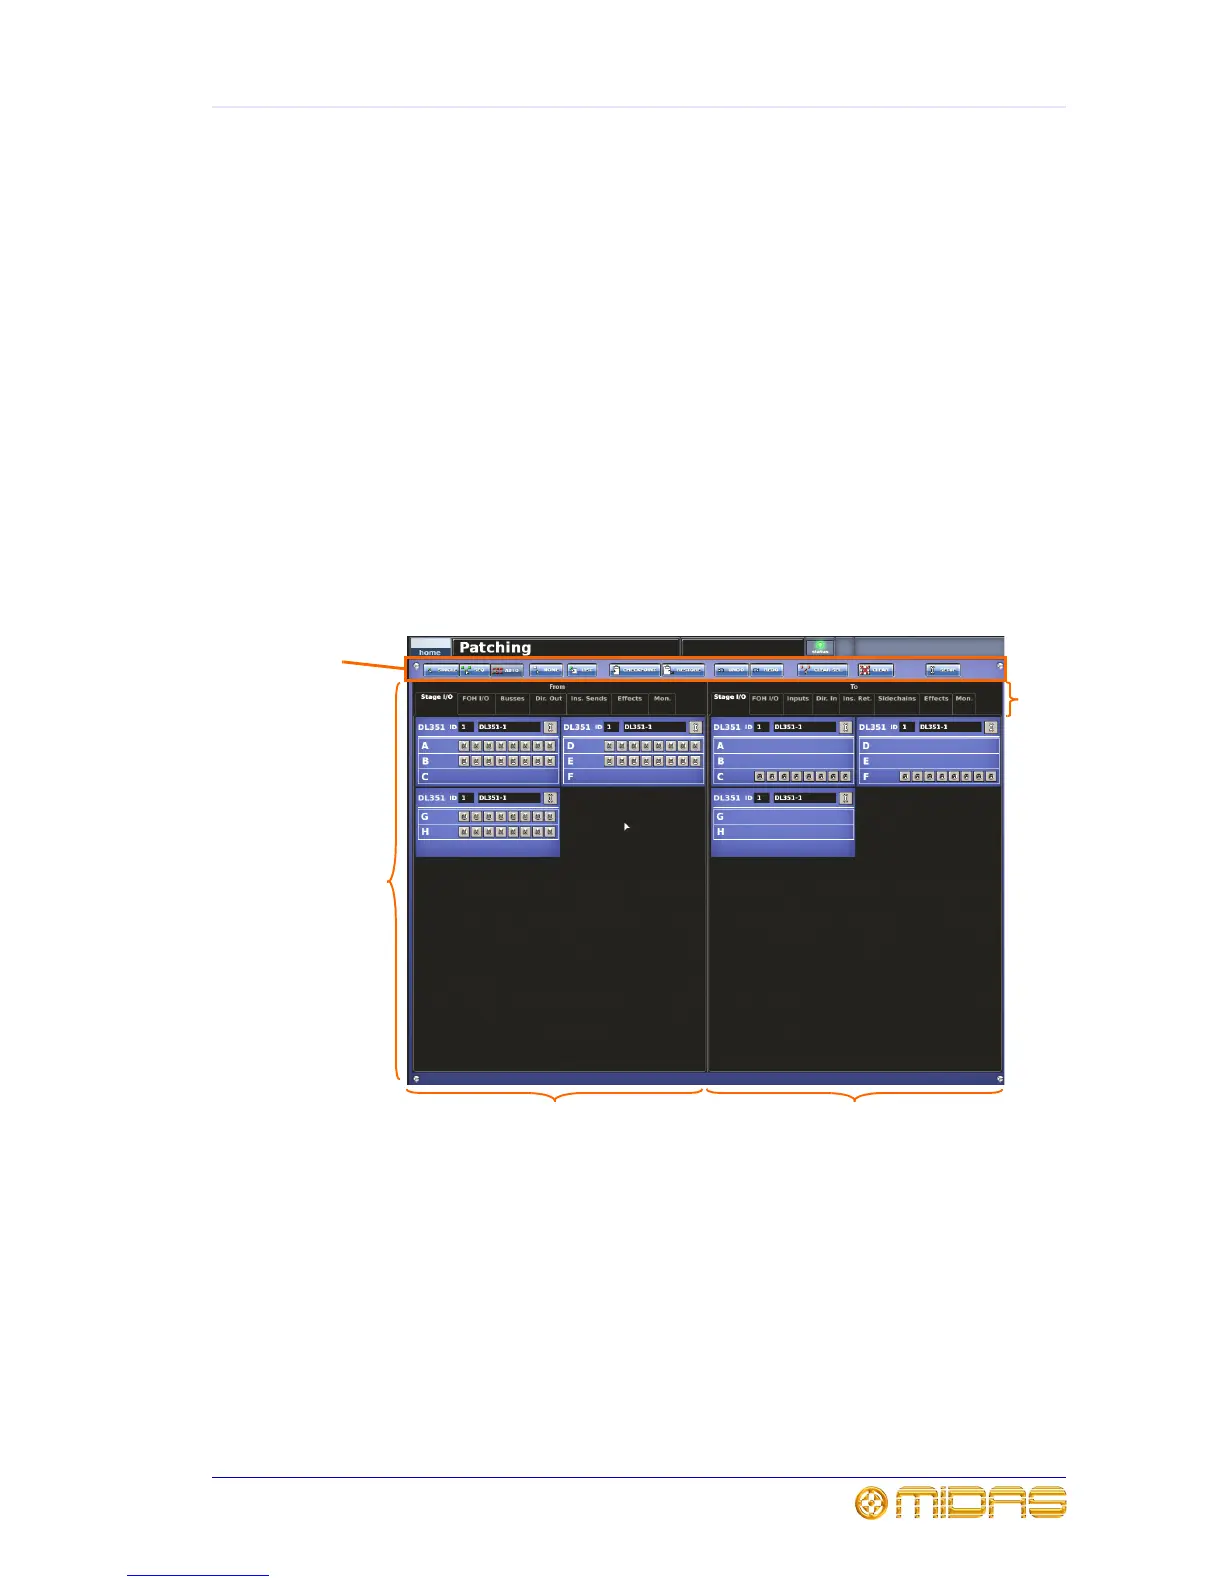
Patching is a GUI-only feature that allows you to carry out all the routing requirements
of the PRO6. The GUI main menu has a Patching option that takes you to the
Patching screen (shown below), which contains all of the available patching connectors
on the PRO6. This screen provides an easy-to-use interface, where you can select your
source and destination patching options, facilitated by a panel of function buttons.
Additionally, the Patching screen allows you to set up the units (devices). For
example, you can adjust the analogue gain, select +48V phantom voltage etc., of the
line I/O units connected to the system.
1
1 Function button panel, contains the
function buttons that enable patching and
device configuration (see “Function buttons” on
page 24).
2 Patching area, contains all of the patch
connectors on tabs.
3 From section, has tabs that contain all of
the patch connector sources.
4 To section, has tabs that contain all of the
patch connector destinations.
5 Tab n a me s .
43
2
5