NOTICE
The quick-connect installation method is only
used for the models that have been pre-charged
with refrigerant and equipped with quick-connects.
NOTICE
If you choose this conguration, it is
recommended that installing this wire controller
during the step of indoor unit installation.
Wire controller
For the function introduction, operation
instruction and installation, please refer to the
installation and owner’s manual of wire
controller. However, for this machine, please
following the steps for wire connection.
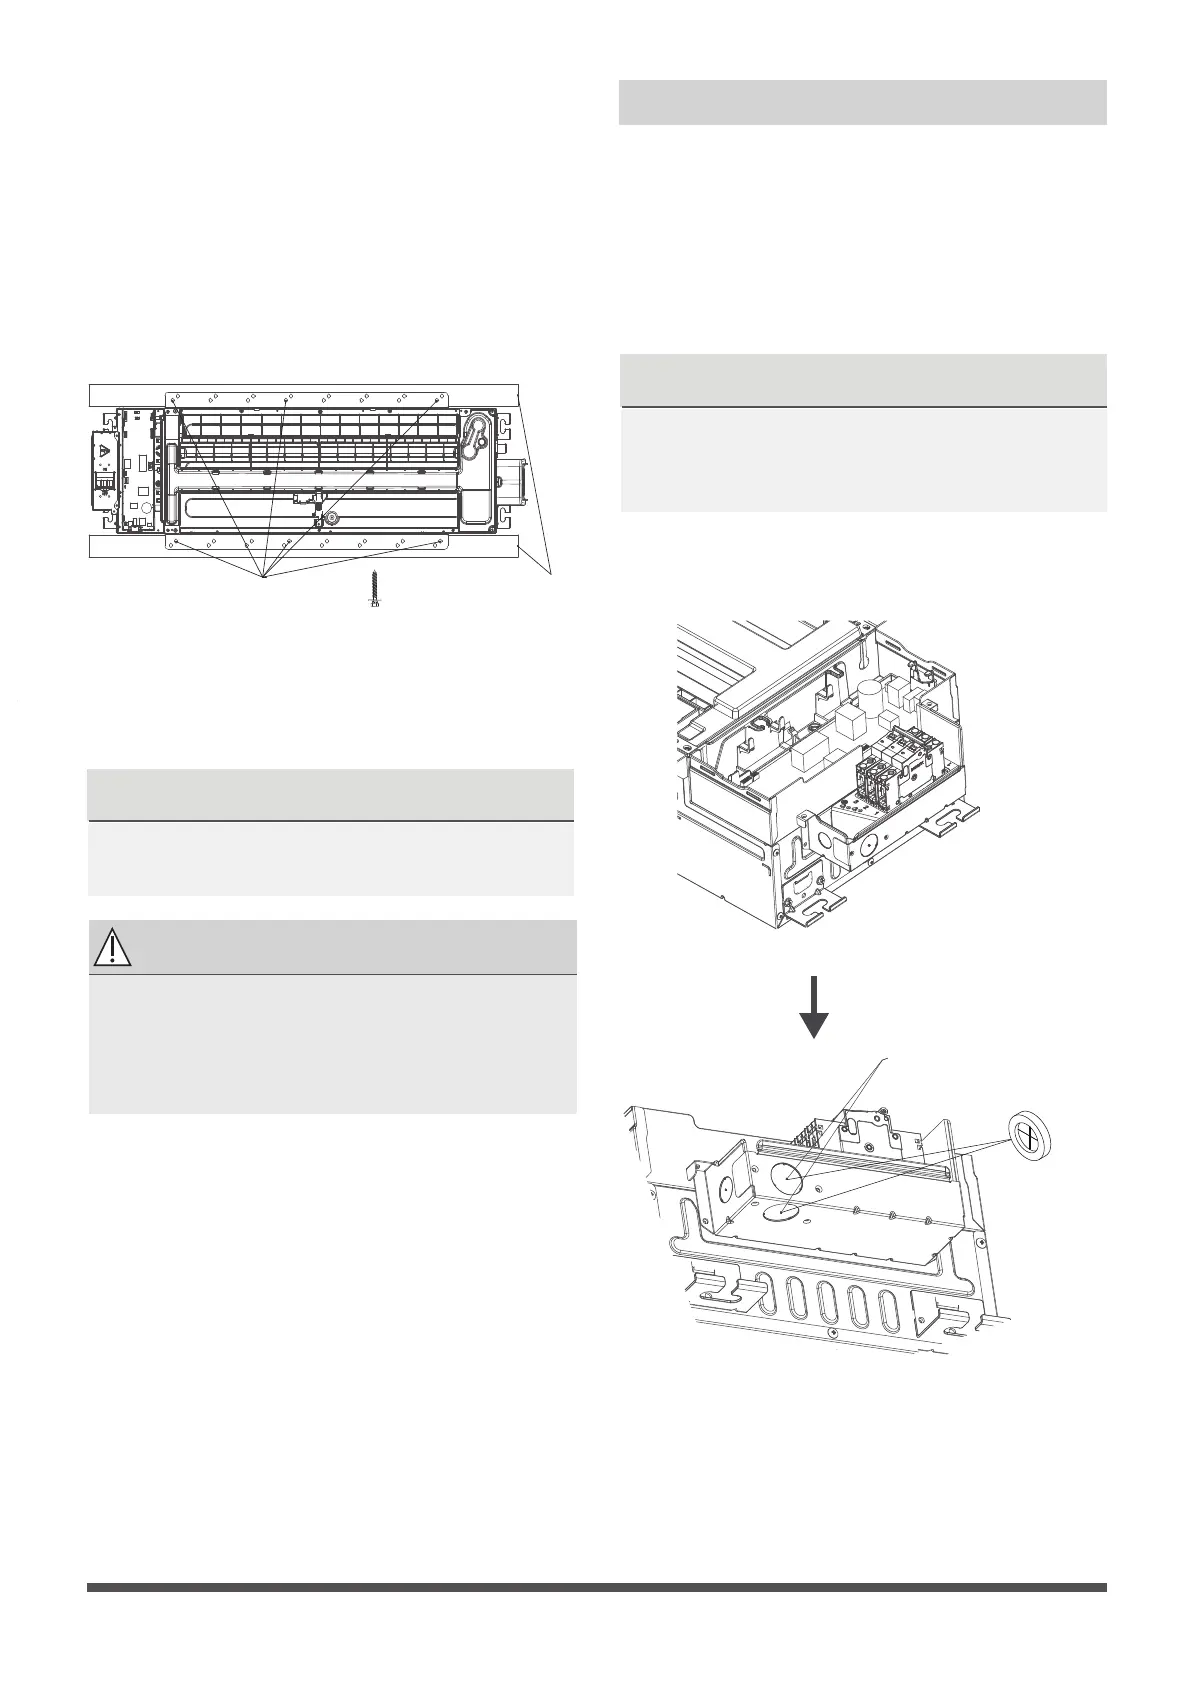
●
Remove the specic pre-cutting cover on the
circuit breaker box.
Pre-cutting cover both
holes can cross the wire,
just select one to install
the rubber ring.
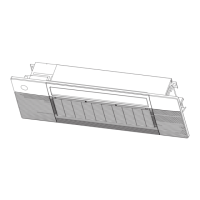
Step 3: Optional parts Installation
●
Align the refrigerant pipes, drain pipeswith their
connection points before mounting the unit.
Mount the indoor unit with at least two people
to lift and secure it then x the unit body to the
roof beam by using 6× ST8.0*50 screws.
Make sure that the screws do not come loose.
Make sure you verify the size and positions of
the opening in the ceiling before you do so.
Roof
beam
Secure with screws
The unit body must be completely aligned
with the hole. Ensure that the unit and the
hole arethe same size before moving on.
Ensure that the indoor unit is horizontal
after installation.
NOTICE
Eight ST8.0*50 screws are supplied, two
of which are spare.
CAUTION
Page 25
 Loading...