NOTICENOTICE
Drainpipe
Installation
Page 32
Pass the drain hose through the wall hole.
Make sure the water drains to a safe location
where it will not cause water damage or a
slipping hazard.
The drainpipe outlet should be at least
5cm (1.9”) above the ground. If it touches the
ground, the unit may become blocked and
malfunction. If you discharge the water directly
into a sewer, make sure that the drain has a U
or S pipe to catch odors that might otherwise
come back into the house.
0-53cm
(20.8”)
≥10cm
(4”)
Wall
Indoor Outdoor
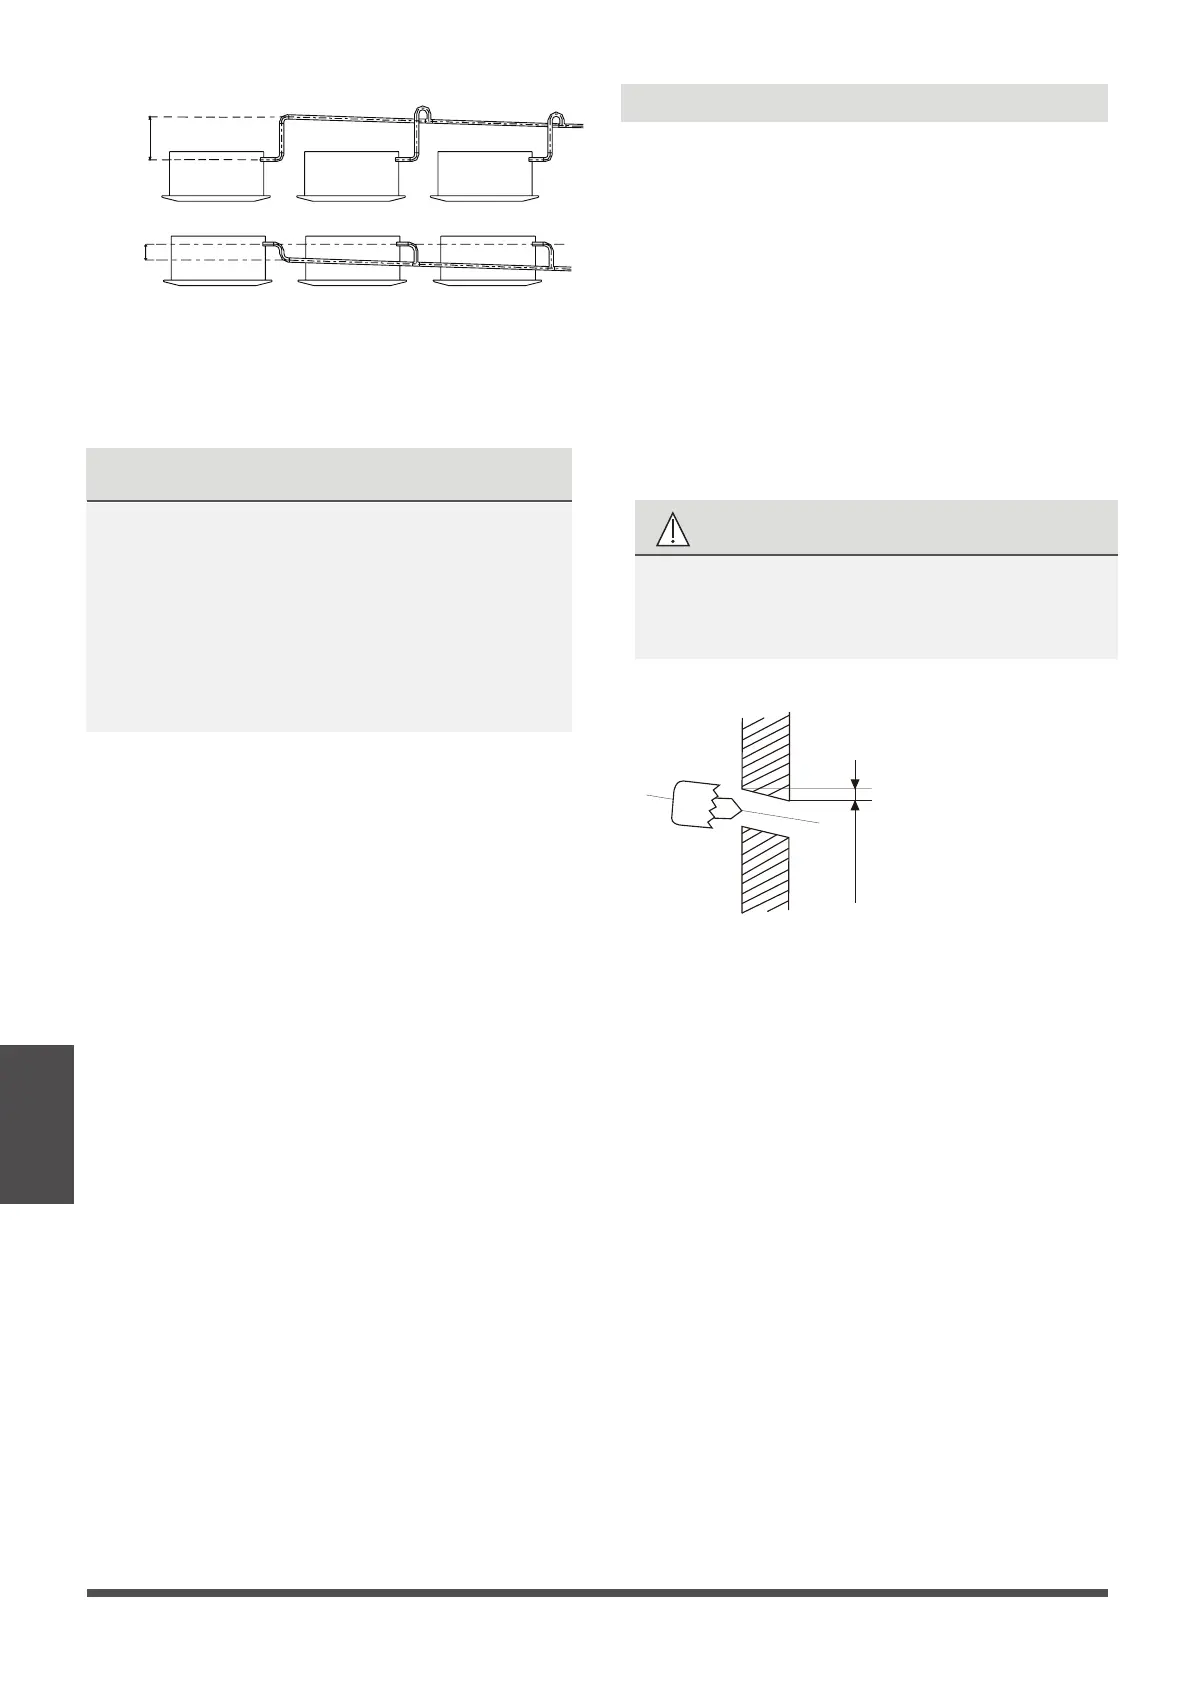
5-7mm
(0.2-0.275in)
1. Using a 65mm (2.5in) or 90mm(3.54in)
(depending on models )core drill, drill a
hole in the wall. Make sure that the hole
is drilled at a slight downward angle, so
that the outdoor end of the hole is lower
than the indoor end by about 5mm to 7mm
(0.2-0.275in). This will ensure proper water
drainage.
2.
Place the protective wall cu in the hole. This
protects the edges of the hole and will help
seal it when you nish the installation process.
CAUTION
When drilling the wall hole, make sure to
avoid wires, plumbing, and other sensitive
components.
Drill wall hole
Φ
NOTE: When the gas side connective pipe is
16mm(5/8in) or more, the wall hole should be
90mm(3.54in).
 Loading...