14
9. Insert the water inlet PE pipe in the quick joint, and tighten the pin. The new
hose-sets supplied with the appliance are to be used and that old hose-sets should not
be reused.
10. The water cooler plug cord into a ground fault interrupter receptacle.
11. After installation, supply water and power. Discharge the first 3 tanks of purified
water by pressing the button, press the Heating and Cooling buttons on the rear panel
to purify water again, then the water output is drinkable.
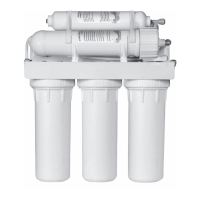
12. When installing filter and replace filter please turn off the water and power supply
before installation and replacement.
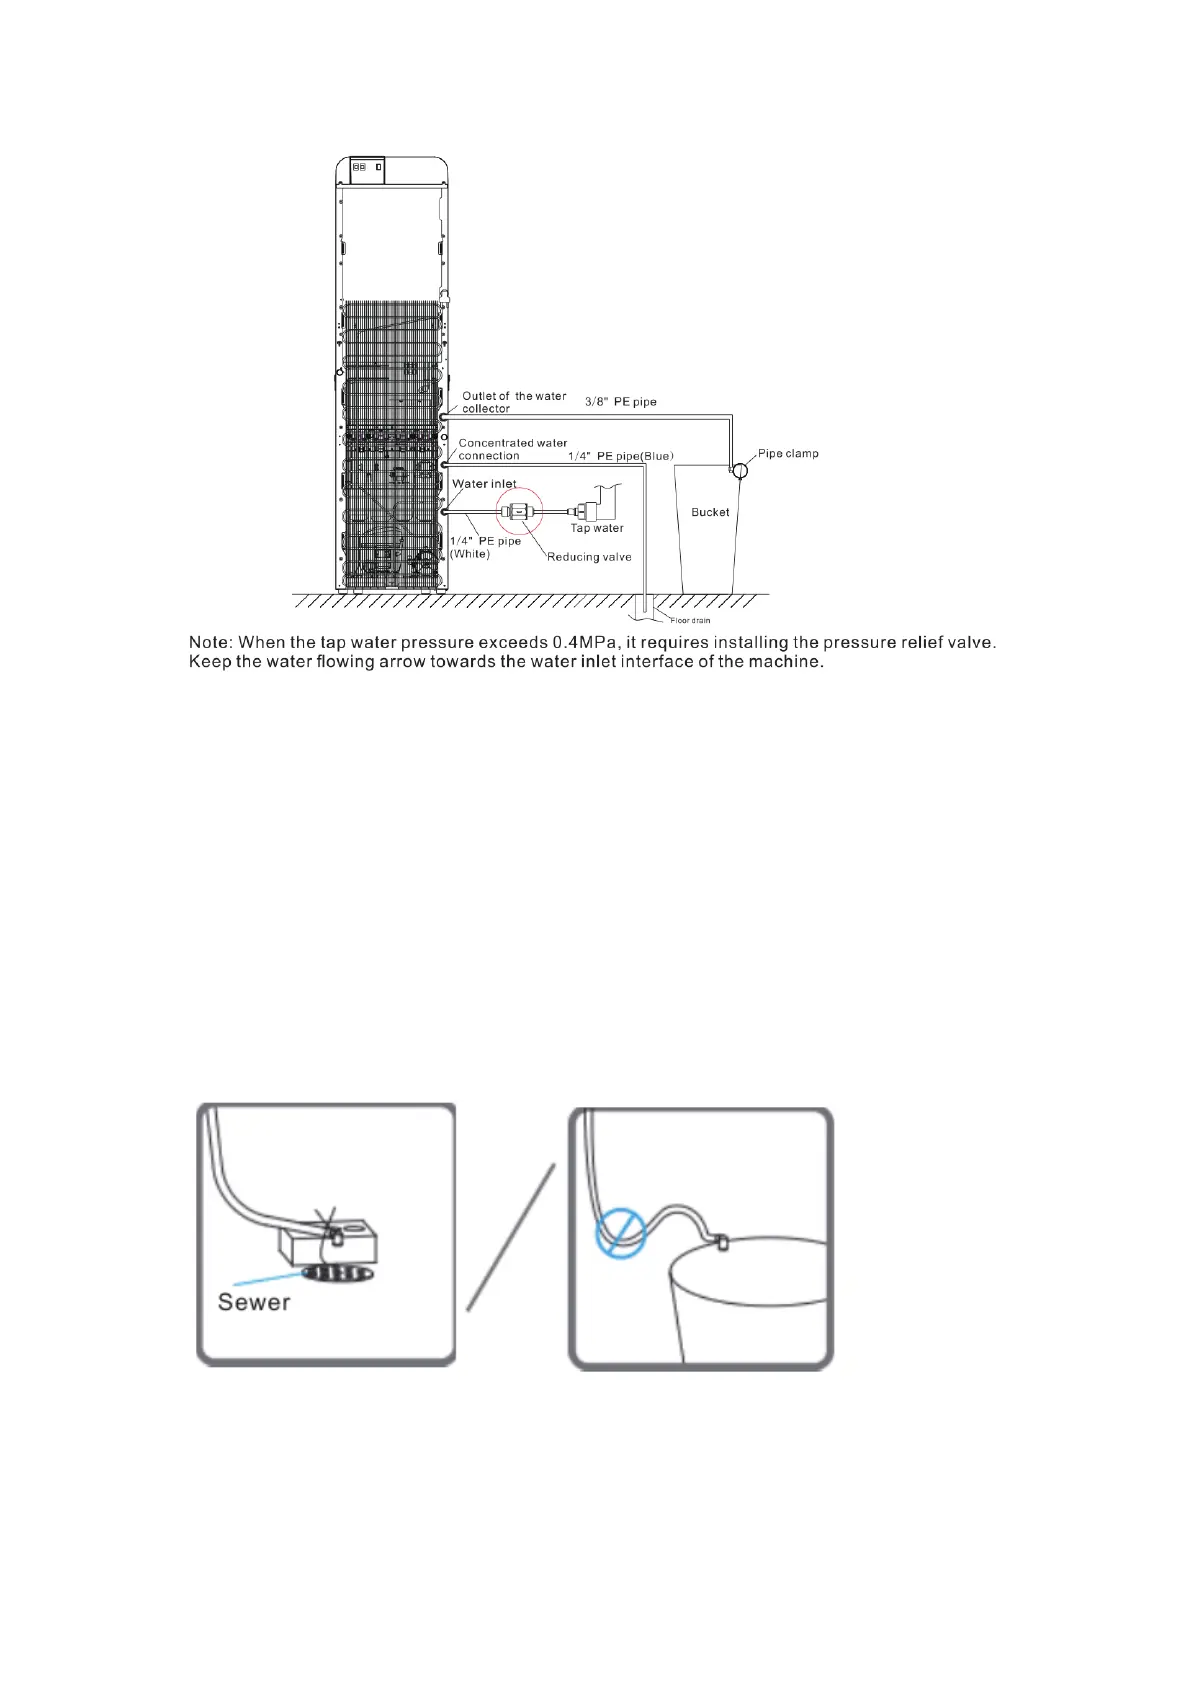
13. Concentrated water and the water drained from the water tray can be directly
discharged into the sewer or the water drained from the water box can also be
discharged to the bucket. (Note: Drainage pipe must be vertical and shall not be "U"
or twisted at any section)
 Loading...