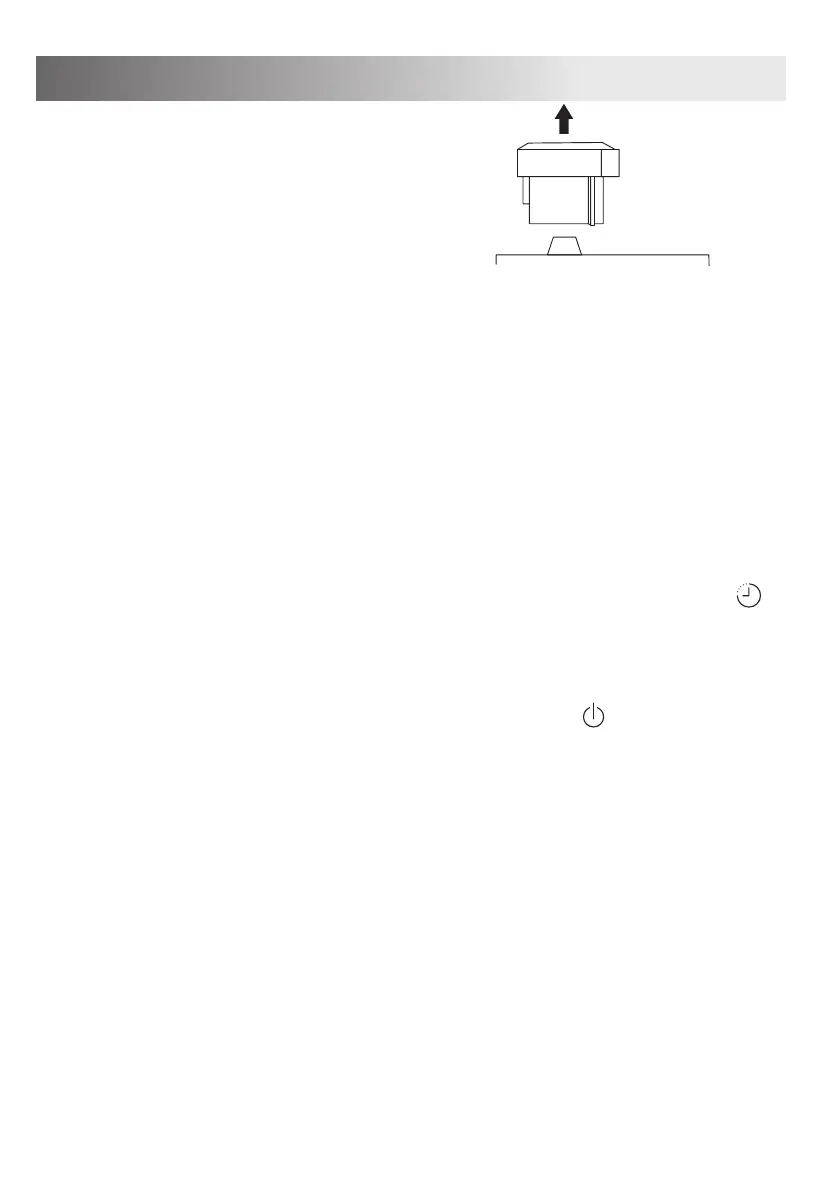
• Pull the Steam valve upwards to remove it from
the lid.
This is necessary to stop the cooker from
pressurising.
• Plug the mains cable connector into the power inlet on the cooker, then connect
the cable to a convenient mains outlet. Push the cable connector into the socket
to ensure it is engaged.
The display will flash ‘----’.
Slow cooking - selecting preset 06
• When you are ready to begin cooking, press ‘Menu’.
• The ‘M’ (menu) indicator will light and the display will flash ‘P01’ (preset 01).
• Press ‘+’ 5 times to select preset 06.
10 seconds after you completed setting, the cooker will beep 3 times and the
display will stop flashing. Cooking will begin.
Slow cooking - the cooking process
Once cooking has started, the cooker will heat the cooking bowl gently, the
(time) indicator will be displayed and the display will switch to show a cooking
time of 8 hours. The time will count down. During cooking a little steam will
escape from the steam valve opening. This is normal.
You can leave the slow cooking process to run for a full 8 hours or, for a shorter
cooking time you can end the process earlier by pressing .
At the end of the cooking time the cooker will beep and ‘0H’ will be displayed.
The ‘Keep Warm’ indicator will light. The prepared food will be held at a safe
serving temperature of 60°C for up to 2 hours.
• Refer now to the section ‘All cooking modes -opening the lid and serving food’
on page 18.
All cooking modes - opening the lid and serving food
• Disconnect the appliance from mains power.
CAUTION: Take extreme care when opening the lid as the contents will be hot and
steaming. Never stand over the cooker as the lid is removed.
• Twist the lid anti-clockwise until the symbol aligns with the arrow to unlock the
lid.
• Lift off the lid.
• Check that the contents are cooked.
If more cooking is required, check that there is enough fluid remaining in the
cooking bowl, then re-fit the lid and set a further cook time manually.
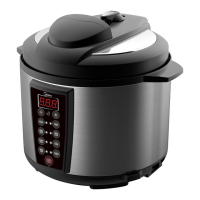
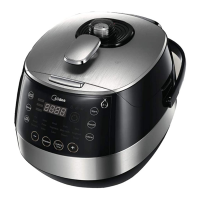
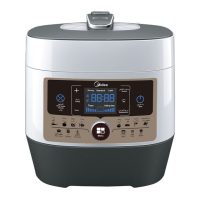
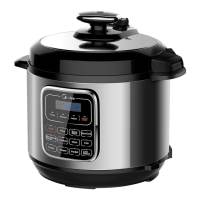
OPERATION
If the food is cooked, it can now be served or carefully transferred to a
serving dish.
The bowl should be removed for serving. The cooking bowl will be very hot
and may be heavy. Prepare a heatproof surface for it to stand on next to the
cooker and lift it out with oven mitts.
If you prefer to leave the bowl in place in the cooker when serving, take care
not to spill food or liquid around the outside of the bowl where it may run into
the cooker. Remove the bowl and wipe any spillages immediately after
serving.
Always use the serving spoon or soup spoon to spoon the food out of the
cooking bowl. Never use a metal spoon or fork etc as this may damage the
non-stick surface of the cooking bowl.
All cooking modes - cancelling settings
You may want to cancel preset, manual or delay settings before or during
cooking.
• Press .
The display will flash ‘----’. All settings are now cleared.
WARNING: If you do cancel any settings during cooking and decide to open
the lid to add or remove food, always set the steam valve to release mode
(page 13) first to ensure all pressure is released prior to removing lid.
Delayed start - pressure-cooking only Once you have chosen your pres-
sure-cooking settings you have the option to delay the start of cooking by 2 -
24 hours.
• Press ‘Delay Timer’.
2:00 will flash (2 hours delay to start).
• Press ‘+’ or ‘-’ to choose a delayed start time (if required).
CAUTION: Delayed start should not be set when steaming or sautéeing food.
CAUTION: Food that is left in the bowl during a delayed start sequence will be
stored at room temperature. Never use the delayed start function to cook
meat or other items that may become a health risk if stored at room tempera-
ture.
15