11
ENGLISH
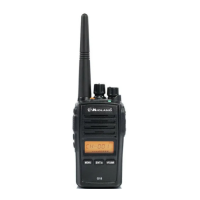
4.4.a Standard MW904 wall battery charger
1) Ensure the radio is turned off (it must remain off for
the entire period of charging).
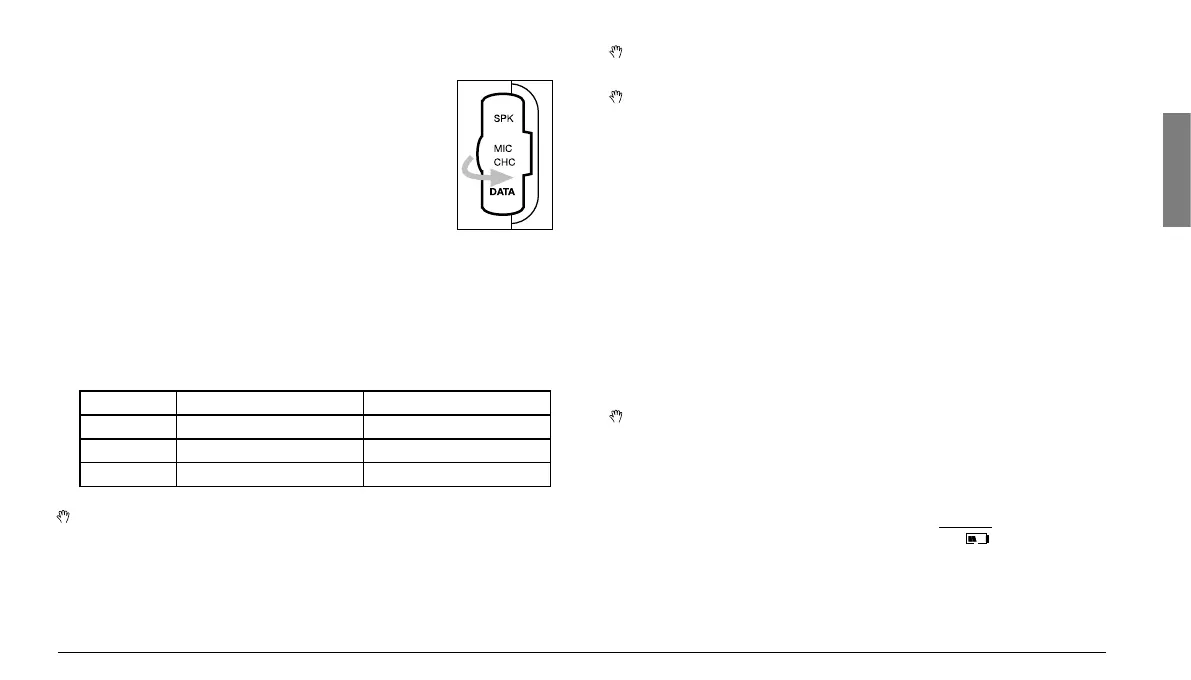
2) Carefully lift the rubber flap on the right side of the
transceiver, slipping a fingernail into the center left
part, and rotating it towards the right, as indicated
in the figure.
3) Insert the plug at the end of the MW904 battery
charger cable into the MIC CHG socket, then con-
nect the battery charger to an AC power source.
4) Once the batteries are charged (see table below for charging ti-
mes), disconnect the battery charger from the AC power source,
then disconnect the transceiver from the battery charger.
5) Return the rubber flap to its place.
TABLE OF APPROXIMATE TIMES FOR COMPLETE RECHARGE,
ACCORDING TO THE BATTERY TYPE USED.
Code Battery capacity (mAh) Time (hours)
C734 2.300 15.5
C697 1.700 11.5
C696 1.200 8
Do not overcharge the batteries! When the batteries are com-
pletely charged, the charging process does not stop automati-
cally. Do not forget to disconnect the transceiver from the bat-
tery charger as soon as possible after charging is complete,
otherwise you may seriously damage the batteries and/or the
transceiver.
For successive charging, longer duty, and battery life, refer to
par. 4.5.
Do not forget to replace the rubber flap after charging.
4.4.b CA445 Intelligent, table-top battery charger
This battery charger is able to rapidly charge batteries and to detect
when the charging is complete, switching automatically the trickle
charge.
1) Insert the transceiver, with the charging contacts facing downwar-
ds, into the CA445 battery charger slot, then connect the battery
charger to an AC power source. Charging will begin, and an LED
indicator will light up.
2) Once charging is complete, a green LED light will appear on the
battery charger, indicating the operation is complete and the devi-
ce has switched the trickle charge.
3) When possible and for increased security, remove the transceiver
from the charging slot and disconnect the battery charger from the
AC power source.
For successive charging, longer duty, and battery life, refer to
par. 4.5.
4.5 Proper use of rechargeable batteries
When possible, recharge batteries only when at least two of the icon
bars have disappeared (the icon should indicate ). Be aware that
charging time will be shorter in proportion to the amount of residual
charge remaining in the battery, therefore, when only two bars appear
in the icon, this indicates you will require about 50% of time indicated
on the table in par. 4.4.a. This is particularly important if you use the