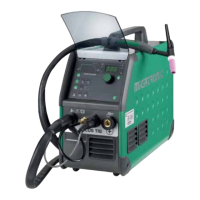
QUICKGUIDE
FLEX 3000C/FLEX 3000 DUO
Starting your FLEX 3000C
Check that the machine is correctly connected
to 3 x 400V and switch on the machine.
Insert the MigaCARD
®
into the card reader and
wait for the input process. Remove non-editable
cards from the card reader after the input pro-
cess, as the card will always reset the machine to
Migatronic standard setting when the machine
is switched on/off.
An editable card can be used for copying or sav-
ing your own settings.
Press keypad 2 and choose the desired welding
programme by means of the left control knob.
Once you have chosen a programme, press key-
pad 2 again. The machine is ready for use.
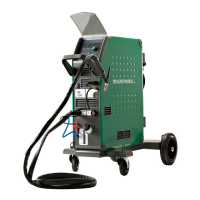
Choose (top/bottom) wire cabinet on the FLEX
DUO by means of the reverser under the ON/OFF
switch at the front part of the machine.
When you alternate between top/bottom wire
cabinet, choose new programme. See points 2
and 3.
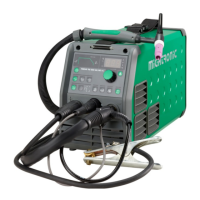
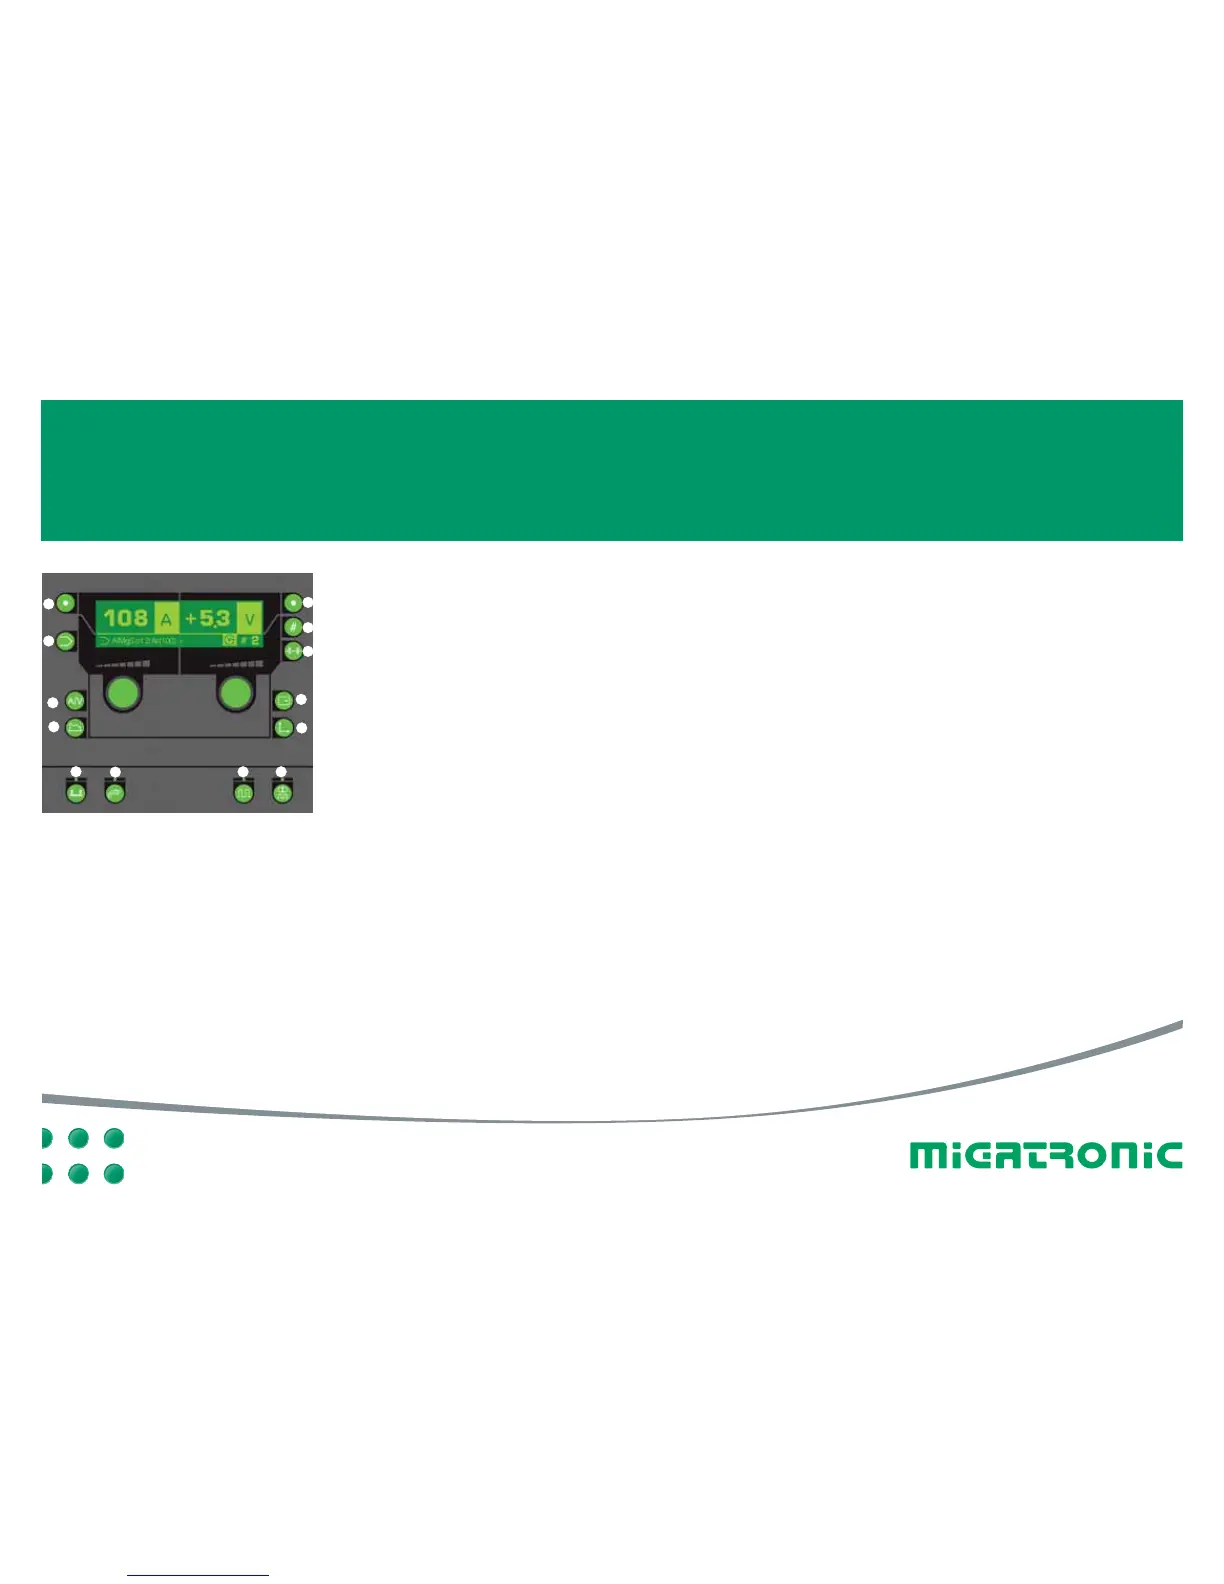
Keypads:
Use the two control knobs (each controlling one
half of the display) for adjustment of relevant
displays and values.
1. Display of: wire feed speed (m/min.),
thick ness of material at fillet weld (mm)
or amperage (A).
2. Choice of programme: the menu is active
when the display icon flashes. Then it is
possible to choose new programmes.
Accept new choice of programme by
pressing the keypad again.
3. Primary display: Press the keypad to view
the primary display (A/V). The keypad can
be used anytime and clears other displays.
4. Secondary parameter display: Press the
keypad to view secondary parameter dis-
plays, such as preflow, soft start, hot start %
,
hot start time, slope down, stop amp, burn
back, postflow.
5. Trigger mode: When the LED is on = 4-
stroke. When the LED is off = 2-stroke.
6. Adjustment of torch: If the LED is on =
setting of welding current from the Miga-
tronic Dialog torch or setting of several pa-
rameters from the MIG Manager
®
torch
(both torches are extra equipment). When
the LED is off = internal adjustment.
7. Pulse: When the LED is on, synergic pulse
welding is active in the programme chosen.
When the LED is off = synergic welding
without pulse.
8. Quattro: When the LED is on, the Quattro
function is active. If the LED is off = Quattro
function is not active. The Quattro function
can be used in welding programmes with or
without pulse. If you press keypad 4 twice
when the Quattro LED is on, a special Quattro
menu is called.
9. Statistics: Press this keypad to view statis-
tics for the latest welding operation (e.g. A/V,
welding time etc.)
10. MigaCARD
®
: Press this keypad to view
unique details about MigaCARD
®
.
11. Tack welding function: Press this keypad
for individual setting of tack welding.
12. Sequence welding: Press this keypad to
view number of sequences chosen.
Sequences are used for change between
your own parameters.
13.
Display of: Voltage (V), voltage trim (V +/-),
Arc adjust (-5 - +5) or gas flow
(extra equipment)
This is a quickguide to the most frequently used
features of the FLEX 3000 range. If you need
more information, please see our instruction
manual.
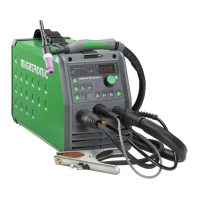
The FLEX 3000C/3000 DUO can be operated
from:
A) the primary control panel on the front cover
B) the inside panel at the card reader
C) the remote control through the torch
(extra equipment)
5
13
12
1
2
3
6
7 8
10
9
11
4
 Loading...