14
Dynamic Oxide Control (for AC welding)
0 = disabled
1 = enabled (factory settings)
Remote Control Option
It is possible to select 4 different ways
depending from the external device connected
to 8-pole plug (option). Welding current can be
controlled up to previous SET or to MAX.
External reference voltage can be 0-10V or 0-5V
(Condition 2 & 3 presents lower resolution)
0 = 0-10V Imin to ISET (factory settings)
1 = 0-10V Imin to IMAX
2 = 0-5V Imin to ISET
3 = 0-5V Imin to IMAX
Torch Remote Control
Applies to software versions as of 2.17
Makes it possible to control how the control unit
on the handle is used when torch adjustment is
enabled (
).
0 = Setting the current reference (factory default).
1 = Enabling/disabling TIG-A-Tack
(the TIG-A-Tack button is disabled).
The control unit is handled as follows:
Steps 1-3: TIG-A-Tack is
enabled
Steps 4-7: The trigger is
disabled
Steps 8-10: TIG-A-Tack is
disabled
2 = Up/Down module
* Keep pressed for constant increase/reduction
Learn more about TIG Ergo torches at
http://migatronic.com
Saves all program settings in an SD card file. Insert
an SD card in the machine (same procedure as for
SW update).
Loads program settings from SD card. Use P.SA. to
save program settings.
All above settings are not modified via Reset.
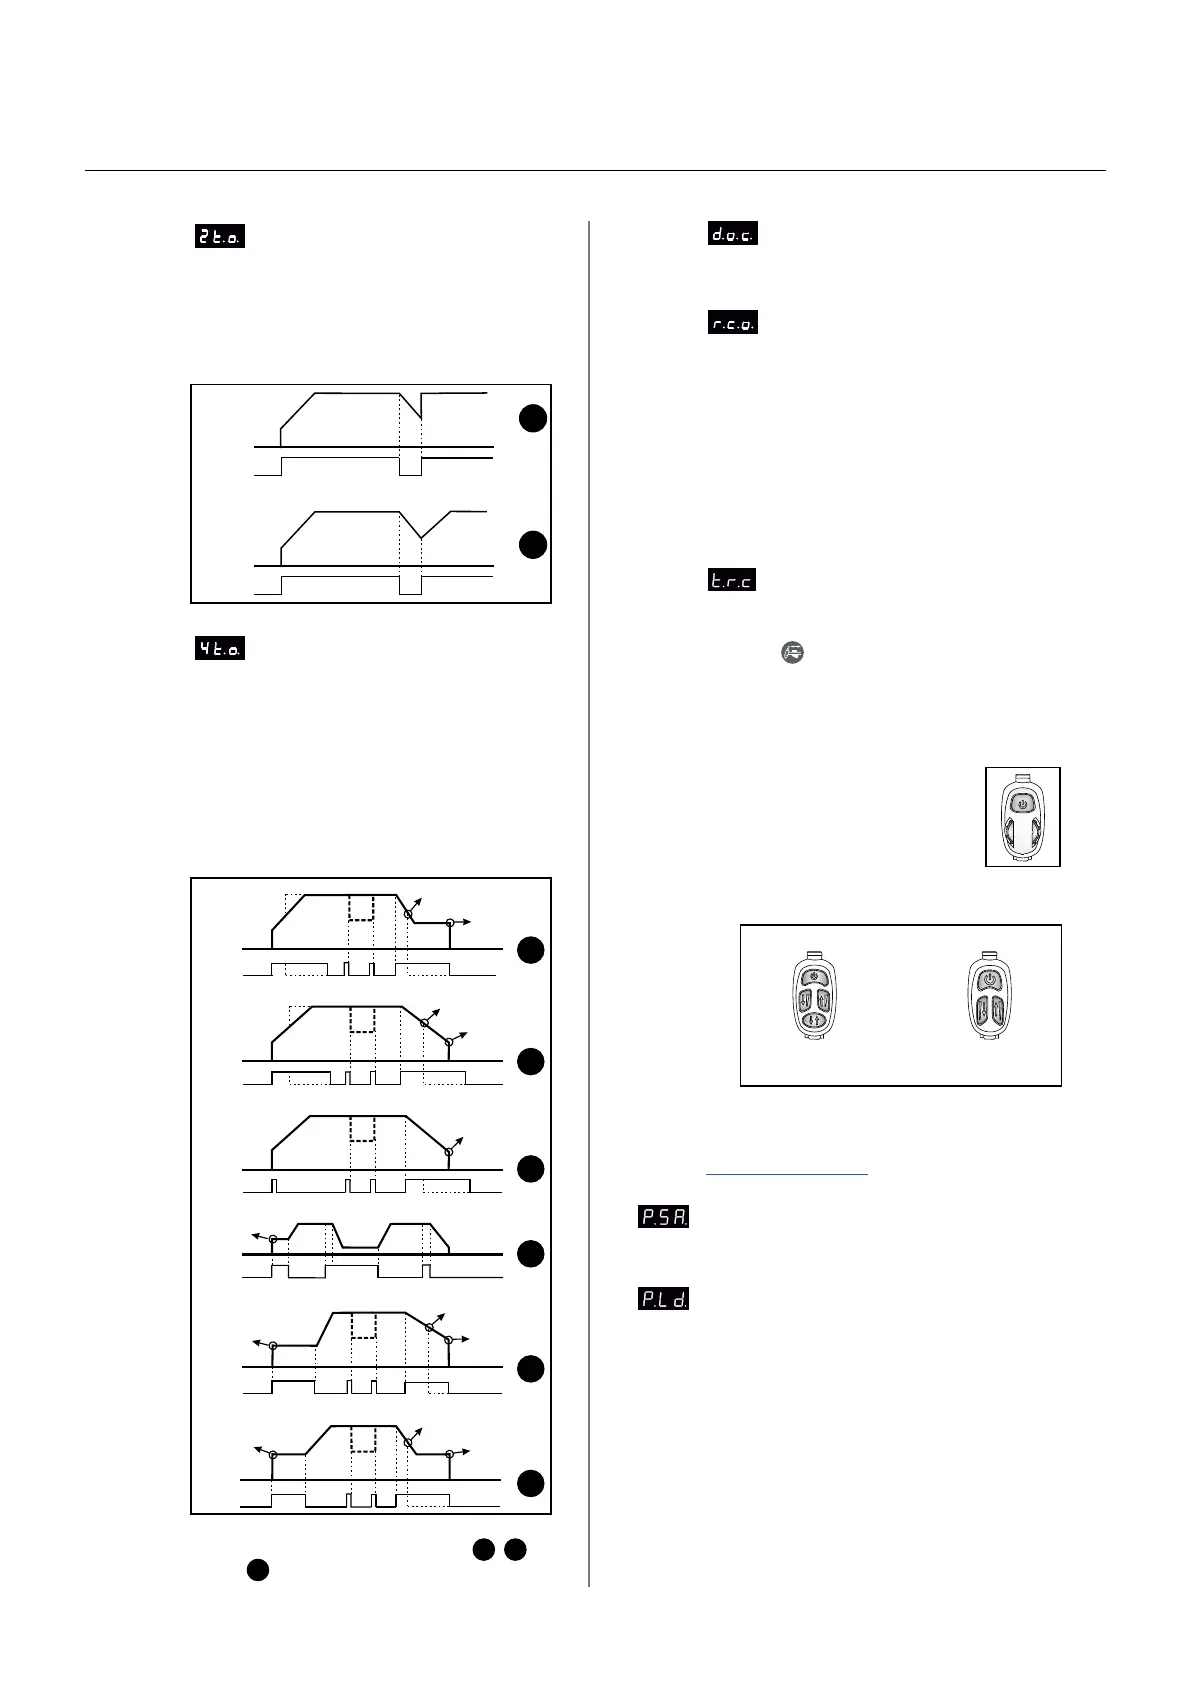
2-times option for torch trigger
Permit to define 2 different ways to
control the retrigger of machine during slope
down. For detailed description of different
behaviours see the following diagrams.
0: Immediate return to welding current (default)
1: Return to welding current by slope up
4-times option for torch trigger
Permit to define 6 different ways to
control the torch trigger when the machine is
set as 4Times stroke (Lift or HF). Mode 3 is called
4T-REPEAT and permits to keep the arc active
also at the end of slope down for an easier
restart of sequence. In Mode 3 the function
“Second current level” is disabled. For detailed
description of different behaviours see the
following diagrams. Select a value in the range
0...5 (1=default setting).
Note: The start current is disabled in
3
,
4
and
5
if slope-up period is set at 0.
By STEP
By SlopeUP
0
1
Press / Release
Press / Release
Press / Release
Press / Release
Stop when
slope completed
Keep
final current
0
1
2
3
Press / Release
Keep
final current
5
Press / Release
Stop when
slope completed
4
Stop when key is released
Stop when key is released
Stop when
slope completed
Stop when key is released
Keep
start current
Keep
start current
Keep
start current
Stop when key is released
Enabling/Disabling
TIG-A-Tack
2A/
* 2A/*
Trigger
2A/* 2A/*
Trigger
4
3
2
9
10
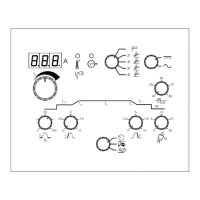
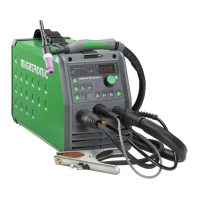
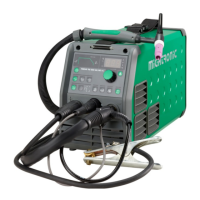
PI control panels