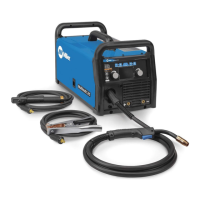
. A complete Parts List is available at www.MillerWelds.com
OM-283935 Page 35
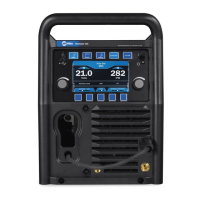
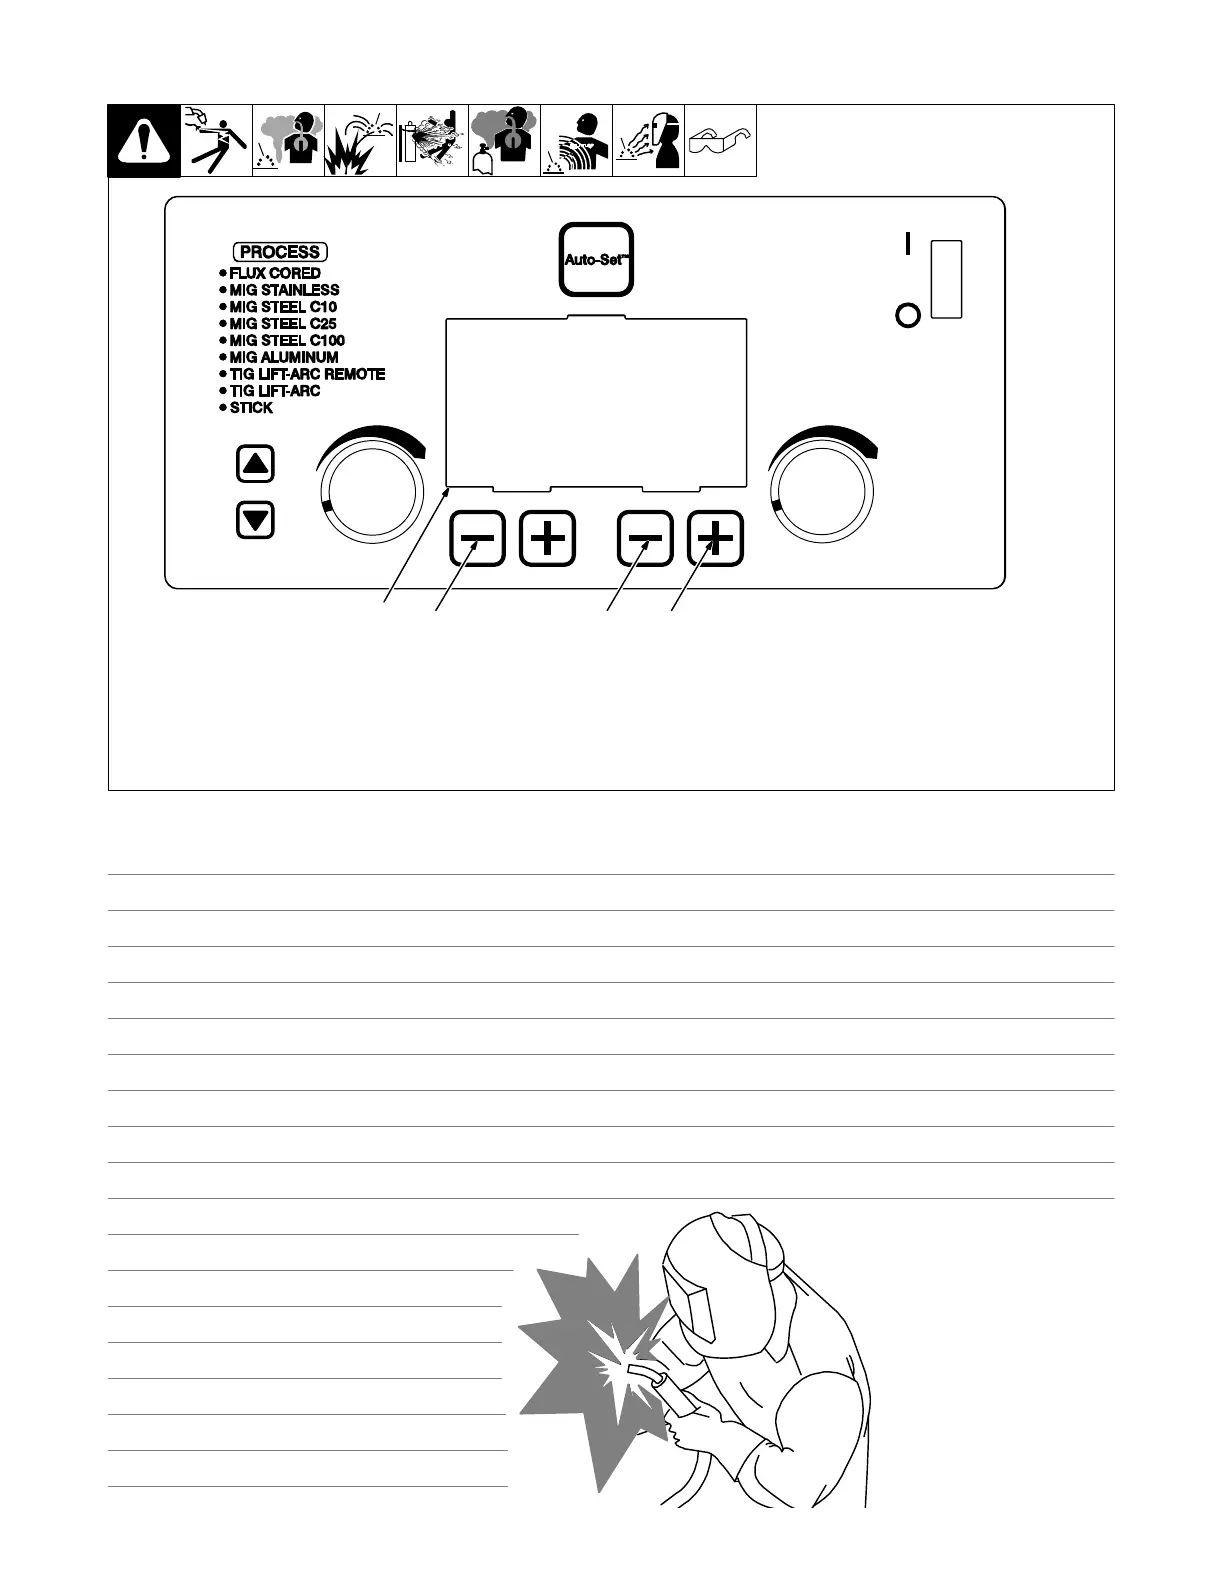
6-3. Entering Setup Menu
1 Lower Left Outside (−) Button
2 Lower Right Inside (−) Button
3 Lower Right Outside (+) Button
4 Display
To enter the setup menu, simultaneously
press then release the lower left outside (−)
button and lower right outside (+) button. Af-
ter entering the setup menu, the Material
Thickness light will flash.
To move to the next setup menu, press the
lower right outside (+) button.
To move to the previous setup menu, press
the lower right inside (−) button.
To exit the setup menu, simultaneously
press then release the lower left outside (−)
button and the lower right outside (+) button.
Ref. 281104-C
1
2
3
4
Notes
Work like a Pro!
Pros weld and cut
safely. Read the
safety rules at
the beginning
of this manual.