EasyManua.ls Logo

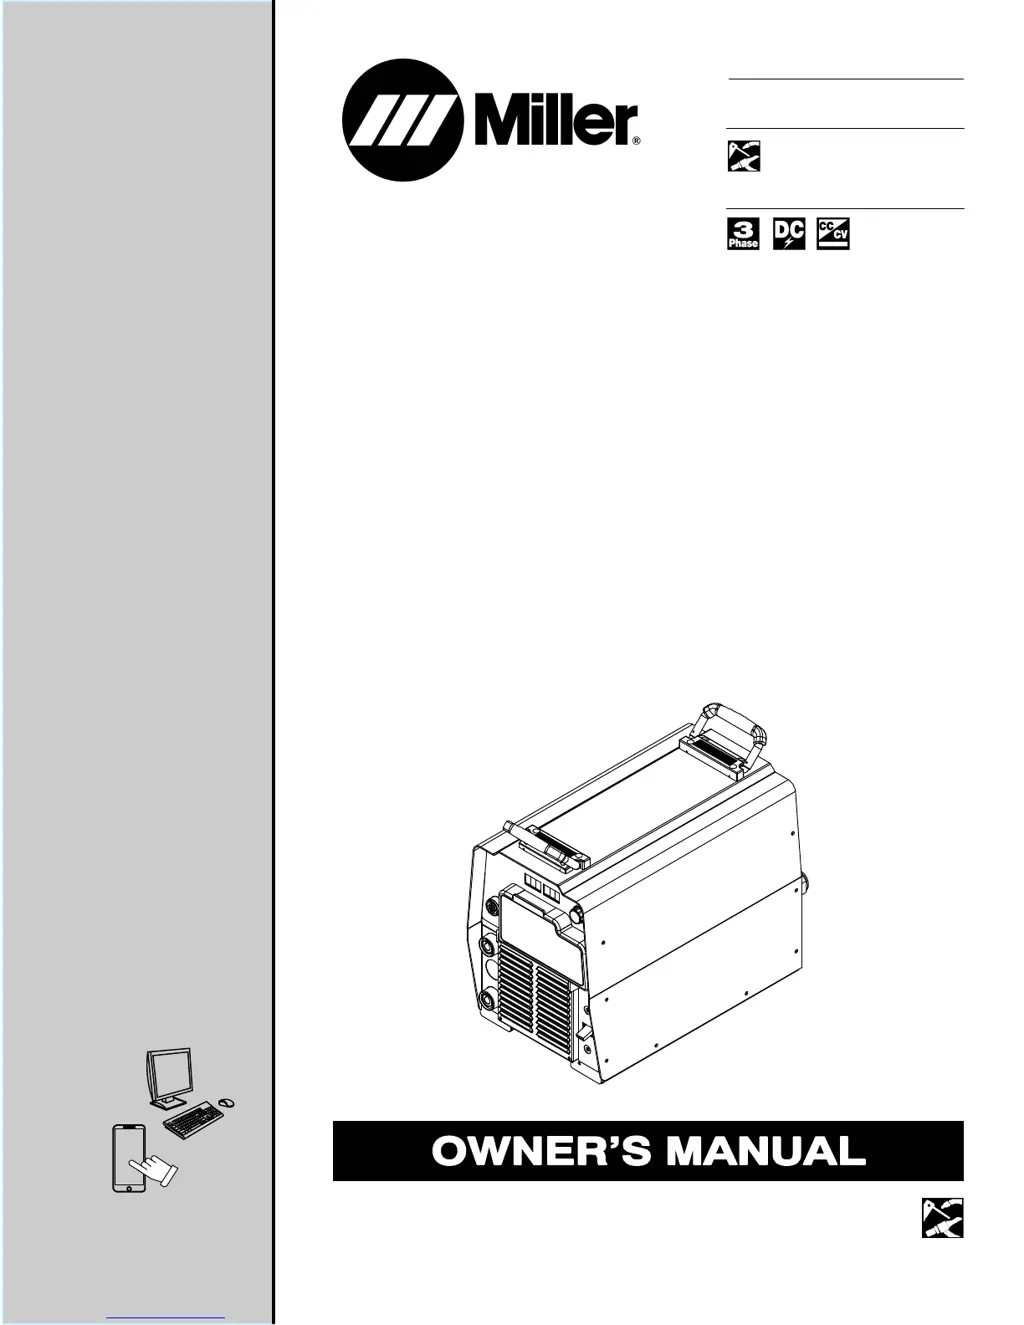
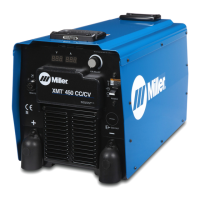
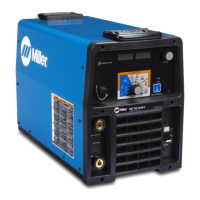
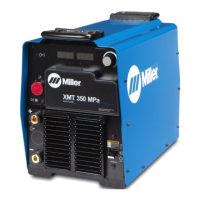
Miller XMT350 CC/CV Auto-Line CE - User Manual

Miller XMT350 CC/CV Auto-Line CE
56 pages
Print Icon
To Next Page IconTo Next Page
Loading...
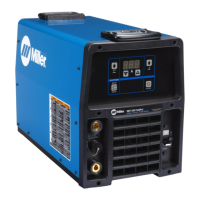
Arc Welding Power Source
XMT 350 CC/CV
OM-2254 219485AH
2017−03
Processes
Description
Multiprocess Welding
File: MULTIPROCESS
Auto-Line
CE
For product information,
Owner’s Manual translations,
and more, visit
www.MillerWelds.com

Table of Contents

Questions and Answers

  • S
    sobrienJul 28, 2025
    What to do if Miller Welding System has no weld output and is inoperative?
    • P
      pkellerJul 28, 2025
      To address a Miller Welding System that is completely inoperative with no weld output, first, ensure the line disconnect switch is in the On position. Then, check and replace the line fuses if necessary, or reset the circuit breaker. Finally, verify that the input power connections are properly connected.
  • B
    Brian SmithAug 2, 2025
    Why is the Miller XMT350 CC/CV Auto-Line CE Welding System output erratic?
    • K
      Kenneth BoydAug 2, 2025
      If your Miller Welding System is producing erratic or improper weld output, ensure you are using the correct size and type of weld cable. Clean and tighten all weld connections to ensure proper contact. Also, verify that you have the correct polarity set for your welding application.
  • M
    Melissa RayAug 8, 2025
    What to do if Miller XMT350 CC/CV Auto-Line CE Welding System has no weld output but meter display is on?
    • C
      cindyshermanAug 8, 2025
      If your Miller Welding System's meter display is on but there's no weld output, the input voltage might be outside the acceptable range. In this case, check, repair, or replace the remote control. Also, the unit may have overheated; allow it to cool down with the fan on.
  • J
    Joshua OliverAug 14, 2025
    How to fix no 115 volts AC output on Miller XMT350 CC/CV Auto-Line CE?
    • W
      William MedinaAug 14, 2025
      If there is no 115 volts AC output at the duplex receptacle of your Miller Welding System, reset the supplementary protector CB1.
  • T
    Trevor WarrenAug 21, 2025
    How to fix no 24 volts AC output at Remote 14 receptacle on Miller XMT350 CC/CV Auto-Line CE Welding System?
    • S
      Sara GarciaAug 21, 2025
      If your Miller Welding System has no 24 volts AC output at the Remote 14 receptacle, reset the supplementary protector CB2.

Summary

Section 1 Safety Precautions: Symbols and Arc Hazards

1-2. Arc Welding Hazards

Details hazards associated with arc welding processes.

Section 1 Safety Precautions: General Hazards Part 1

Fumes and Gases Hazards

Warning about hazardous fumes and gases produced during welding.

Arc Rays Hazards

Describes risks of arc rays burning eyes and skin.

Welding Fire or Explosion Hazards

Outlines dangers of fire and explosion during welding operations.

Section 1 Safety Precautions: General Hazards Part 2

Section 1 Safety Precautions: Installation, ESD, and Moving Parts

Section 1 Safety Precautions: Battery, HF, and Arc Interference

Section 4 Specifications: Identification and Unit Specs

Section 4 Specifications: Duty Cycle

4-5. Duty Cycle And Overheating

Explains duty cycle ratings and consequences of overheating.

Section 4 Specifications: Volt-Ampere Curves

Section 5 Installation: Location and Cable Selection

Section 5 Installation: Terminals and Receptacles

Section 5 Installation: Gas and Electrical Service

Section 5 Installation: Input Power Connection

Section 6 Operation: Controls and Modes

6-1. Front Panel Controls

Describes the function of each control on the front panel.

6-2. Mode Switch Settings

Lists the different modes and their corresponding settings.

Section 7 GTAW Operation

7-1. Typical Connection For GTAW Process

Illustrates the standard connection for GTAW welding.

7-2. Scratch Start TIG Welding Mode - GTAW Process

Explains how to set up and operate in Scratch Start TIG mode.

7-3. Lift-Arc TIG Welding Mode - GTAW Process

Details the setup and operation for Lift-Arc TIG welding.

7-4. TIG Welding Mode - GTAW Process

Explains the setup and operation for standard TIG welding.

Section 8 GMAW;FCAW Operation

8-1. Typical Connection For Remote Control Feeder GMAW;FCAW Process

Shows connections for GMAW/FCAW with a remote feeder.

8-2. MIG Welding Mode - GMAW;FCAW Process

Details operation for MIG welding using GMAW/FCAW.

8-3. Typical Connection For Remote Control Feeder GMAW-P Process

Illustrates connections for pulsed MIG with a remote feeder.

8-4. Pulsed MIG Welding Mode - GMAW-P Process

Explains operation of the pulsed MIG welding mode.

8-5. Typical Connection For Voltage-Sensing Feeder GMAW;FCAW Process

Shows connections for voltage-sensing feeder GMAW/FCAW.

8-6. V-Sense Feeder Welding Mode - GMAW;FCAW Process

Details operation for V-Sense Feeder welding mode.

Section 9 SMAW;CAC-A Operation

9-1. Typical Connection For SMAW And CAC-A Process

Illustrates connections for SMAW and CAC-A processes.

9-2. CC Welding Mode - SMAW;CAC-A Process

Explains operation in CC welding mode for SMAW/CAC-A.

9-3. Stick Welding Mode - SMAW;CAC-A Process

Details operation for Stick welding mode.

Section 10 Maintenance & Troubleshooting

Section 11 Electrical Diagram

Miller XMT350 CC/CV Auto-Line CE Specifications

General IconGeneral
Rated Output350 A at 34 VDC, 60% Duty Cycle
Welding Amperage Range5 - 425 A
Auto-LineYes
Power Factor0.95
Protection ClassIP23
Input Power208-575V, 3-Phase, 50/60Hz
Welding ProcessesMIG (GMAW), Stick (SMAW), TIG (GTAW), Flux-Cored (FCAW)
Output Voltage Range10 - 38 V

Related product manuals