EasyManua.ls Logo

Millipore Elix 35 Clinical - User Manual

Millipore Elix 35 Clinical
55 pages
Print Icon
To Next Page IconTo Next Page
Loading...
User Manual
Elix® 35, 70 Clinical

Table of Contents

Questions and Answers

  • D
    Derrick RothSep 4, 2025
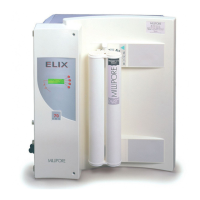
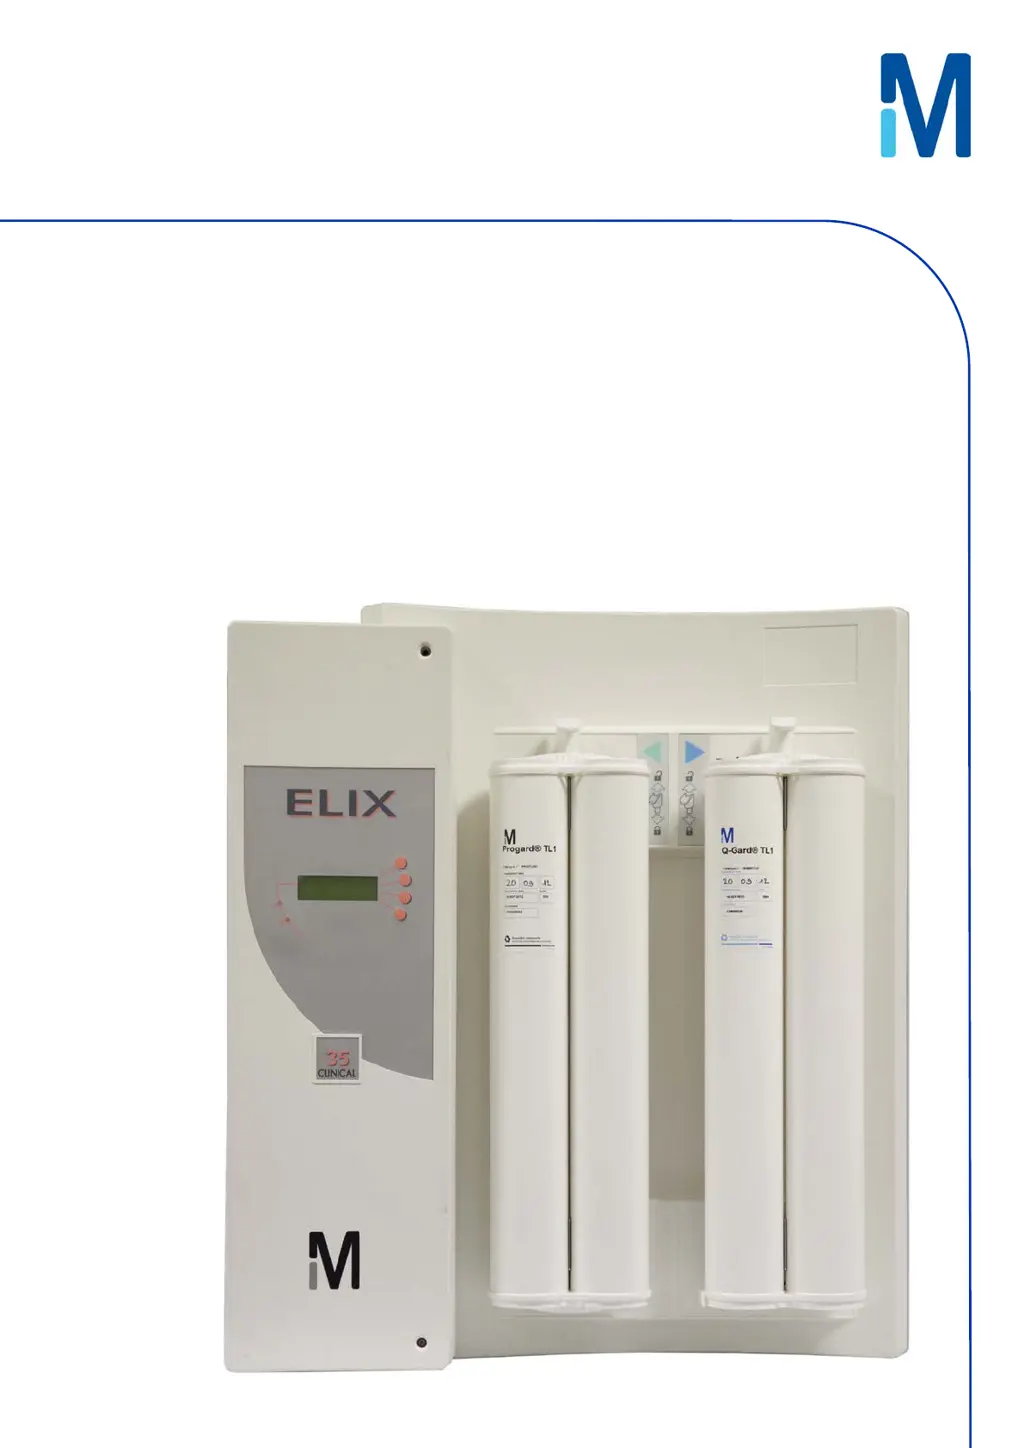
    What to do if the Millipore Elix 35 Clinical Laboratory Equipment shows '% REJECTION < SETPOINT'?
    • C
      Colin RomeroSep 4, 2025
      If the Millipore Laboratory Equipment displays '% REJECTION < SETPOINT', verify that the RO % Rejection Setpoint is at 92%. Allow the System to operate for several minutes, as this may increase the measured RO % Rejection.
  • J
    Jamie SerranoSep 18, 2025
    How to resolve 'REJ. FLOW < SET POINT' error on Millipore Laboratory Equipment?
    • Y
      ybowersSep 18, 2025
      Increase the RO Reject Water flow to the drain.
  • V
    Virginia JonesSep 16, 2025
    How to resolve 'FEED < MINI' error on Millipore Laboratory Equipment?
    • B
      Brian JacobsSep 16, 2025
      Verify that the feedwater is not already purified. Check if the feedwater conductivity is really this low.
  • P
    Patrick BrownSep 14, 2025
    What does 'PERMEATE < MINI' mean on Millipore Laboratory Equipment, and how can I resolve it?
    • J
      Jillian RomeroSep 14, 2025
      If you see 'PERMEATE < MINI', verify that the feedwater is not already purified. Very low feedwater conductivity can lead to very low permeate conductivity values.
  • B
    Billy MooreSep 13, 2025
    What does 'PRODUCT CONDUCTIVITY < MINI' mean on Millipore Elix 35 Clinical, and how do I resolve it?
    • M
      millerlindaSep 13, 2025
      To address the 'PRODUCT CONDUCTIVITY < MINI' message, keep the System in PRODUCTION Mode for a few minutes to remove any air that could be trapped in the Resistivity Sensor.
  • G
    Gina WhiteSep 12, 2025
    How to resolve 'DIST WATER CONDUCTIVITY < MINI' error on Millipore Laboratory Equipment?
    • S
      Sierra BellSep 12, 2025
      Keep the system operating for a few minutes to remove any air that could be trapped in the Resistivity Sensor.
  • J
    Julie BrownSep 9, 2025
    What does 'SERVICE CONTRACT REQUESTED' mean on Millipore Laboratory Equipment?
    • M
      Mr. Ricardo ReedSep 9, 2025
      The message 'SERVICE CONTRACT REQUESTED' means that a timer has indicated that a Service Contract visit is due.
  • T
    Tyler ShawSep 7, 2025
    What does 'QUALIFICATION CONTRACT REQUESTED' mean on Millipore Elix 35 Clinical Laboratory Equipment?
    • M
      Maureen DavidSep 7, 2025
      The message 'QUALIFICATION CONTRACT REQUESTED' indicates that a requalification of the validation is needed.
  • J
    Jennifer MartinezSep 5, 2025
    What does 'LOW PUMP PRESSURE' mean on my Millipore system, and how do I fix it?
    • J
      James AdamsSep 6, 2025
      To address the 'LOW PUMP PRESSURE', set the pump pressure higher.
  • M
    Miranda ZimmermanAug 21, 2025
    What to do if the Millipore Elix 35 Clinical Laboratory Equipment shows 'WATER DETECTED'?
    • J
      Justin PrattAug 21, 2025
      If the Millipore Laboratory Equipment displays 'WATER DETECTED', clean up any spilled water. Then, press the RESUME button on the Keypad to return to PRODUCTION Mode.

Summary

Chapter 1 INTRODUCTION

1-1 USING THIS MANUAL

Guide for normal operation and maintenance of Elix 35/70 Clinical systems.

1-2 SAFETY INFORMATION

Important safety instructions and symbols for operating the Elix Clinical System.

1-3 CONTACT MILLIPORE SAS

Contact information for Millipore SAS via internet and manufacturing site.

Chapter 2 PRODUCT INFORMATION

2-1 GENERAL DESCRIPTION

Overview of Elix Clinical Systems designed for NCCLS Type II and Type I water.

2-2 WATER SPECIFICATIONS

Details feed water requirements and product water quality for Elix systems.

2-3 TECHNICAL SPECIFICATIONS

Lists dimensions, weight, environmental, electrical, and noise level specifications.

2-4 SCHEMATIC OF MAIN COMPONENTS

Diagram illustrating the main components of the Elix Clinical System.

2-5 DESCRIPTION OF MAIN COMPONENTS

Detailed explanations of each main component within the Elix Clinical System.

Chapter 3 USING THE SYSTEM

3-1 HOW TO FILL THE RESERVOIR

Instructions for filling the reservoir using automatic and manual methods.

3-2 SOFTWARE MODES

Explanation of different operating modes like STANDBY, PRODUCTION, etc.

3-3 HOW TO VIEW THE SYSTEM PERFORMANCE

Guide to viewing system performance parameters via the DATA button.

3-4 SERIAL NUMBERS AND CONSUMABLES INFORMATION

How to find system serial numbers, catalogue numbers, and consumable information on the LCD.

Chapter 4 MAINTENANCE

4-1 SCHEDULED MAINTENANCE TABLE

Overview of scheduled maintenance tasks for system components and their frequency.

4-2 HOW TO REPLACE THE PROGARD TL

Step-by-step guide for removing and installing the Progard TL pack.

4-3 HOW TO REPLACE THE Q-GARD TL

Procedure for replacing the Q-Gard TL Polisher Pack.

4-4 HOW TO REPLACE THE OPTICAP

Instructions for replacing the Opticap final filter.

4-5 HOW TO REPLACE THE UV LAMP

Information on replacing the UV Lamp, recommended to use a service representative.

4-6 HOW TO SANITISE THE RO CARTRIDGE(S)

Methods for sanitizing RO cartridges, both automatic and manual.

4-7 HOW TO CLEAN THE RO CARTRIDGE(S)

Procedures for cleaning RO cartridges using acid or base cleaners.

Chapter 5 TROUBLESHOOTING

5-1 MAINTENANCE, ALARM, ALARM STOP AND CUSTOM MESSAGES

Classification and display of system messages including maintenance, alarm, and alarm stop.

5-2 AN ALARM MESSAGE OR MAINTENANCE MESSAGE IS DISPLAYED

Details on specific LCD messages, their meaning, and required actions.

Chapter 6 ORDERING INFORMATION

6-1 CATALOGUE NUMBERS FOR CONSUMABLES

List of consumable items with catalogue numbers and comments.

6-2 CATALOGUE NUMBERS FOR ACCESSORIES

List of accessories with catalogue numbers and comments.

6-3 CATALOGUE NUMBERS FOR ELIX CLINICAL SYSTEMS

Catalogue numbers for different Elix Clinical System configurations.

Chapter 7 APPENDIXES

APPENDIX 1 PRE INSTALLATION - WHATS INSIDE THE SHIPPING BOX

Checklist to verify all items are present before system installation.

APPENDIX 2 POST INSTALLATION CHECKLIST

Checklist to confirm proper installation and configuration of the Elix Clinical System.

APPENDIX 3 EMERGENCY BY-PASS

Procedure for using the emergency by-pass port for feedwater.

APPENDIX 4 MAINTENANCE LOG

Log sheet for recording daily maintenance and operating parameters.

Millipore Elix 35 Clinical Specifications

General IconGeneral
BrandMillipore
ModelElix 35 Clinical
CategoryLaboratory Equipment
LanguageEnglish

Related product manuals