16
5. Pour a sample into the funnel, using the graduations to reach the required volume. When the required volume has
been reached, stop pouring. Leave the cover tilted on top of the funnel, but not closed, during the next two steps.
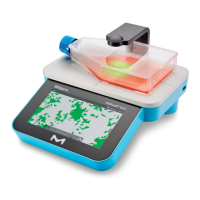
6. Press START to start the pump.
7. Operate the pump until the sample has been ltered, then press START to dry out the pump head.
Wait for the pump to stop.
8. Remove the white/opalescent cover from the solid cassette or the paper cover from the liquid cassette.
9. Remove the funnel from the pump head and reinstall the funnel cover.
10. Inspect the underside of the membrane, to verify membrane integrity. When viewed from beneath the funnel,
the membrane should have a convex shape.
11. Place the funnel base down over (and the lter membrane onto) the exposed medium cassette. The membrane
should be fully in contact with the medium.
12. Assure and secure membrane contact with the medium, by pressing slowly and rmly on the cover with the
thumb and forenger of each hand.
13. Press down on the top of the funnel with the palm of one hand. Start with a rm vertical pressure and
gradually increase your hand pressure until the funnel breaks o. The funnel will shear o at the groove on
the unit. NOTE: If the working position is uncomfortable, e.g., in a vertical laminar ow hood with the shield
in a low position, then the funnel may be broken in two steps, thus requiring less strength. Press slightly to
one side of the funnel rst, until a “snap” is heard, then press on the opposite side of the funnel until a
second “snap” is heard.
14. After the funnel section has broken o, remove the cover from the funnel and place it on top of the lter
cassette assembly.
15. Incubate upside down.
16. Wipe the pump head with an aseptic wipe.
D. Sanitizing
The pump interior should be sanitized before its rst use, after each workday and if unused for more than a day.
The Sanitizing cycle enables the user to sanitize the interior surfaces of the pump, according to a xed regimen.
See the Specications section for information on acceptable sanitizing agents.
The pump head can be autoclaved.
See the Maintenance section for autoclaving specications and for recommendations on cleaning the pump exterior.
In the Sanitizing cycle, the pump automatically circulates a quantity of sanitizing agent through the interior of
the uid-handling mechanism; pauses for ten minutes, while the interior surfaces are still wetted with the agent;
circulates the rest of the agent through the pump; and then circulates multiple rinses. The user is prompted to
add the appropriate liquid when required, at each stage. A drying cycle completes the process. The Milliex
®
HA
(mixed cellulose esters membrane) funnel should be used for sanitization with any recommended agent except
for solutions containing alcohol, where the Milliex
®
HV (PVDF membrane) is required. If the agent and the
membrane used are not compatible, remove the membrane from the funnel before sanitizing.
CAUTION
Install the exhaust tubing and waste receptacle higher than the pump, to prevent sanitizing agent being siphoned
out of the pump during the ten minutes of contact time.
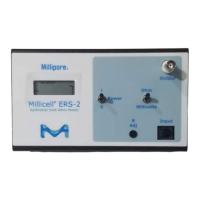
1. At the Main Program Screen, press OK, to enter the Main Menu. The display shows: Tare
2. Press the down arrow until the display shows: Sanitizing
3. Press OK. The display shows: Put expendable—press start
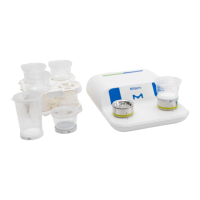
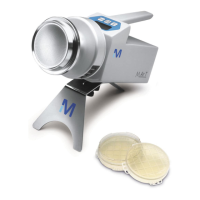
4. Place an aseptic spacer and a Milliex
®
100 funnel, without its cover, on the pump head and press START.
The display shows: Fill 100 mL of Agent press start
5. Fill the funnel with 100 mL of sanitizing agent and press START. The pump starts and the display shows: Sanitizing