Do you have a question about the Milwaukee M18 FUEL 18GA and is the answer not in the manual?
General guidelines for maintaining a safe and accident-free work environment.
Precautions related to power sources, cords, and wet conditions to prevent electric shock.
Advice on staying alert, using PPE, and preventing accidental starts for user protection.
Best practices for operating tools efficiently, maintaining them, and ensuring safe handling.
Guidelines for charging, using, and maintaining battery packs to prevent hazards like fire or injury.
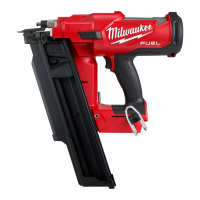
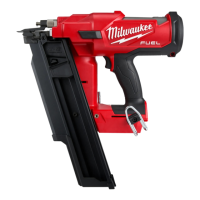
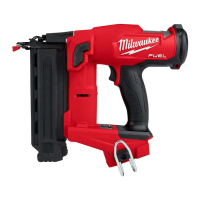
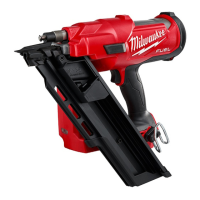
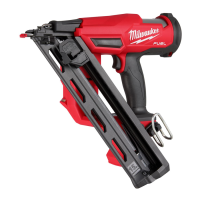
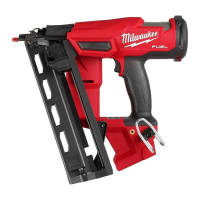
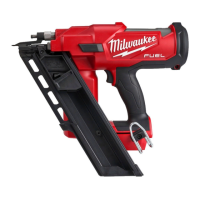
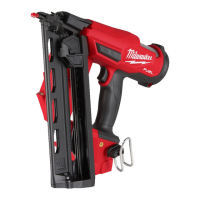
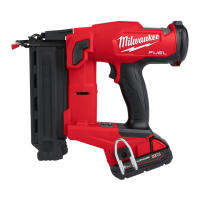
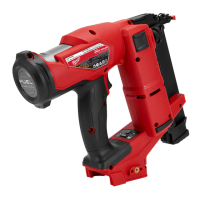
Identification and description of the tool's main components and features.
Technical details and operating parameters of the stapler, such as voltage and capacity.
Instructions for detaching and attaching the battery pack to the tool.
Steps for loading and unloading fastener strips from the magazine.
How to turn the tool on/off and choose between sequential and contact actuation modes.
Explains Single Sequential and Contact (Bump) Actuation sequences for driving fasteners.
Guidance on adjusting the fastener depth for different materials and workpiece conditions.
Steps to safely remove jammed fasteners from the tool.
Procedure to fix the striker if it fails to retract after an operation.
Daily checks to ensure the tool is functioning correctly and safely before use.
Instructions for cleaning, general upkeep, and when to seek professional service.
Information on recommended accessories for the tool.
Details on warranty coverage and service contact information for specific regions.
This document is an operator's manual for the Milwaukee M18 FUEL™ 18GA Narrow Crown Stapler, identified by Cat. No. M18 FNCS18GS. The manual provides essential safety warnings, operational instructions, and maintenance guidelines to ensure safe and effective use of the tool.
The Milwaukee M18 FUEL™ 18GA Narrow Crown Stapler is a battery-operated power tool designed for driving 18-gauge narrow crown staples. It is intended for fastening applications where a secure and precise attachment is required. The tool operates using an M18™ battery pack and features a FUEL™ brushless motor for extended runtime and durability. It offers two actuation modes: Single Sequential Actuation and Contact (Bump) Actuation, allowing users to select the appropriate mode for their specific task. The stapler is equipped with a depth adjustment mechanism, enabling control over how deep the staples are driven into the workpiece. A workpiece contact mechanism ensures that the tool is firmly placed against the material before a fastener can be driven, enhancing safety and accuracy. The tool also includes a reload indicator to alert the user when the magazine is nearly empty, preventing dry firing and ensuring continuous operation.
The stapler is designed for user convenience and safety. Before operation, users must install a compatible M18™ battery pack. The tool is turned on by pressing and holding the Power button, which illuminates a green LED ring. The Battery LED indicates the battery charge level. Users can toggle between Single Sequential Actuation mode and Contact (Bump) Actuation mode by pressing and holding the MODE button.
In Single Sequential Actuation mode, the workpiece contact must be pressed against the material, followed by pulling the trigger to drive a single fastener. This mode is ideal for precise placement of individual staples. Users are warned not to attempt to prevent recoil by holding the tool too firmly, as recoil is a normal function.
In Contact (Bump) Actuation mode, both the workpiece contact and the trigger can be activated in any sequence to drive a fastener. This mode is suitable for rapid, multiple fastenings. For multiple actuations, the user can pull and hold the trigger, then repeatedly push the tool against the workpiece to drive fasteners. For single actuation in this mode, the user grips the handle, pushes the tool against the workpiece, and then pulls the trigger. Again, users are advised to allow for natural recoil.
The depth of drive can be adjusted to suit different fastener sizes and workpiece materials. This is done by turning a depth selector left or right after driving a test fastener and removing the battery pack. Users are cautioned to know what is behind their workpiece to prevent fasteners from traveling through and striking bystanders.
The magazine capacity allows for a strip of 108 staples. To install fasteners, the battery pack must first be removed. The magazine release button is pressed, and the magazine slides open. Fasteners are placed into the bottom slot and laid flat against the magazine, ensuring the heads fit into the grooves. The magazine is then slid closed. Removing fasteners follows a similar process: remove the battery pack, open the magazine, and remove the strips. Users are always reminded to point the tool away from themselves and others when installing or removing fasteners.
A "Reload Indicator" feature prevents operation under usual pressure when the magazine is almost empty (about 4-5 fasteners left), prompting the user to install more fasteners. The tool also has a "Dropped Striker" retraction procedure for instances where the striker does not retract after an operation, involving removing fasteners, reinserting the battery, and specific contact and trigger actions.
Regular maintenance is crucial for the longevity and safe operation of the stapler. Users are advised to adopt a regular maintenance program, inspecting the tool for issues such as unusual noise, misalignment or binding of moving parts, or breakage. Any such issues should prompt a return of the tool, battery pack, and charger to a MILWAUKEE® service facility for repair. After six months to a year of use, depending on intensity, the tool, battery pack, and charger should be returned for inspection.
Before performing any maintenance, the charger should be unplugged, and the battery pack removed from the tool. Users are explicitly warned not to disassemble the tool, battery pack, or charger themselves. All repairs should be handled by a MILWAUKEE® service facility.
If the tool does not start or operate at full power with a fully charged battery pack, cleaning the contacts on the battery pack is recommended. If the problem persists, the tool, charger, and battery pack should be returned for repair.
Cleaning involves keeping the tool's vents free of dust and debris. Handles should be kept clean, dry, and free from oil and grease. Only mild soap and a damp cloth should be used for cleaning, as certain cleaning agents and solvents (like gasoline, turpentine, lacquer thinner, paint thinner, chlorinated cleaning solvents, ammonia, and household detergents containing ammonia) can be harmful to plastics and other insulated parts. Flammable or combustible solvents should never be used around tools.
A "Required Daily Testing" section outlines a checklist to be completed each day before work begins, or if the tool has been dropped or received a sharp blow. This includes checking all screws, bolts, nuts, and pins for tightness, ensuring smooth movement of the workpiece contact, and verifying proper operation in both Single Sequential and Contact Actuation modes. If any test fails, the tool should not be used and must be sent to a MILWAUKEE® service facility.
The manual also includes general power tool safety warnings, electrical safety guidelines, personal safety advice, and battery tool use and care instructions, all aimed at reducing the risk of injury and ensuring proper handling of the device.
| Type | Brad Nailer |
|---|---|
| Power Source | Battery |
| Battery Voltage | 18V |
| Depth | 3.5" |
| Nail Gauge | 18GA |
| Nail Length | 5/8" - 2 1/8" |
| Magazine Capacity | 110 |
| Firing Mode | Sequential or Contact |
| Operating Pressure | Not Applicable |
| Battery Compatibility | M18 Lithium-Ion |
| Warranty | 5 years |