5
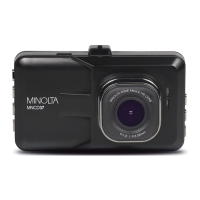
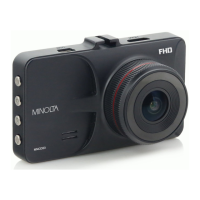
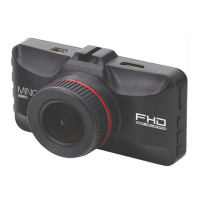
1.5 Swivel Lens
The front lens of your dashcam can swivel and adjust to your preferred point of view.
Simply move the front lens housing in any direction until satisfied with the front view. Be
sure to adjust the front lens only after applying the mount and dashcam combined to your
windshield and it is fixed firmly in place.
1.6 Display Mirror
The camcorder display has a mirror finish that allows you to use the camcorder as a mirror
when the display is off.
NOTE: The camcorder is not and should not be used as a replacement for your car’s
rearview mirror.
1.7 Startup
1.7.1 In-Car Use
Connect the included auxiliary DC power adaptor to your car’s power port. Plug the USB
plug into the camcorder’s USB port. Charging will begin immediately. Please note that the
camcorder’s internal battery has a very limited capacity and is only intended for use in
emergency use situations.
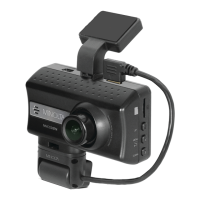
1.7.2 In-Car Camera
The camcorder comes with a second camera that can be attached to the camcorder. This
camera is used to record the interior of your vehicle at the same time as the front camera is
recording the road in front of you. The lens can be rotated allowing you to choose the best
view. To attach the in-car camera to your camcorder, simply attach the smaller plastic end
of the in-car camera to the bottom of your camcorder, make sure that the wire from the in-
car camera is pointing towards the longer edge of the camcorder. Then plug the cable from
the in-car camera into the port on the top of the camcorder. Press the UP button to change
the view on the LCD screen to the in-car camera. Video files from the in-car camera are
saved as separate files on the memory card.