12
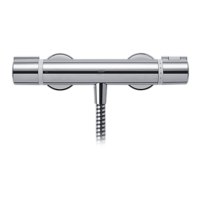
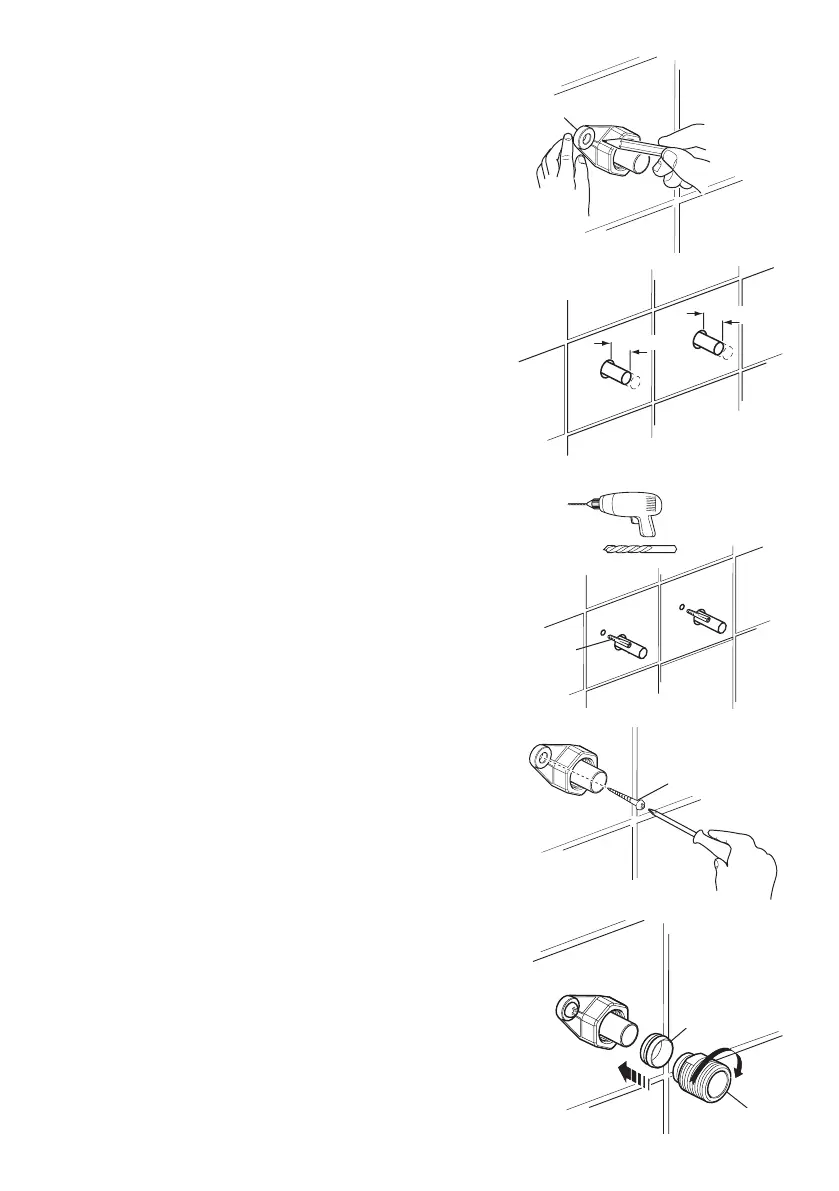
6. Drill the 2 holes for the wall brackets
with a 6 mm drill and insert the wall
plugs (some wall structures may require
alternative xings, not supplied).
Caution! Take care not to drill though
any concealed pipework.
7. Secure the wall brackets to the wall
with the xing screws supplied.
Caution! Make sure that you do not
push the pipe into the wall cavity.
Ø6 mm
25 mm
25 mm
4. Place the wall bracket over the inlet
pipes and mark the position of the 2
wall bracket xing holes.
Note! Consider the position of
concealed pipework.
5. Mark the pipe distance 25 ± 5 mm from
the nished wall.
8. Install the olives onto the inlet pipes
and tighten the nuts.
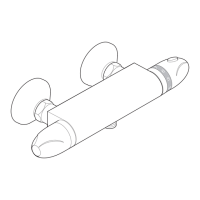
Wall Plug
Fixing Screw
Wall Bracket
Olive
Nut
 Loading...