16
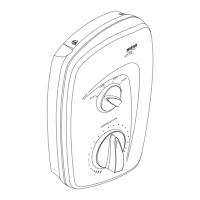
Backplate
Grub
Screw
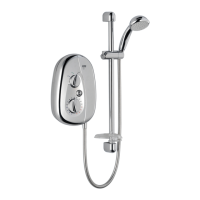
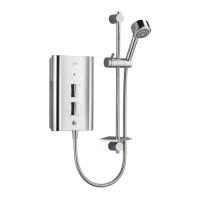
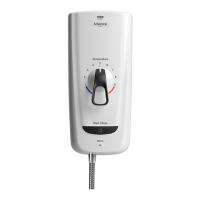
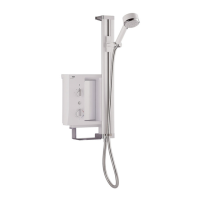
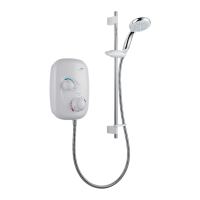
Mira Gem 88 - Surface Mounted Shower Control
1. Rising and falling inlet supplies
1.1 Determine whether the hot or cold water
services will be connected to the
shower control from the bottom (rising)
or top (falling).
1.2 The Mira Gem 88 is supplied with inlet
connections hot left, cold right and
bottom outlet as standard.
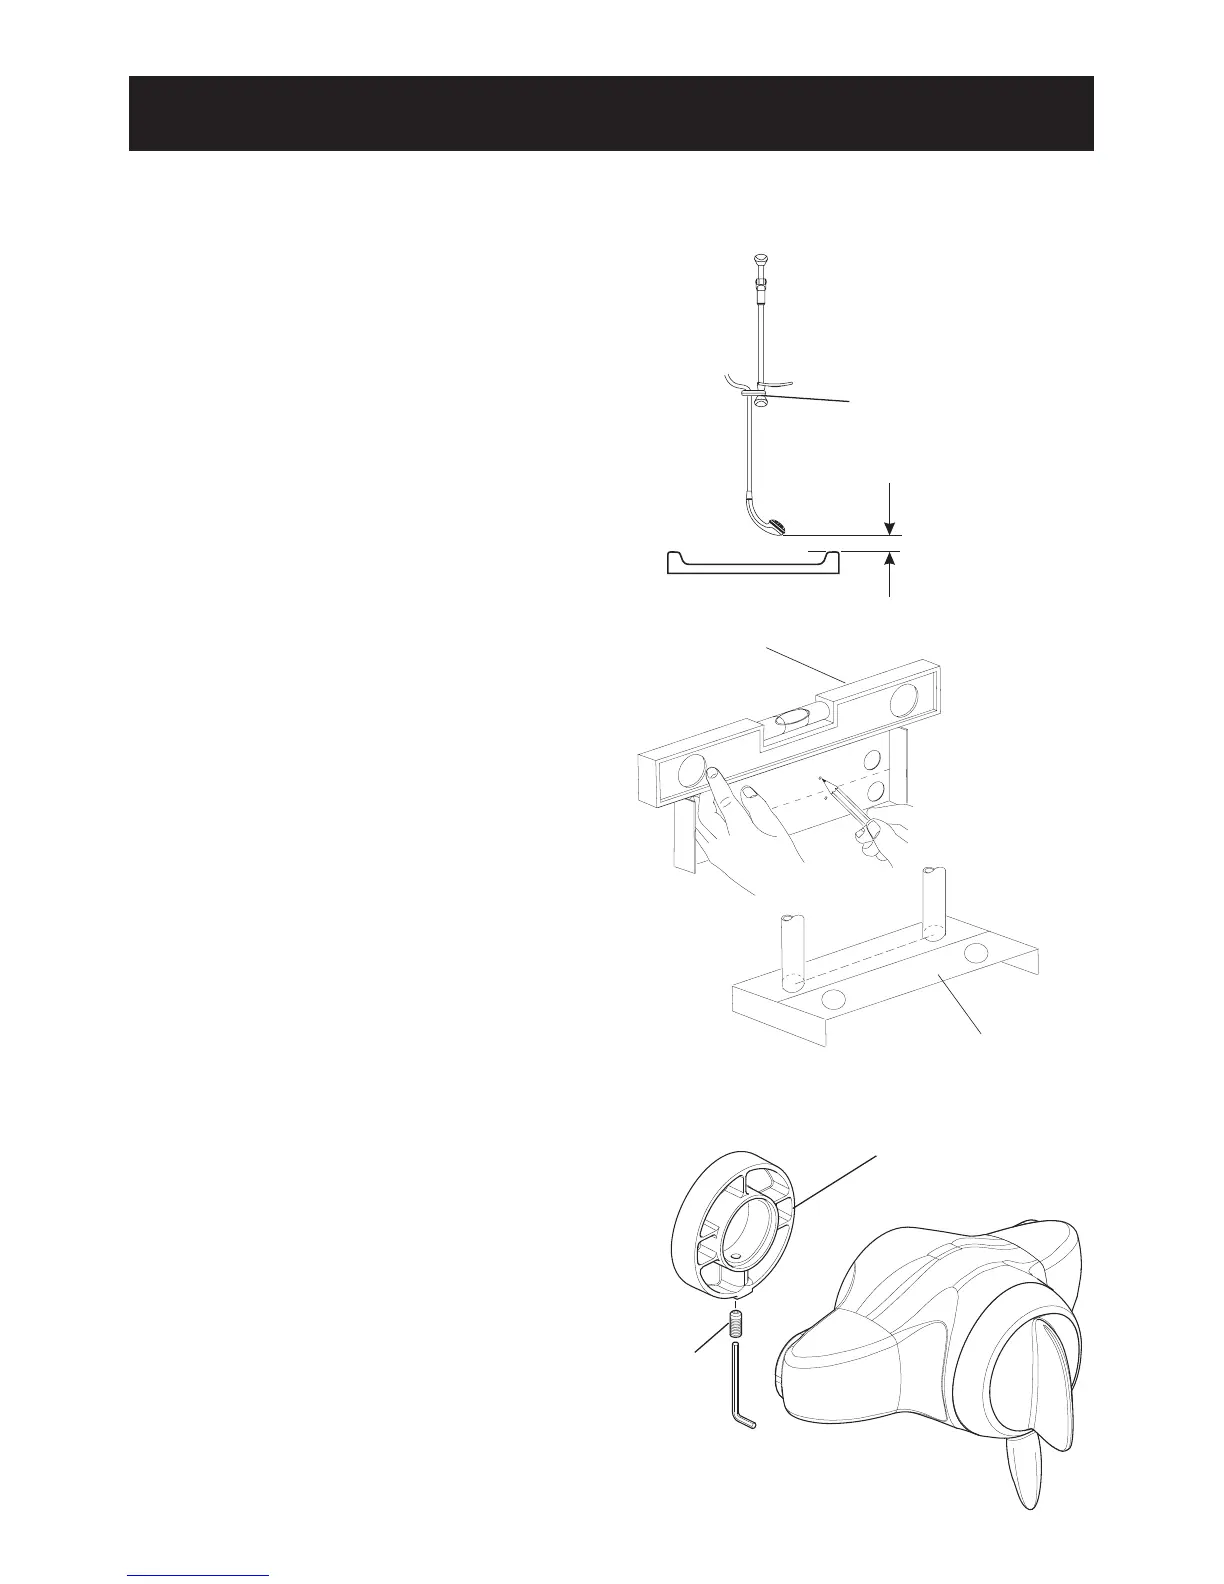
1.3 Decide on a suitable position for the
shower control. The position of the
shower control and the shower fittings
must provide a minimum gap of 25
mm between the spill-over level of the
shower tray/bath and the handset. This
is to prevent back-siphonage.
1.4 Use the installation template to mark
the positions of the holes for the
backplate.
Note! For rising/falling supplies the
distance between the pipe centres is
151 mm (See the installation template)
1.5 Loosen the backplate grub screws and
using the 2.5 mm A/F hexagonal
wrench provided, remove the
backplate from the shower control
body.
Hose Retaining Ring
25 mm Minimum
Spill-over
Level
Spirit Level
Installation Template
151 mm
INSTALLATION
 Loading...