1
D
5
4
3
2
9
F
A
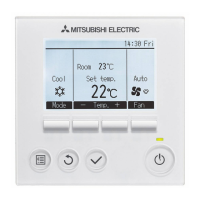
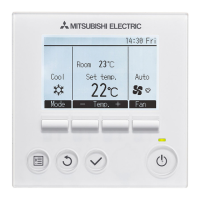
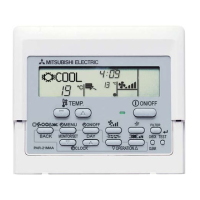
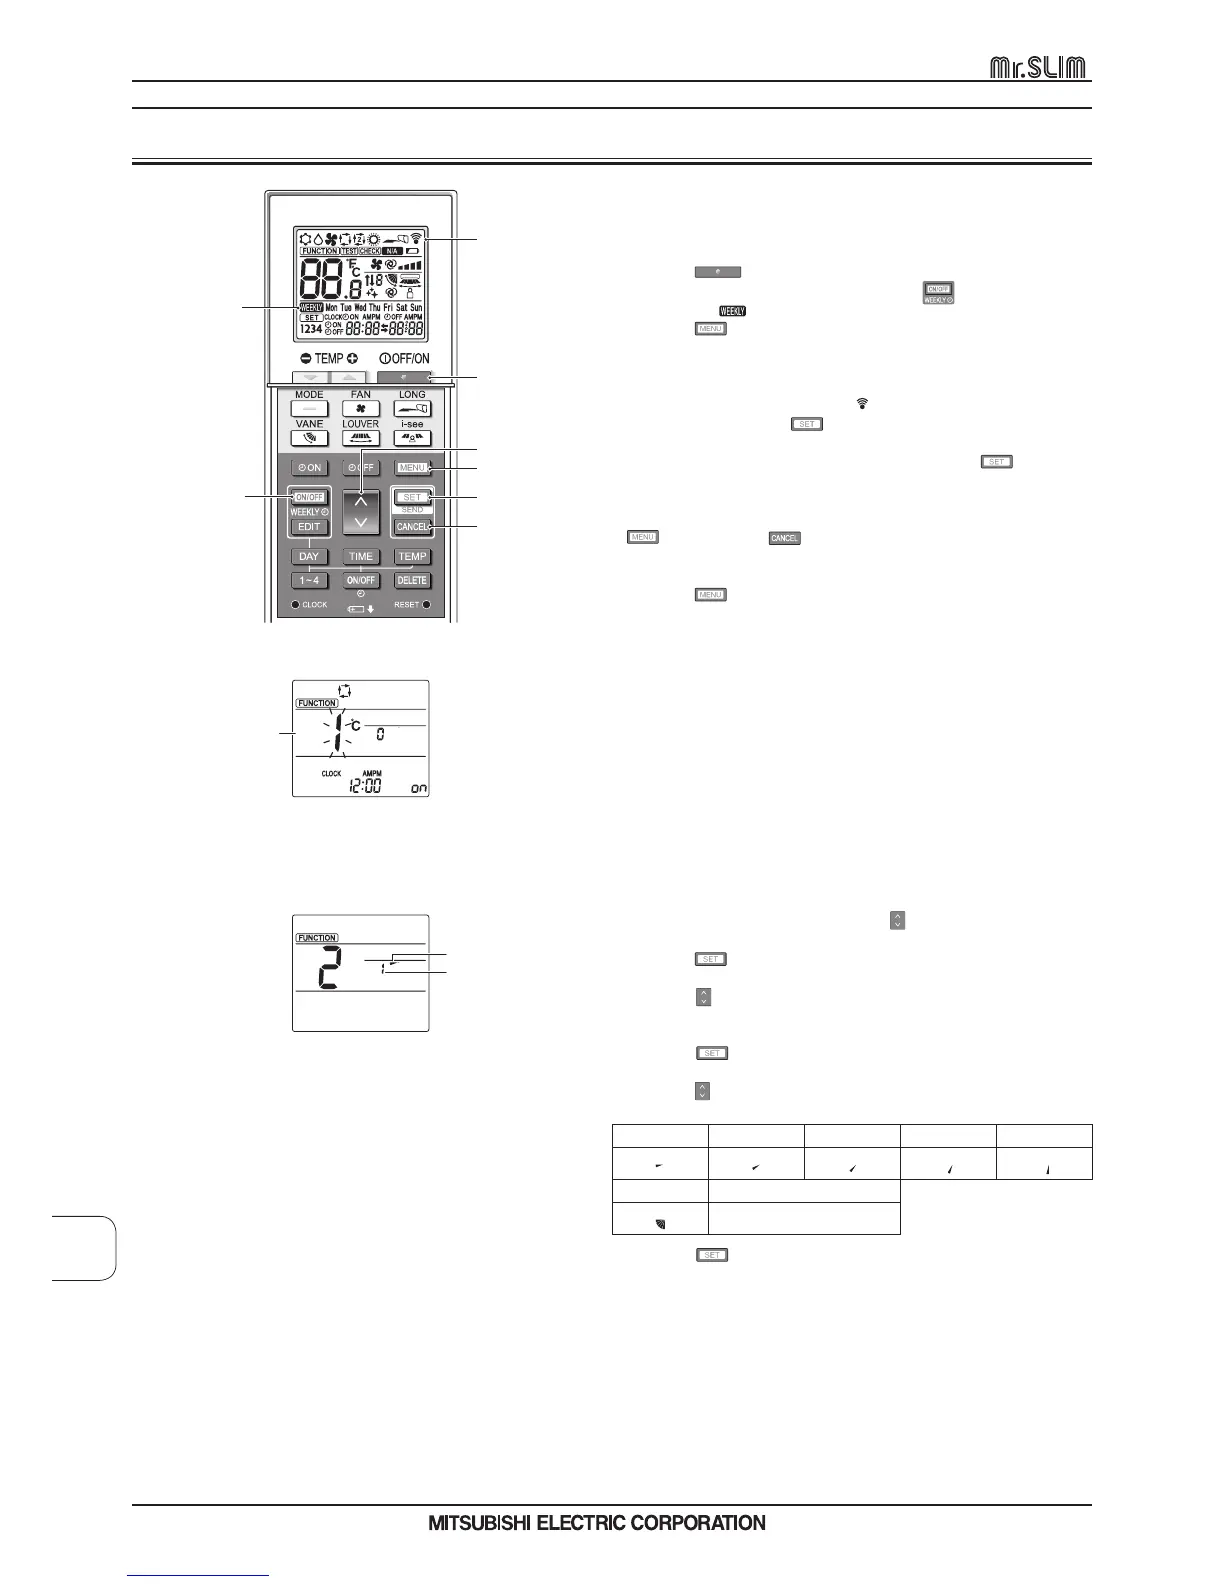
Fig. 5-1
B
C
1. In the Function setting screen, press the button 4 and select function
No. “2”.
2. Press the button 3.
• The vane number B blinks. (Fig. 5-1)
3. Press the button 4 to select the vane number.
• For information about the vane numbers, refer to the indoor unit
operation manual.
4. Press the button 3.
• The airow direction setting C blinks. (Fig. 5-1)
5. Press the button 4 to select the airow direction at which you want
to x the vane.
Step 1 Step 2 Step 3 Step 4 Step 5
No setting Draft reduction
(No display)
6. Press the button 3 to transmit the settings.
Note:
Draft reduction
The airow direction for this setting is more horizontal than the airow
direction for the “Step 1” setting in order to reduce a drafty feeling. The
draft reduction can be set for only 1 vane. The setting is enabled only for
the last vane that was set.
5.1. Setting the xed airow direction
5
. Special Operation
Some functions cannot be operated depending on the air conditioner.
Conrm whether the air conditioner supports each function, and then op-
erate the air conditioner.
<Switching to the special operation mode>
1. Press the
button 1 to stop the air conditioner.
• If the weekly timer is enabled, press the button 9 to disable
the timer. ( F disappears.)
2. Press the button 2.
• The Function setting screen will be displayed and the function No. A
will blink.
<Transmitting the settings>
• When you perform each operation,
D on the remote controller display
blinks to indicate that the button 3 must be pressed to transmit the
settings. Point the transmission area of the wireless remote controller
towards the receiver on the indoor unit and press the button 3 to
transmit the settings. Conrm that the indoor unit beeps at this time.
<Exiting the special operation mode>
1. While the operation screen for each function is displayed, press the
button 2 or the button 5.
• The Function setting screen will be displayed and the function No. A
will blink.
2. Press the button 2.
• The display returns to the normal screen.
 Loading...