2. Manual vane angle
Button operation
[
2
]
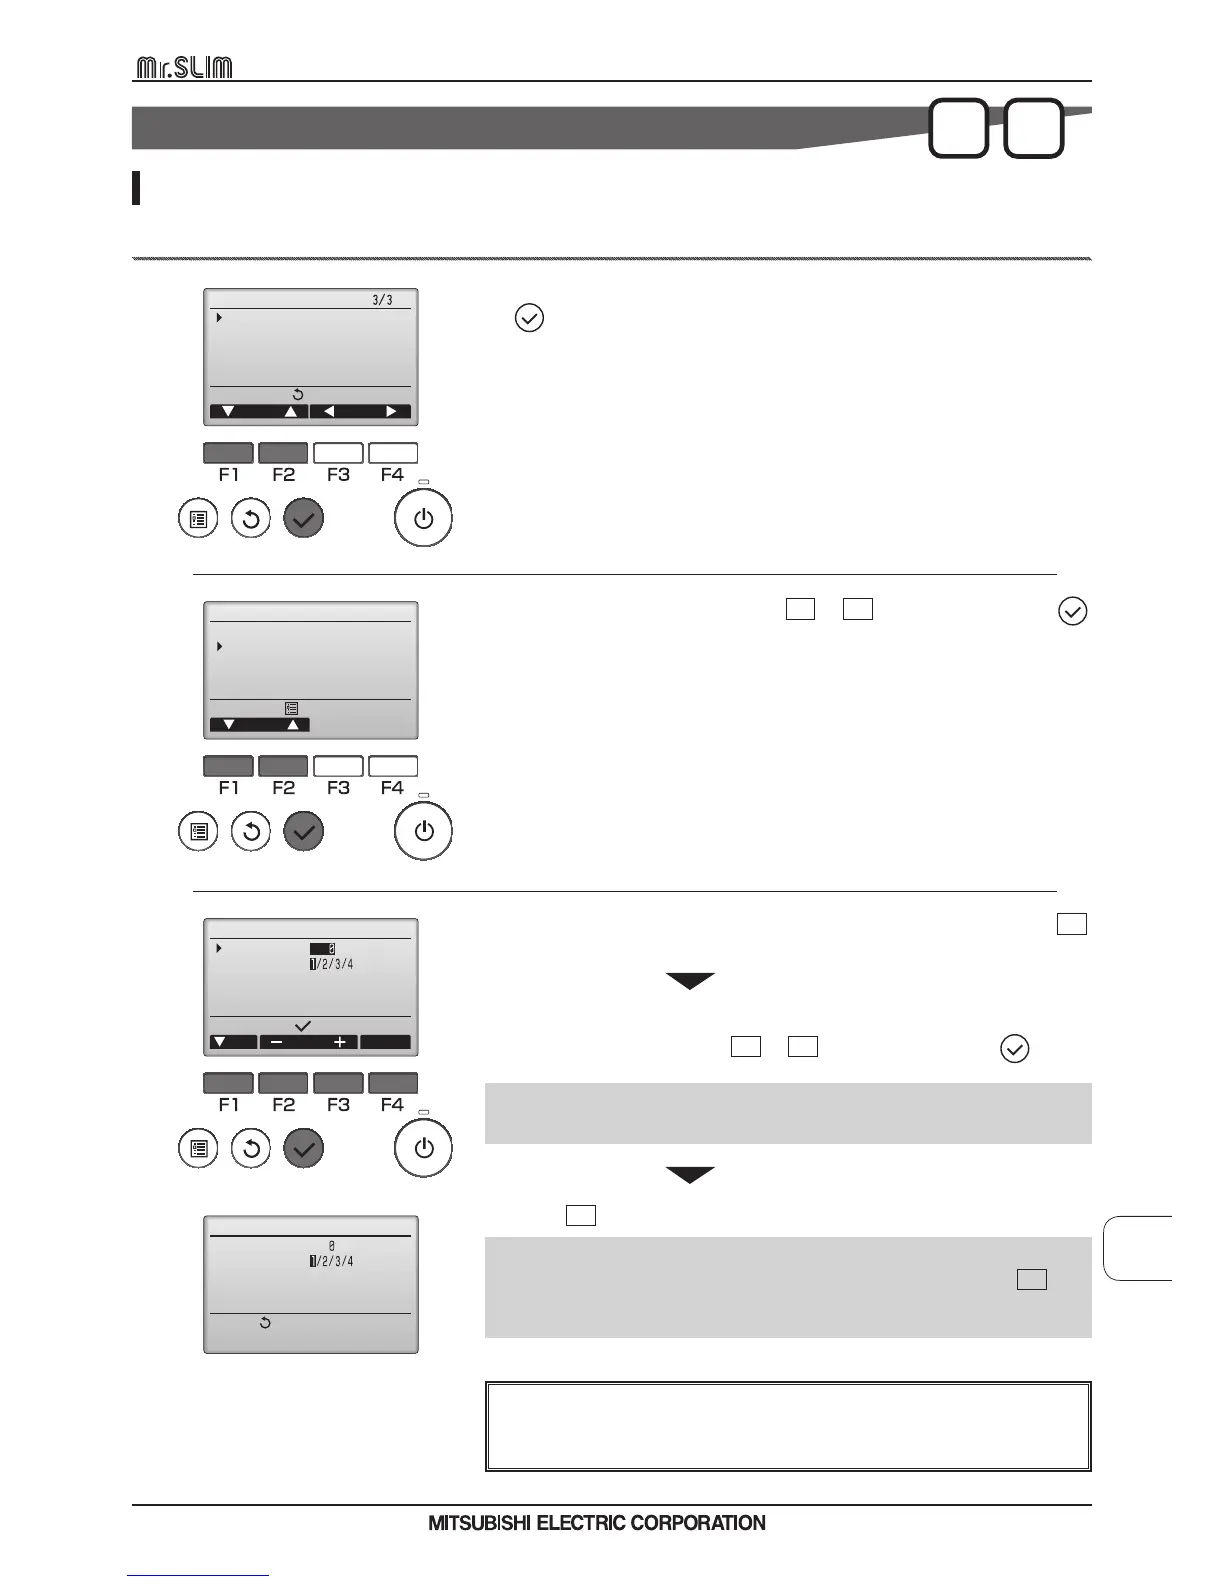
Select "Manual vane angle" with the F1 or F2 button, and press the
button.
[
1
]
Select "Maintenance" from the Main menu (refer to D-15), and press
the
button.
[
3
]
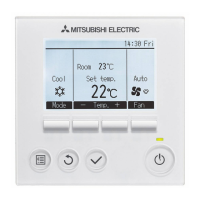
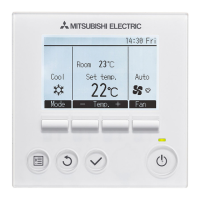
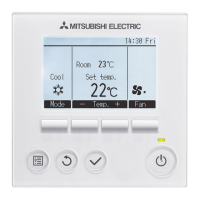
OFF
Main
Main
Main display:
Cursor Page
Main menu
Maintenance
Initial setting
Service
Manual vane angle
Input display:
Cur. Address Check
Ref. address
Unit No.
Identify unit Check button
Maintenance menu
Main menu:
Cursor
Auto descending panel
Manual vane angle
3D i-See sensor
Manual vane angle
Return:
Ref. address
Unit No.
Function setting for unit
with vane fully open.
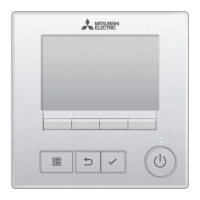
The screen at left shows a sample display on Mr. Slim. On City Multi
units, "M-NET address," is displayed instead of "Ref. address", and the
"Unit No." will not be displayed.
Move the cursor to "Ref. address", "Unit No." or "Operation" with the F1
button to select.
Select the refrigerant address and the unit number for the units to whose
vanes are to be fixed, with the F2
or F3 button, and press the button.
Applies to the of Ceiling cassette type.
Use to set the vane angle for each vane to a xed position.
• Ref. address: Refrigerant address
• Unit No.: 1, 2, 3, 4
Press the
F4
button to confirm the unit.
<Confirmation of target unit>
If the unit being set is unknown, make the setting and then press the
F4
but-
ton to conrm.
The air conditioner which is blowing downward is the target air conditioner.
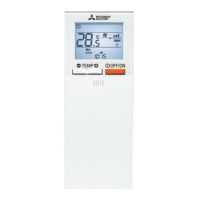
MA
REMOTE
CONTROLLER
 Loading...