– 6 –
(4) Check
(5) Diagnostic function.
To make LOSSNAY interlock setting
[3] Enter the addresses of the indoor unit and the LOSSNAY unit to be
interlocked, with the F1 through F4 buttons, select "Set" in the "Function”,
and press the SELECT button to save the settings. "Sending data" will
appear on the screen. If the setting is successfully completed, "Setting
completed" will appear.
To search for the LOSSNAY address
[4] Enter the address of the indoor unit to which the remote controller is
connected, select "Conf" in the "Function", and press the SELECT button.
"Collecting data" will appear on the screen. If the signal is received correctly,
the indoor unit address and LOSSNAY address will appear. "--" will appear
when no LOSSNAY unit is found. “Unit not exist” will appear if no indoor units
that are correspond to the entered address are found.
To delete the interlock setting
[5] To delete the interlocked setting between LOSSNAY unit and the indoor units
to which the remote controller is connected, enter the indoor unit address and
LOSSNAY address with the F1 through F4 buttons, select "Del." in the
"Function", and press the SELECT button. "Deleting" will appear. The screen
will return to the search result screen if the deletion is successfully
completed. “Unit not exist” will appear if no indoor units that are correspond to
the entered address are found. If deletion fails, "Request rejected" will appear
on the screen.
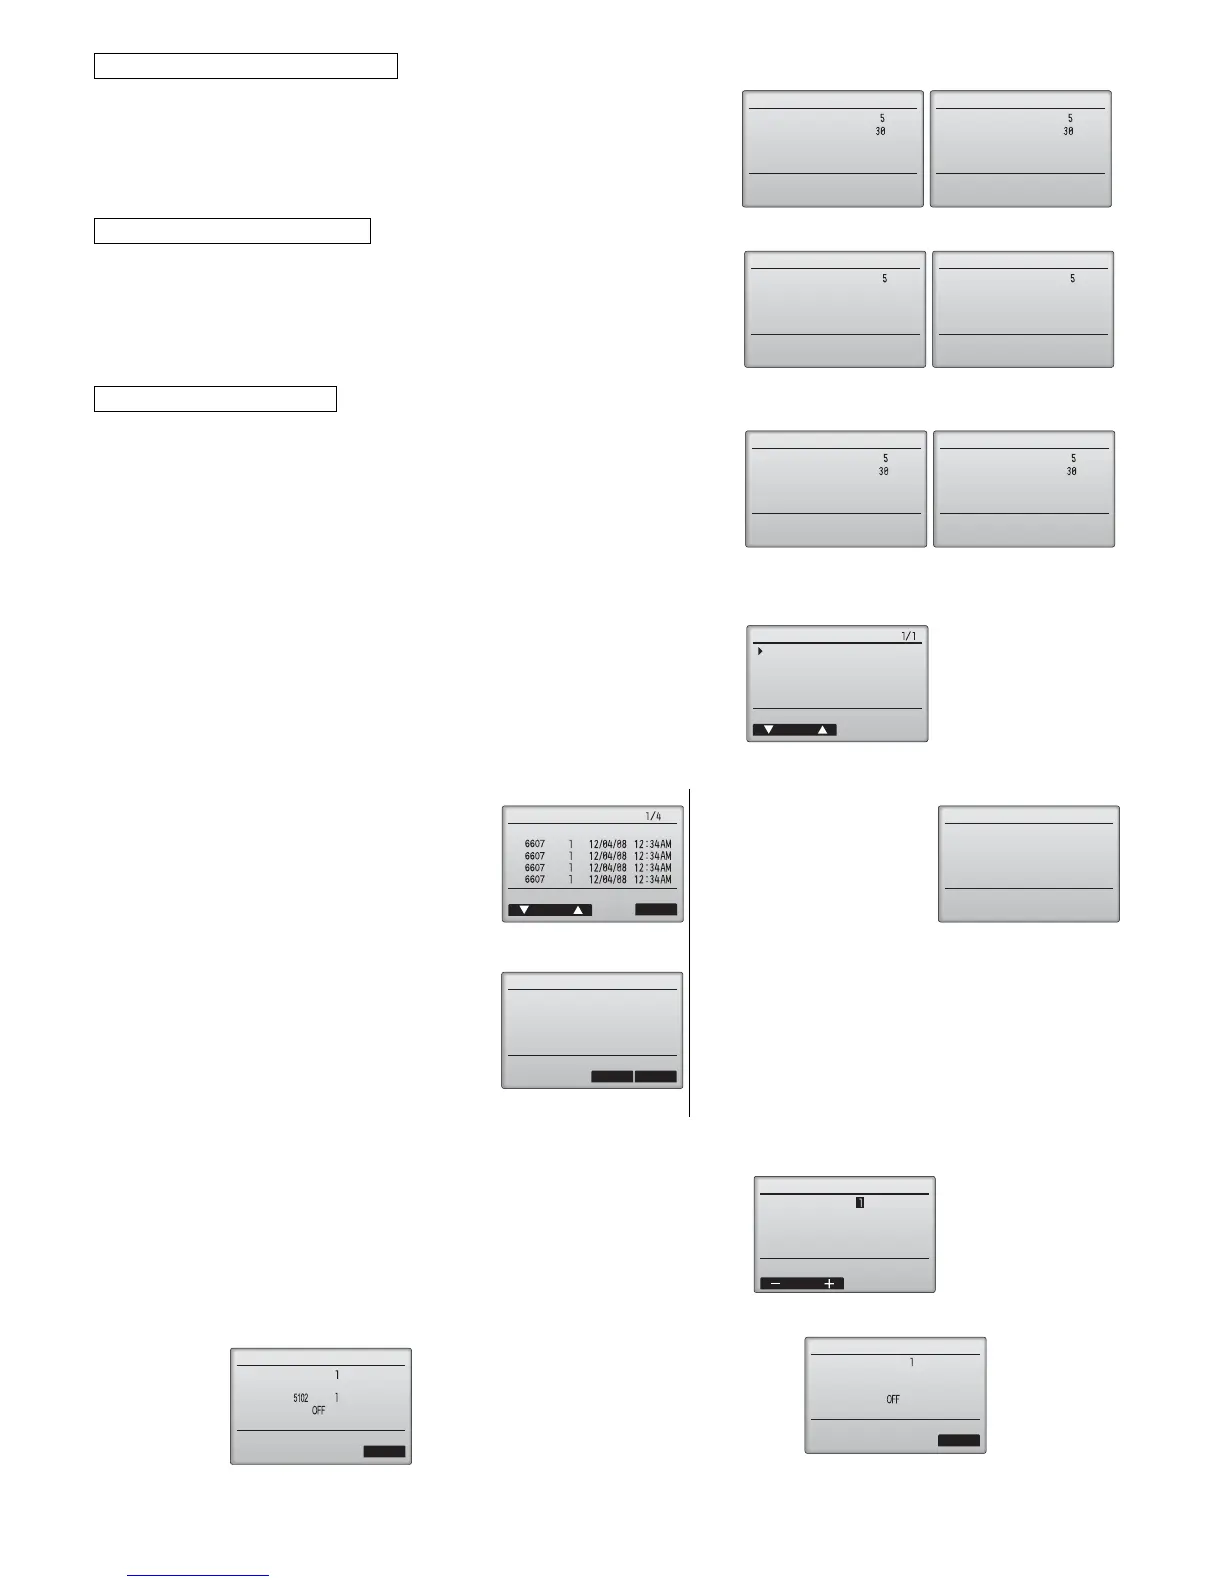
Select "Check" on the Service menu to bring up the Check menu screen.
[1] Error history
Select “Error history” from the Check menu, and
press the SELECT button to view up to 16 error
history records. Four records are shown per
page, and the top record on the first page
indicates the latest error record.
"Error history deleted" will
appear on the screen.
Press the RETURN button
to go back to the Check
menu screen.
[Deleting the error history]
To delete the error history, press the F4 button
(Delete) on the screen that shows error history. A
confirmation screen will appear asking if you
want to delete the error history.
Press the F4 button (OK) to delete the history.
Error history of each unit can be checked via the remote controller.
[Procedures]
[1] Select "Self check" from the Service menu, and press the SELECT button to
view the Self check screen.
[2] With the F1 or F2 button, enter M-NET address, and press the SELECT button.
[3] Error code, unit number, attribute, and indoor unit demand signal ON/OFF
status at the contact will appear. "-" will appear if no error history is available.
When there is no error history
LossnayLossnay
Return: RETURN
IU address
Lossnay address
IU address
Lossnay address
Sending data Setting completed
 Loading...