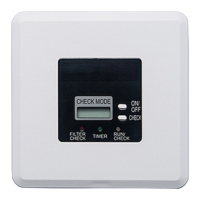
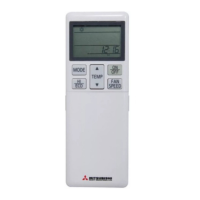
– 2 –
2. Turning on the power
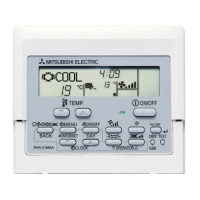
Make sure that the MA remote controller is properly installed according to the instructions in the Installation Manual and that the indoor and
outdoor unit installation has been completed before turning on the power.
(1) When the power is turned on, the following screen will appear.
(2) Main display
After the successful startup, the Main display will appear. The Main display can be displayed in two different modes: "Full" and "Basic."
Refer to section 11 "Initial settings" for how to select the display mode. (The factory setting is "Full.")
3. Test run <Maintenance password is required.>
(1) Read the section about Test run in the indoor unit Installation Manual before performing a test run.
(2) At the Main display, press the MENU button and select Service>Test run>Test run.
(3) Press the ON/OFF button to cancel the test run if necessary.
(4) Refer to the indoor unit Installation Manual for the detailed information about test run and for how to handle the errors that occur during
a test run.
4. Initial settings (Remote controller settings)
From the Main display, select Main menu>Initial setting, and make the remote controller settings on the screen that appears.
(1) Clock setting
Notes
· Only one remote controller (designated as the main controller) can be connected per group.
· When Mr. Slim unit is connected, “Connection not available” will be displayed. Mr. Slim units
cannot be operated from this remote controller.
Normal start up (indicating the
percentage of process completion)
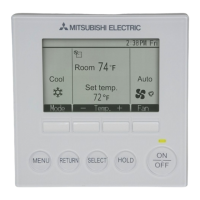
Main display in the Full mode
(while the unit is not in operation)
Main display in the Full mode
(while the unit is in operation)
Note: Refer to section 5 "Service menu" for information about the maintenance password.
Initial setting menu (1/2)
· Main/Sub
· Clock
· Main display
· Contrast
· Display details
-Clock
-Temperature
-Room temp.
-Auto mode
Initial setting menu (2/2)
· Auto mode
· Setback mode
· Administrator password
· Language selection
[Button operation]
[1] Move the cursor with the F1 or F2 button to the desired item.
[2] Change the date and time with the F3 or F4 button, and press the SELECT button to save the
change. The change will be reflected on the clock display on the Main display.
Note: Clock setting is necessary for time display, weekly timer, timer setting and error history.
Make sure to perform clock setting when the unit is used for the first time or has not used
for a long time.
 Loading...

