Chapter 4 Fuel and exhaust systems
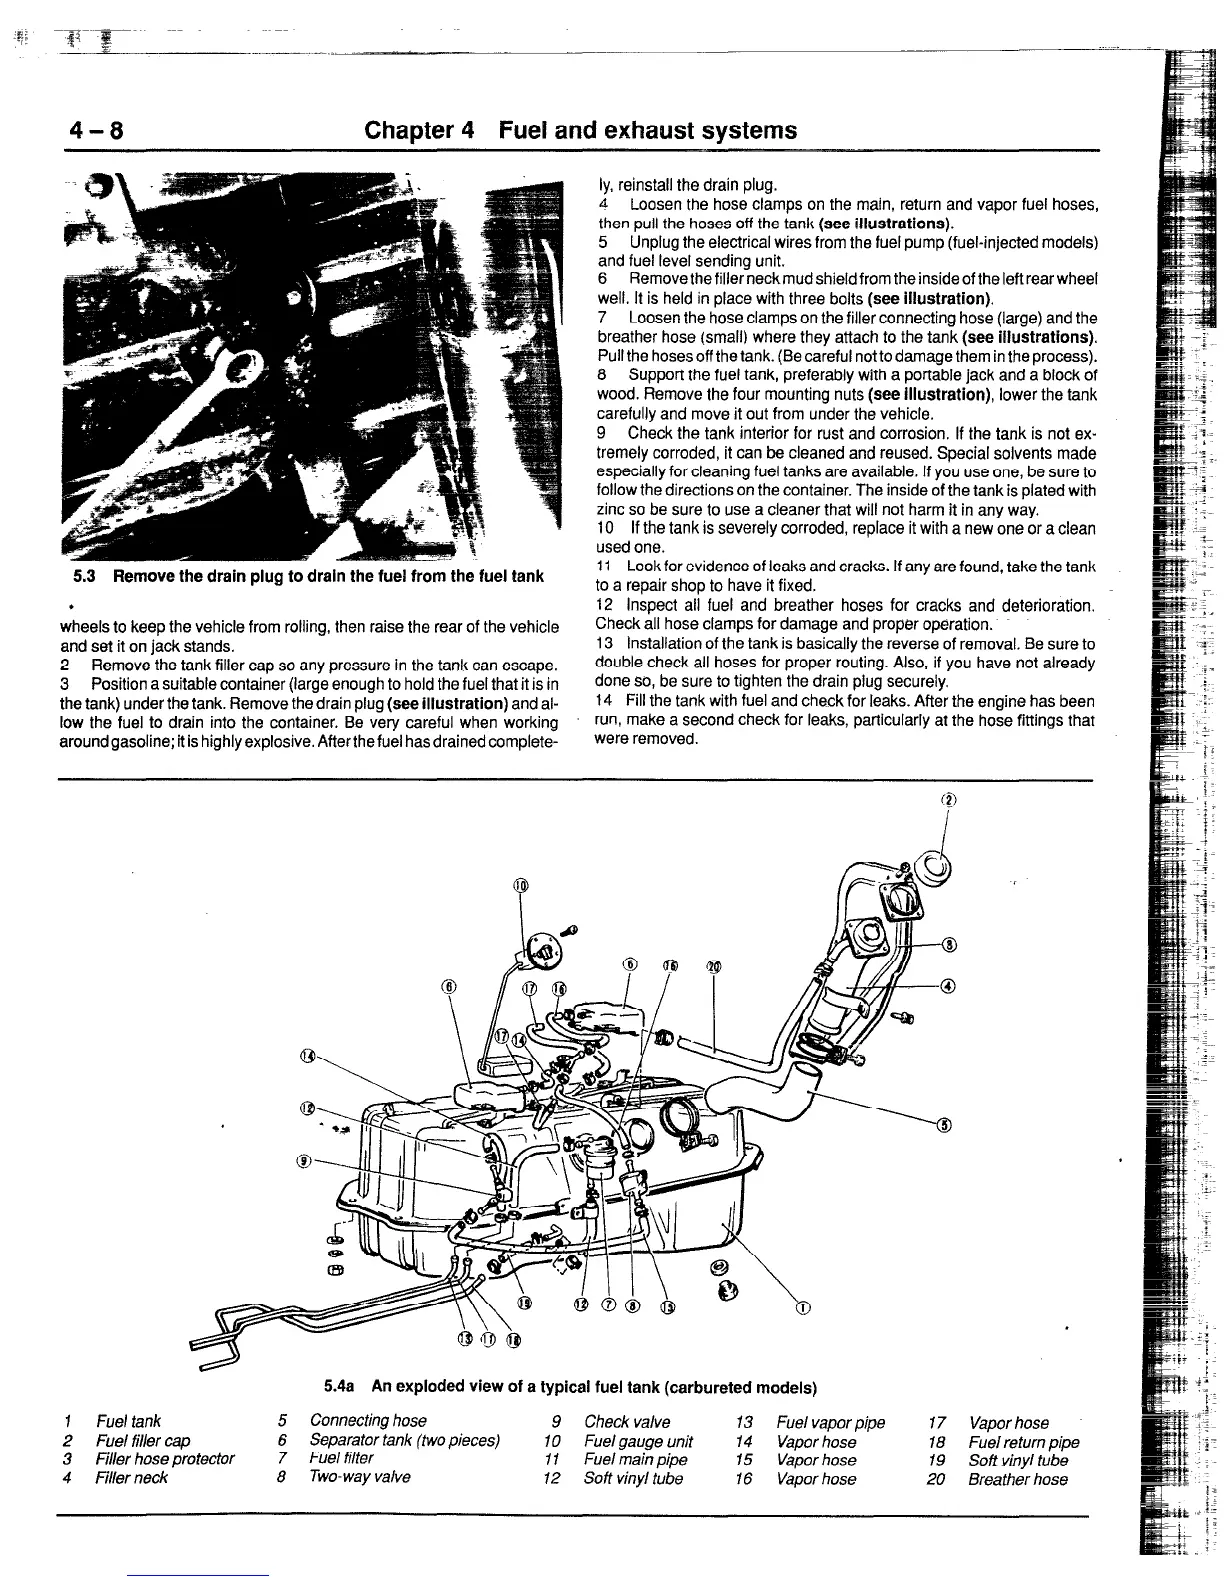
5.3 Remove the drain plug to drain the fuel from the fuel tank
l
wheels to keep the vehicle from rolling, then raise the rear of the vehicle
and set it on jack stands.
2 Remove the tank filler cap so any pressure in the tank can escape.
3 Position a suitable container (large enough to hold the fuel that it is in
the tank) under the tank. Remove the drain plug
(see illustration)
and al-
low the fuel to drain into the container. Be very careful when working
aroundgasoline; it is highly explosive. Afterthefuel hasdrainedcomplete-
ly, reinstall the drain plug.
4 Loosen the hose clamps on the main, return and vapor fuel hoses,
then pull the hoses off the tank
(see illustrations).
5 Unplug the electrical wires from the fuel pump (fuel-injected models)
and fuel level sending unit.
6 Remove the filler neckmud shield from the inside of the left rear wheel
well. It is held in place with three bolts
(see illustration).
7 Loosen the hose clamps on the filler connecting hose (large) and the
breather hose (small) where they attach to the tank
(see illustrations).
Pull the hoses off the tank. {Be careful not to damage them in the process).
8 Support the fuel tank, preferably with a portable jack and a block of
wood. Remove the four mounting nuts
(see illustration),
lower the tank
carefully and move it out from under the vehicle.
9 Check the tank interior for rust and corrosion. If the tank is not ex-
tremely corroded, it can be cleaned and reused. Special solvents made
especially for cleaning fuel tanks are available. If you use one, be sure to
follow the directions on the container. The inside of the tank is plated with
zinc so be sure to use a cleaner that will not harm it in any way.
10 If the tank is severely corroded, replace it with a new one or a clean
used one.
11 Look for evidence of leaks and cracks. If any are found, take the tank
to a repair shop to have it fixed.
12 Inspect all fuel and breather hoses for cracks and deterioration.
Check all hose clamps for damage and proper operation.
13 Installation of the tank is basically the reverse of removal. Be sure to
double check all hoses for proper routing. Also, if you have not already
done so, be sure to tighten the drain plug securely.
14 Fill the tank with fuel and check for leaks. After the engine has been
run, make a second check for leaks, particularly at the hose fittings that
were removed.
1 Fuel tank
2 Fuel filler cap
3 Filler hose protector
4 Filler neck
5.4a An exploded view of a typical fuel tank (carbureted models)
5 Connecting hose
9 Check valve
13 Fuel vapor pipe
6 Separator tank (two pieces)
IO Fuel gauge unit 14 Vapor hose
7 Fuel filter
11 Fuel main pipe
15 Vapor hose
8 Two- way valve
12 Soft vinyl tube
16 Vapor hose
17 Vapor hose
18
Fuel return pipe
19
Soft vinyl tube
20 Breather hose
 Loading...


