2D-10 Chapter 2 Part D General engine overhaul procedures
accessories. Safety is of primary importance, considering the potential
hazards involved in lifting the engine out of the vehicle.
If the engine is being removed by a novice, a helper should be avail-
able. Advice and aid from someone more experienced would also be help-
ful. There are many instances when one person cannot simultaneously
perform all of the operations required when lifting the engine out of theve-
hicle.
Plan the operation ahead of time. Arrange for or obtain all of the tools
and equipment you’ll need prior to beginning the job. Some of the equip-
ment necessary to perform engine removal and installation safely andwith
relqtive ease are (in addition to an engine hoist) a heavy duty floor jack,
complete sets of wrenches and sockets as described in the front of this
manual, wooden blocks and plenty of rags and cleaning solvent for mop-
ping up spilled oil, coolant and gasoline. If the hoist must be rented, be
sure to arrange for it in advance and perform all of the operations possible
without it beforehand. This will save you money and time.
Plan for the vehicle to be out of use for quite a while. A machine shop
will be required to perform some of the work which the do-it-yourselfer
can’t accomplish without special equipment. These shops often have a
busy schedule, so it would be a good idea to consult them before removing
the engine in order to accurately estimate the amount of time required to
rebuild or repair components that may need work.
Always be extremely careful when removing and installing the engine.
Serious injury can result from careless actions. Plan ahead, take yourtime
and a job of this nature, although major, can be accomplished successful-
IY.
5
Engine - removal and installation
Refer to illustration 5.5
Warning: Gasoline
is extremely flammable, so take extra precautions
when you work on any part of the fuelsystem. Don’t smoke or allow open
flames or bare light bulbs near the work area, and don’t work in a garage
wherea naturalgas-typeappliance (suchasa waterheaterorclothesdry-
er) with a pilot light is present. If you spill any fuel on your skin, rinse it off
immediately with soap and water. When you perform any kind of work on
the fuel system, wear safety glasses and have a C/ass B type fire extin-
gufsheron hand. Also, theairconditioningsystemisunderhighpressure-
have a dealer service department or service station discharge the system
before disconnecting any of the hoses or fittings.
Note:
Read through the following steps carefully and familiarize yourself
with the procedure before beginning work.
Removal
1 On air conditioned models only, have the air conditioning system dis-
charged by a dealer service department or service station.
2 Refer to Chapter 4 and relieve the fuel system pressure, then discon-
nect the negative cable from the battery.
3 Cover the fenders and cowl and remove the hood (see Chapter 11).
Special pads are available to protect the fenders, but an old bedspread or
blanket will also work.
4 Remove the air cleaner assembly (see Chapter 4).
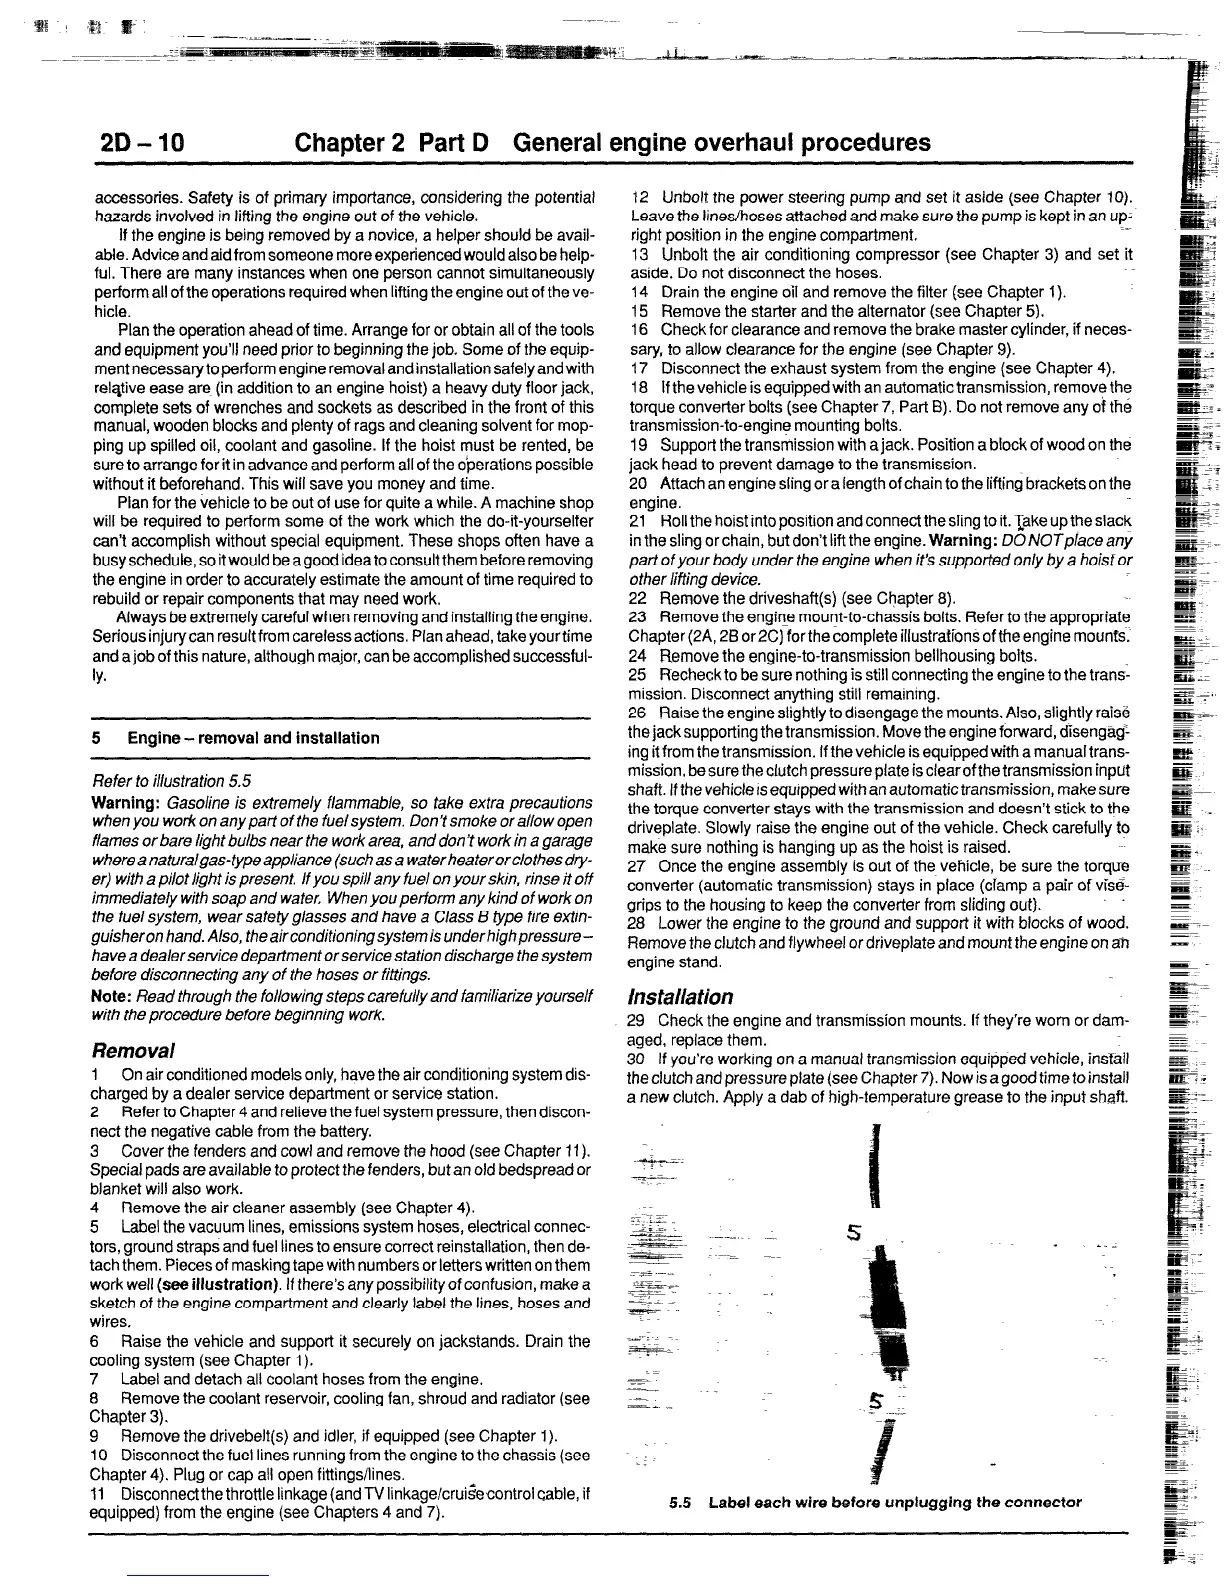
5 Label the vacuum lines, emissions system hoses, electrical connec-
tors, ground straps and fuel lines to ensure correct reinstallation, then de-
tach them. Pieces of masking tape with numbers or letters written on them
work well
(see illustration).
If there’s any possibility of confusion, make a
sketch of the engine compartment and clearly label the lines, hoses and
wires.
6 Raise the vehicle and support it securely on jackstands. Drain the
cooling system (see Chapter 1).
7 Label and detach all coolant hoses from the engine.
8 Remove the coolant reservoir, cooling fan, shroud and radiator (see
Chapter 3).
9 Remove the drivebelt and idler, if equipped (see Chapter 1).
10 Disconnect the fuel lines running from the engine to the chassis (see
Chapter 4). Plug or cap all open fittings/lines.
11 Disconnectthe throttle linkage (and TV linkagelcrui~econtrol cable, if
equipped) from the engine (see Chapters 4 and 7).
12 Unbolt the power steering pump and set it aside (see Chapter 10).
Leave the lines/hoses attached and make sure the pump is kept in an up;
right position in the engine compartment.
13 Unbolt the air conditioning compressor (see Chapter 3) and set it
aside. Do not disconnect the hoses.
.~
14 Drain the engine oil and remove the filter (see Chapter 1).
15 Remove the starter and the alternator (see Chapter 5).
16 Check for clearance and remove the brake master cylinder, if neces-
sary, to allow clearance for the engine [see Chapter 9).
17 Disconnect the exhaust system from the engine (see Chapter 4).
18 If the vehicle is equipped with an automatic transmission, remove the
torque converter bolts (see Chapter 7, Part 8). Do not remove any of the
transmission-to-engine mounting bolts.
19 Support the transmission with a jack. Position a block of wood on the
jack head to prevent damage to the transmission.
20 Attach an engine sling or a length of chain to the lifting brackets on the
engine.
21 Roll the hoist into position and connect the sling to it. Take up the slack
in the sling or chain, but don’t lift the engine.
Warning:
DONOTplace any
part of your body under the engine when it’s supported only by a hoist or
other lifting device.
22 Remove the driveshaft (see Chapter 8).
23 Remove the engine mount-to-chassis bolts. Refer to the appropriate
Chapter (2A, 2B or 2C) for the complete illustrations of the engine mounts.
24 Remove the engine-to-transmission bellhousing bolts.
25 Kecheckto be sure nothing is still connecting the engine to the tran&
mission. Disconnect anything still remaining.
26 Raise the engine slightly to disengage the mounts. Also, slightly raise
the jack supporting the transmission. Move the engine forward, disengagt
ing it from the transmission. If the vehicle is equipped with a manual trans-
mission, be sure the clutch pressure plate is clearof the transmission input
shaft. If thevehicle~sequrpped with anautomatictransmission, makesure
the torque converter stays with the transmission and doesn’t stick to the
driveplate. Slowly raise the engine out of the vehicle. Check carefully to
make sure nothing is hanging up as the hoist is raised.
27 Once the engine assembly is out of the vehicle, be sure the torque
converter (automatic transmission) stays in place (clamp a pair of vise-
grips to the housing to keep the converter from sliding out).
28 Lower the engine to the ground and support it with blocks of wood.
Remove the clutch and flywheel or driveplate and mount the engine on an
engine stand.
installation
29 Check the engine and transmission mounts. If they’re worn or dam-
aged, replace them.
30 If you’re workmg on a manual transmission equipped vehicle, install
the clutch and pressure plate (see Chapter 7). Now is agood time to install
a new clutch. Apply a dab of high-temperature grease to the input shaft.
5.5 Label each wire before unplugging the connector
 Loading...


