Chapter 2 Part D General engine overhaul procedures
2D-9
Loss of power, rough running, knocking or metallic engine noises, ex-
cessive valve train noise and high fuel consumption rates may also point
to the need for an overhaul, especially if they’re all present at the same
time. If a complete tune-up doesn’t remedy the situation, major mechani-
cal work is the only solution.
An engine overhaul involves restoring the internal parts to the specifi-
cations of a new engine. During an overhaul, the piston rings are replaced
and the cylinder walls are reconditioned (rebored and/or honed). If a re-
bore is done by an automotive machine shop, new oversize pistons will
also be installed. The main bearings, connecting rod bearings and cam-
shaft bearings are generally replaced with new ones and, if necessary, the
crankshaft may be reground to restore the journals. Generally, the valves
are serviced as well, since they’re usually in less-than-perfect condition
at this point. While the engine is being overhauled, other components,
such as the starter and alternator, can be rebuilt as well. The end result
should be a like-new engine that will give many trouble free miles.
Note:
Critical cooling system components such as the hoses, drivebelts, ther-
mostatand watcrpump MUSTbereplacedwithnewparts whenanengine
is overhauled. The radiator should be checked carefully to ensure it isn’t
clogged or leaking (see Chapter 3). Also, we don’t recommend overhaul-
ing the oil pump - always install a neti one when an engine is rebuilt.
Before beginning the engine overhaul, read through the entire proce-
dure to familiarize yourself with the scope and requirements of the job.
Overhauling an engine isn’t particularly difficult, if you follow all of the in-
structions carefully, have the necessary tools and equipment and pay
close attention to all specifications; however, it can be time consuming.
Plan on the vehicle being tied up for a minimum of two weeks, especially
if parts must be taken to an automotive machineshopfor repairorrecondi-
tioning. Check on availability of parts and make sure any necessary spe-
cial tools and equipment are obtained in advance. Most work can be done
with typical hand tools, although a number of precision measuring tools
are required for inspecting parts to determine if they must be replaced. Of-
ten an automotive machine shop will handle the inspection of parts and
offer advice concerning reconditioning and replacement.
Note:
Always
wait until the engine has been completely disassembled and all compo-
nents, especially the engine block, have been inspected before deciding
what service and repair operations must be performed by an automotive
machine shop. Since the block’s condiiion will be the major factor to con-
sider when determining whether to overhaul the original engine or buy a
rebuilt one, never purchase parts or have machine work done on other
components until the block has been thoroughly inspected. As a general
rule, time is the primary cost of an overhaul, so it doesn’t pay to install worn
or substandard parts.
As a final note, to ensure maximum life and minimum trouble from a
rebuilt engine, everything must be assembled with care in a spotlessly
clean environment.
3 Cylinder compression check
Refer to illustration 3.6
1 A compression check will tell you what mechanical condition the up-
per end (pistons, rings, valves, head gaskets) of the engine is in. Specifi-
cally, it can tell you if the’compression is down due to leakage caused by
worn piston rings, defective valves and seats or a blown head gasket.
Note:
The engine must be at normal operating temperature and the bat-
tery must be fully charged for this check.
2 Begin by cleaning theareaaround thesparkplugs before you remove
them. Compressed air should be used, if available, otherwise a small
brush or even a bicycle tire pump will work. The idea is to prevent dirt from
getting into the cylinders as the compression check is being done.
3 Remove all of the spark plugs from the engine (see Chapter 1).
4 Block the throttle wide open.’
5 Disable the fuel system by removing the fuel pump fuse (see Chap-
ter 4).
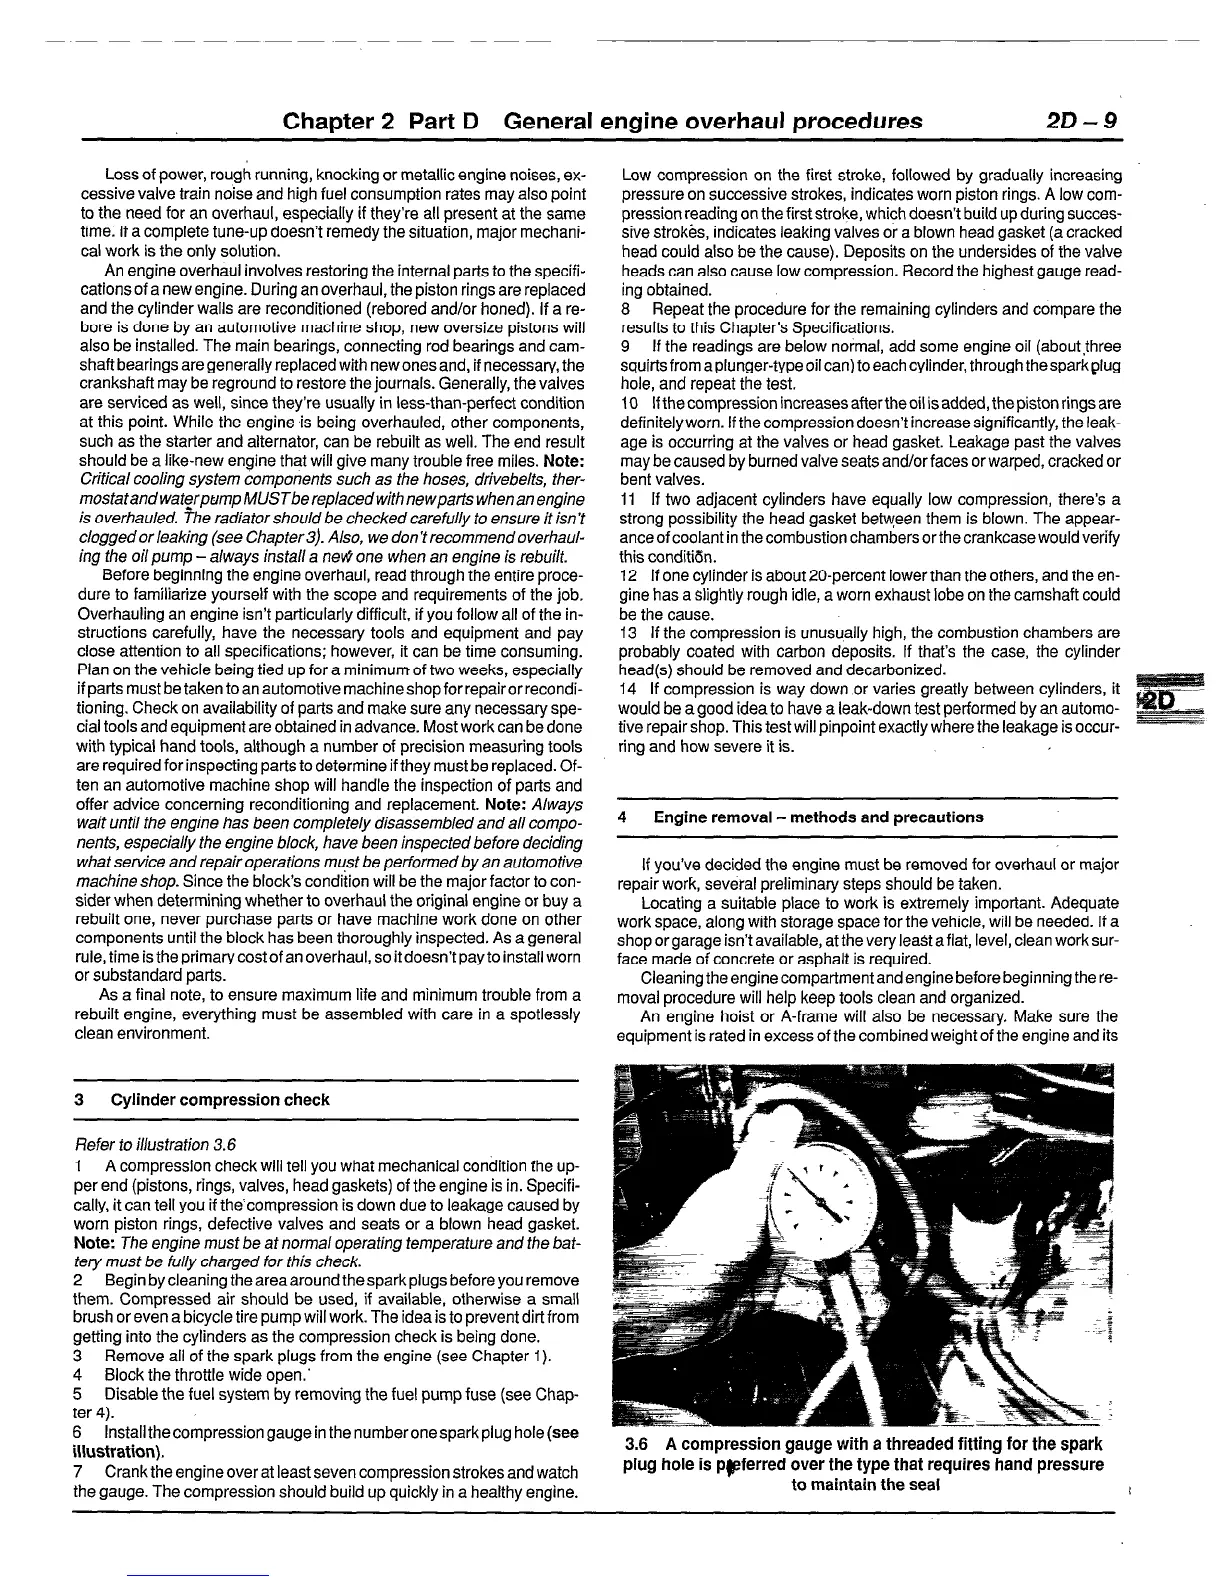
6 Install the compression gauge in the numberonespark plug hole (see
illustration).
7 Crank the engine over at least seven compression strokes and watch
the gauge. The compression should build up quickly in a healthy engine.
Low compression on the first stroke, followed by gradually increasing
pressure on successive strokes, indicates worn piston rings. A low com-
pression reading on the first stroke, which doesn’t build up during succes-
sive strokes, indicates leaking valves or a blown head gasket (a cracked
head could also be the cause). Deposits on the undersides of the valve
heads can also cause low compression. Record the highest gauge read-
ing obtained.
8 Repeat the procedure for the remaining cylinders and compare the
results to this Chapter’s Specifications.
9 If the readings are below normal, add some engine oil (aboutthree
squirtsfromaplunger-typeoilcan) toeachcylinder, through thesparkplug
hole, and repeat the test.
IO If the compression increases after the oil is added, the piston rings are
definitely worn. If the compression doesn’t increase significantly, the leak-
age is occurring at the valves or head gasket. Leakage past the valves
may be caused by burned valve seats and/or faces or warped, cracked or
bent valves.
11 If two adjacent cylinders have equally low compression, there’s a
strong possibility the head gasket between them is blown. The appear-
anceof coolant in the combustion chambers or the crankcase would verify
this conditidn.
12 If one cylinder is about 20-percent lower than the others, and the en-
gine has a slightly rough idle, a worn exhaust lobe on the camshaft could
be the cause.
13 If the compression is unusu,ally high, the combustion chambers are
probably coated with carbon deposits. If that’s the case, the cylinder
head(s) should be removed and decarbonized.
14 If compression is way down or varies greatly between cylinders, it
would be a good idea to have a leak-down test performed by an automo-
tive repair shop. This test will pinpoint exactly where the leakage is occur-
ring and how severe it is.
4 Engine removal - methods and precautions
If you’ve decided the engine must be removed for overhaul or major
repair work, several preliminary steps should be taken.
Locating a suitable place to work is extremely important. Adequate
work space, along with storage space for the vehicle, will be needed. If a
shop or garage isn’t available, at the very IeaSt a flat, level, clean work sur-
face made of concrete or asphalt is required.
Cleaning the engine compartment and engine before beginning the re-
moval procedure will help keep tools clean and organized.
An engine hoist or A-frame will also be necessary. Make sure the
equipment is rated in excess of the combined weight of the engine and its
3.6 A compression gauge with a threaded fitting for the spark
plug hole is ppferred over the type that requires hand pressure
to maintain the seal
I
 Loading...


