Chapter 1 Tune-up and routine maintenance
1-21
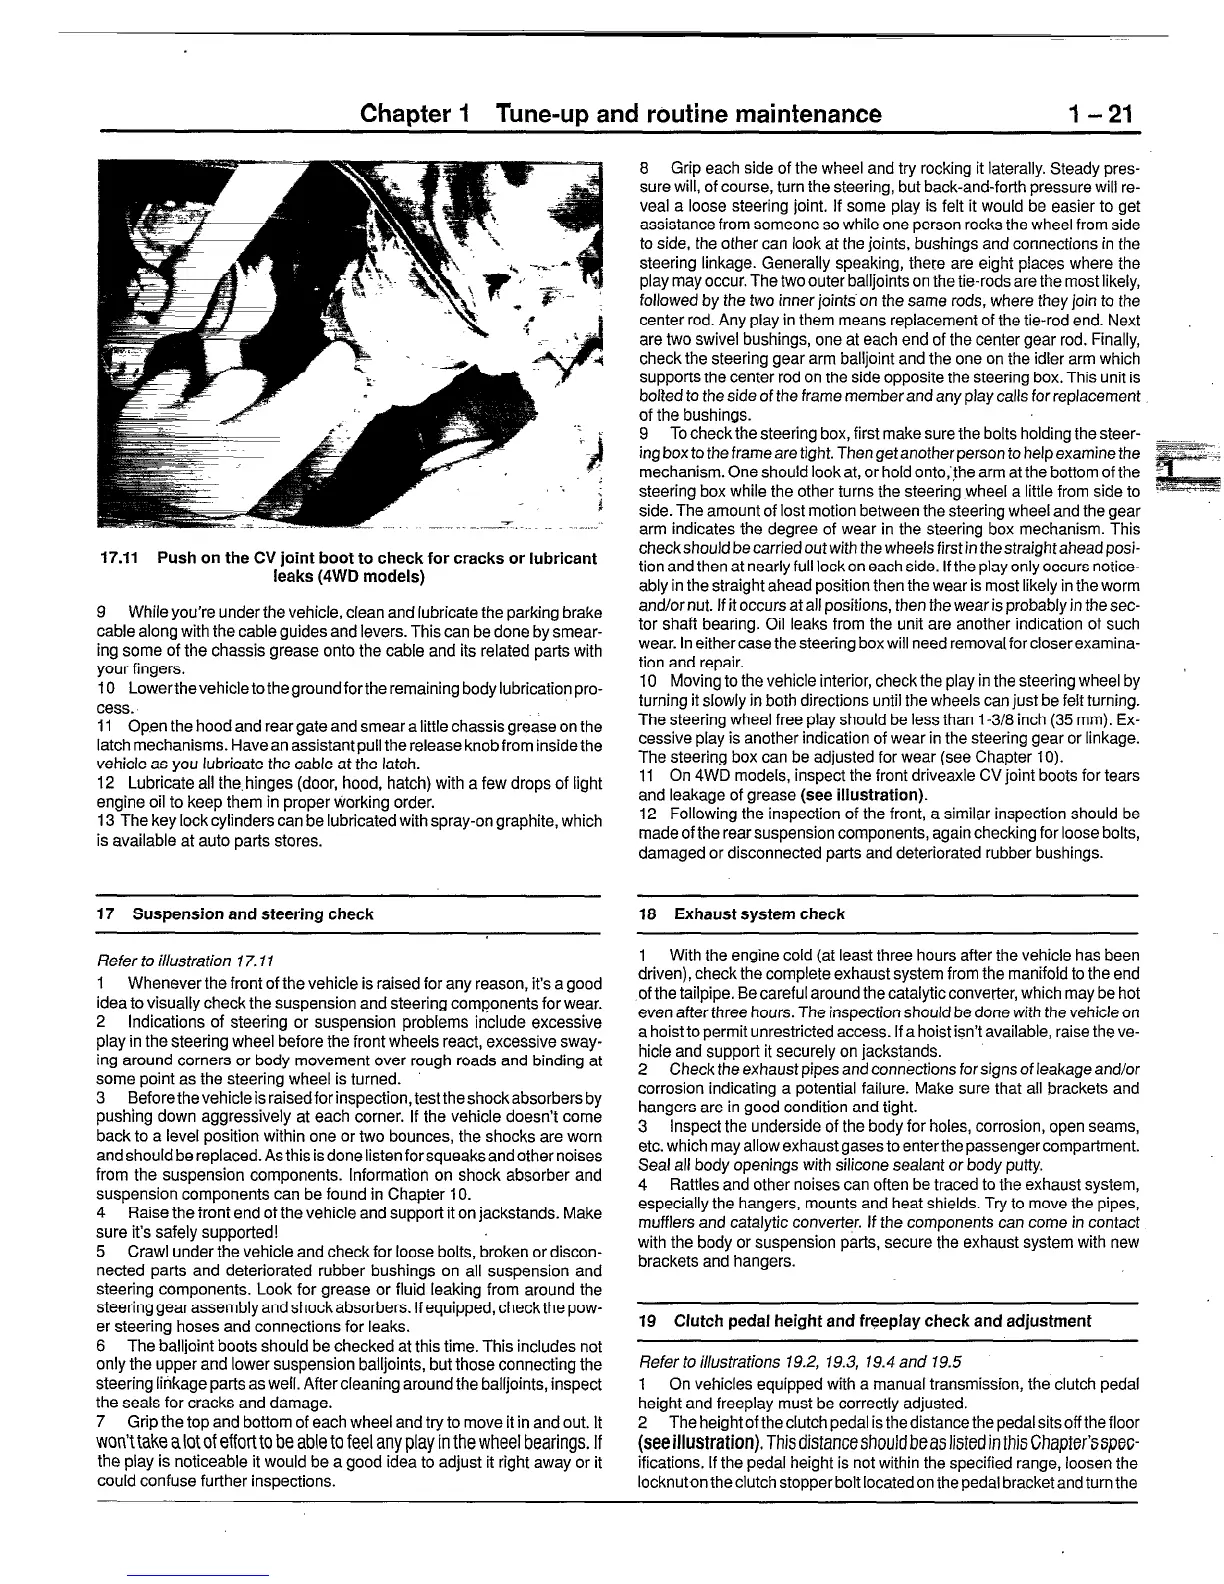
17.11 Push on the CV joint boot to check for cracks or lubricant
leaks (4WD models)
9 While you’re under the vehicle, clean and lubricate the parking brake
cable along with the cable guides and levers. This can be done by smear-
ing some of the chassis grease onto the cable and its related parts with
your fingers.
IO Lowerthevehicleto thegroundforthe remaining body lubrication pro-
cess.
11 Op.en the hood and rear gate and smear a little chassis grease on the
latch mechanisms. Have an assistant pull the release knob from inside the
vehicle as you lubricate the cable at the latch.
12 Lubricate all the, hinges (door, hood, hatch) with a few drops of light
engine oil to keep them in proper working order.
13 The key lock cylinders can be lubricated with spray-on graphite, which
is available at auto parts stores.
17 Suspension and steering check
Refer to illustration 17.11
1 Whenever the front of the vehicle is raised for any reason, it’s a good
idea to visually check the suspension and steering components for wear.
2 Indications of steering or suspension problems include excessive
play in the steering wheel before the front wheels react, excessive sway-
ing around corners or body movement over rough roads and binding at
some point as the steering wheel is turned.
3 Beforethevehicleis raisedforinspection,testtheshockabsorbers by
pushing down aggressively at each corner. If the vehicle doesn’t come
back to a level position within one or two bounces, the shocks are worn
and should be replaced. As this is done listen for squeaks and other noises
from the suspension components. Information on shock absorber and
suspension components can be found in Chapter 10.
4 Raise the front end of the vehicle and support it on jackstands. Make
sure it’s safely supported!
5 Crawl under the vehicle and check for loose bolts, broken or discon-
nected parts and deteriorated rubber bushings on all suspension and
steering components. Look for grease or fluid leaking from around the
steering gear assembly and shock absorbers. If equipped, check the pow-
er steering hoses and connections for leaks.
6 The balljoint boots should be checked at this time. This includes not
only the upper and lower suspension balljoints, but those connecting the
steering linkage parts as well. After cleaning around the balljoints, inspect
the seals for cracks and damage.
7 Grip the top and bottom of each wheel and try to move it in and out. It
won’t take a lot of effort to be able to feel any play in the wheel bearings. If
the play is noticeable it would be a good idea to adjust it right away or it
could confuse further inspections.
8 Grip each side of the wheel and try rocking it laterally. Steady pres-
sure will, of course, turn the steering, but back-and-forth pressure will re-
veal a loose steering joint. If some play is felt it would be easier to get
assistance from someone so while one person rocks the wheel from side
to side, the other can look at the joints, bushings and connections in the
steering linkage. Generally speaking, there are eight places where the
play may occur. The two outer balljoints on the tie-rods are the most likely,
followed by the two inner joints-on the same rods, where they join to the
center rod. Any play in them means replacement of the tie-rod end. Next
are two swivel bushings, one at each end of the center gear rod. Finally,
check the steering gear arm balljoint and the one on the idler arm which
supports the center rod on the side opposite the steering box. This unit is
bolted to the side of the frame member and any play calls for replacement
of the bushings.
9 To check the steering box, first make sure the bolts holding the steer-
ing box to the frame are tight. Then getanotherperson to help examine the
mechanism. One should look at, or hold onto,‘Jhe arm at the bottom of the
steering box while the other turns the steering wheel a little from side to
side. The amount of lost motion between the steering wheel and the gear
arm indicates the degree of wear in the steering box mechanism. This
checkshould becarriedoutwith thewheels first in thestraightaheadposi-
tion and then at nearly full lock on each side. If the play only occurs notice-
ably in the straight ahead position then the wear is most likely in the worm
and/or nut. If it occurs at all positions, then the wear is probably in the sec-
tor shaft bearing. Oil leaks from the unit are another indication of such
wear. In either case the steering box will need removal for closer examina-
tion and repair.
10 Moving to the vehicle interior, check the play in the steering wheel by
turning it slowly in both directions until the wheels can just be felt turning.
The steering wheel free play should be less than l-3/8 inch (35 mm). Ex-
cessive play is another indication of wear in the steering gear or linkage.
The steering box can be adjusted for wear (see Chapter 10).
11 On 4WD models, inspect the front driveaxle CV joint boots for tears
and leakage of grease (see illustration).
12 Following the inspection of the front, a similar inspection should be
made of the rear suspension components, again checking for loose bolts,
damaged or disconnected parts and deteriorated rubber bushings.
18 Exhaust system check
1 With the engine cold (at least three hours after the vehicle has been
driven), check the complete exhaust system from the manifold to the end
of the tailpipe. Be careful around the catalytic converter, which may be hot
even after three hours. The inspection should be done with the vehicle on
a hoist to permit unrestricted access. If a hoist isn’t available, raise the ve-
hicle and support it securely on jackstands.
2 Check the exhaust pipes and connections for signs of leakage and/or
corrosion indicating a potential failure. Make sure that all brackets and
hangers are in good condition and tight.
3 Inspect the underside of the body for holes, corrosion, open seams,
etc. which may allow exhaust gases to enter the passenger compartment.
Seal all body openings with silicone sealant or body putty.
4 Rattles and other noises can often be traced to the exhaust system,
especially the hangers, mounts and heat shields. Try to move the pipes,
mufflers and catalytic converter. If the components can come in contact
with the body or suspension parts, secure the exhaust system with new
brackets and hangers.
19 Clutch pedal height and fraeplay check and adjustment
Refer to illustrations 19.2, 19.3, 19.4 and 19.5
1 On vehicles equipped with a manual transmission, the clutch pedal
height and freeplay must be correctly adjusted.
2 The height of the clutch pedal is the distance the pedal sits off the floor
(see illustration). This distanceshould be as listed in this Chapter’sspec-
ifications. If the pedal height is not within the specified range, loosen the
locknuton the clutch stopper bolt located on the pedal bracket and turn the
 Loading...


